Installing a client/downstream tenant is the process of onboarding an additional tenant to Simeon that is aligned to your baseline.
Get ready for installation
First, ensure that you are properly prepared for tenant installation.
Installation steps
The following steps will guide you through the installation process. For each step, an in-depth article is provided and linked:
Navigation
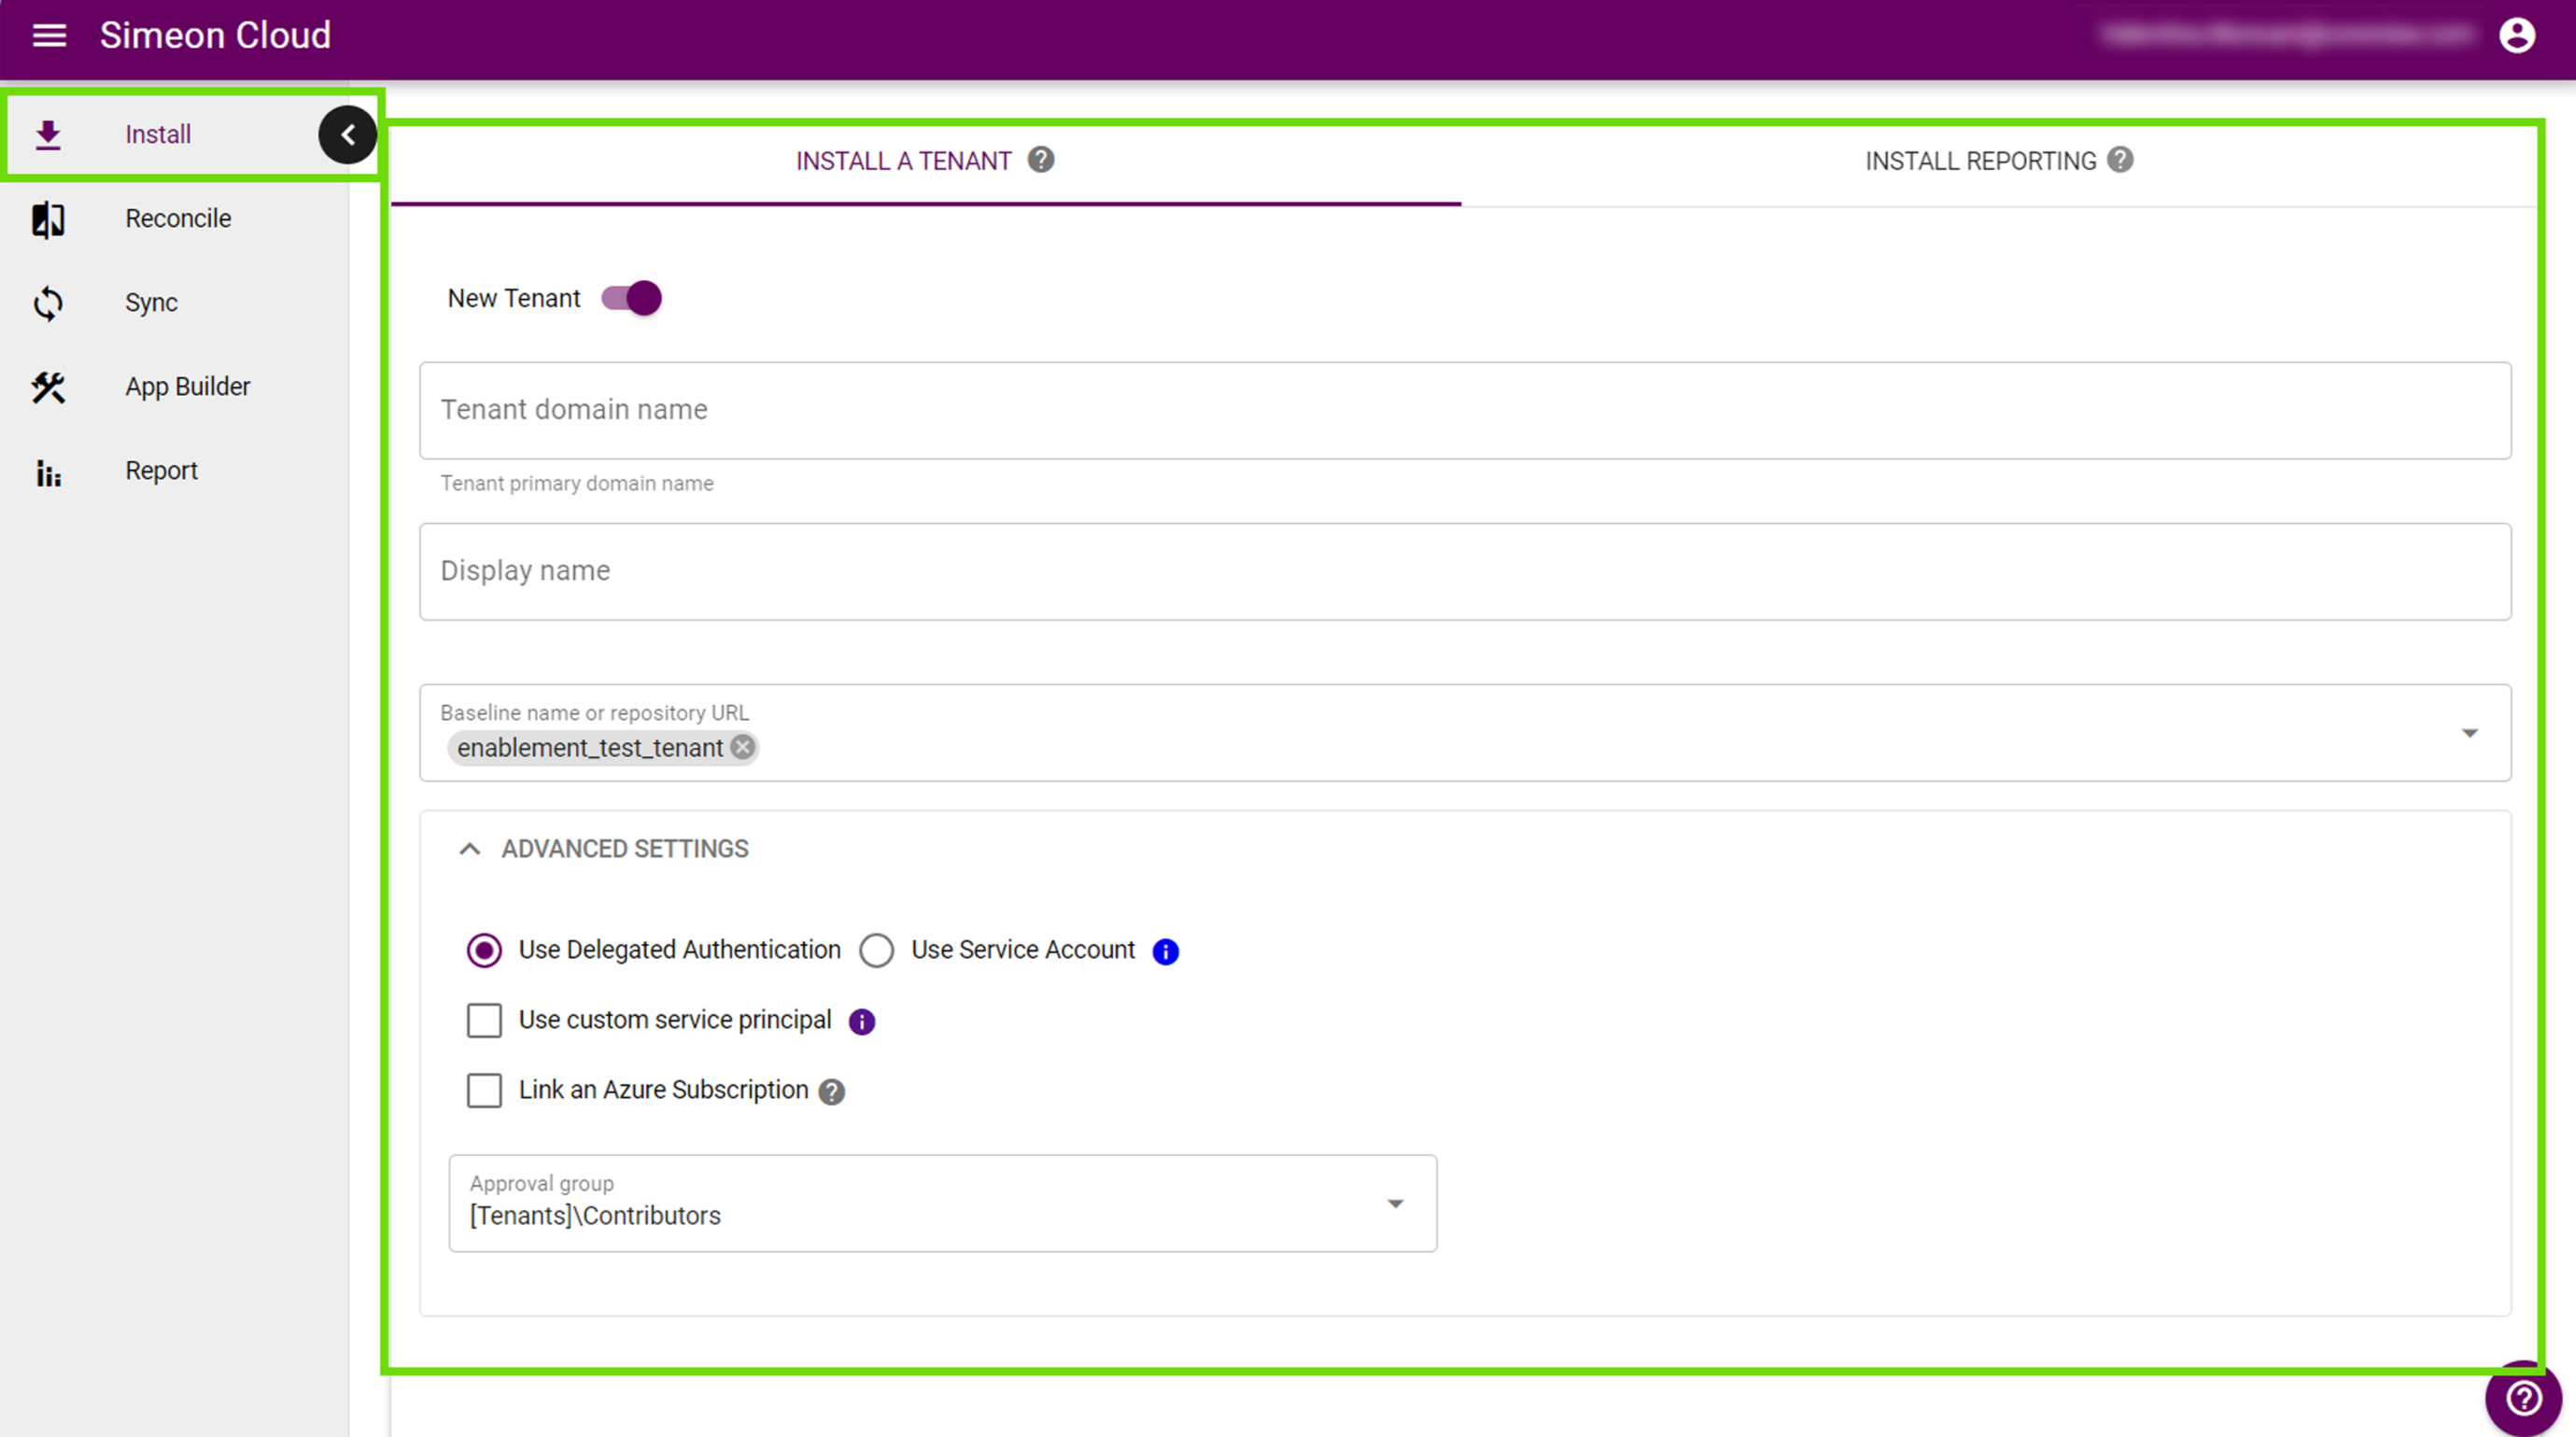
Basic settings
Define the domain and display name of your tenant.

Baseline
The baseline is an M365 tenant that contains a set of configurations to which your tenants will align.
Remember that you must associate a baseline with your tenant.

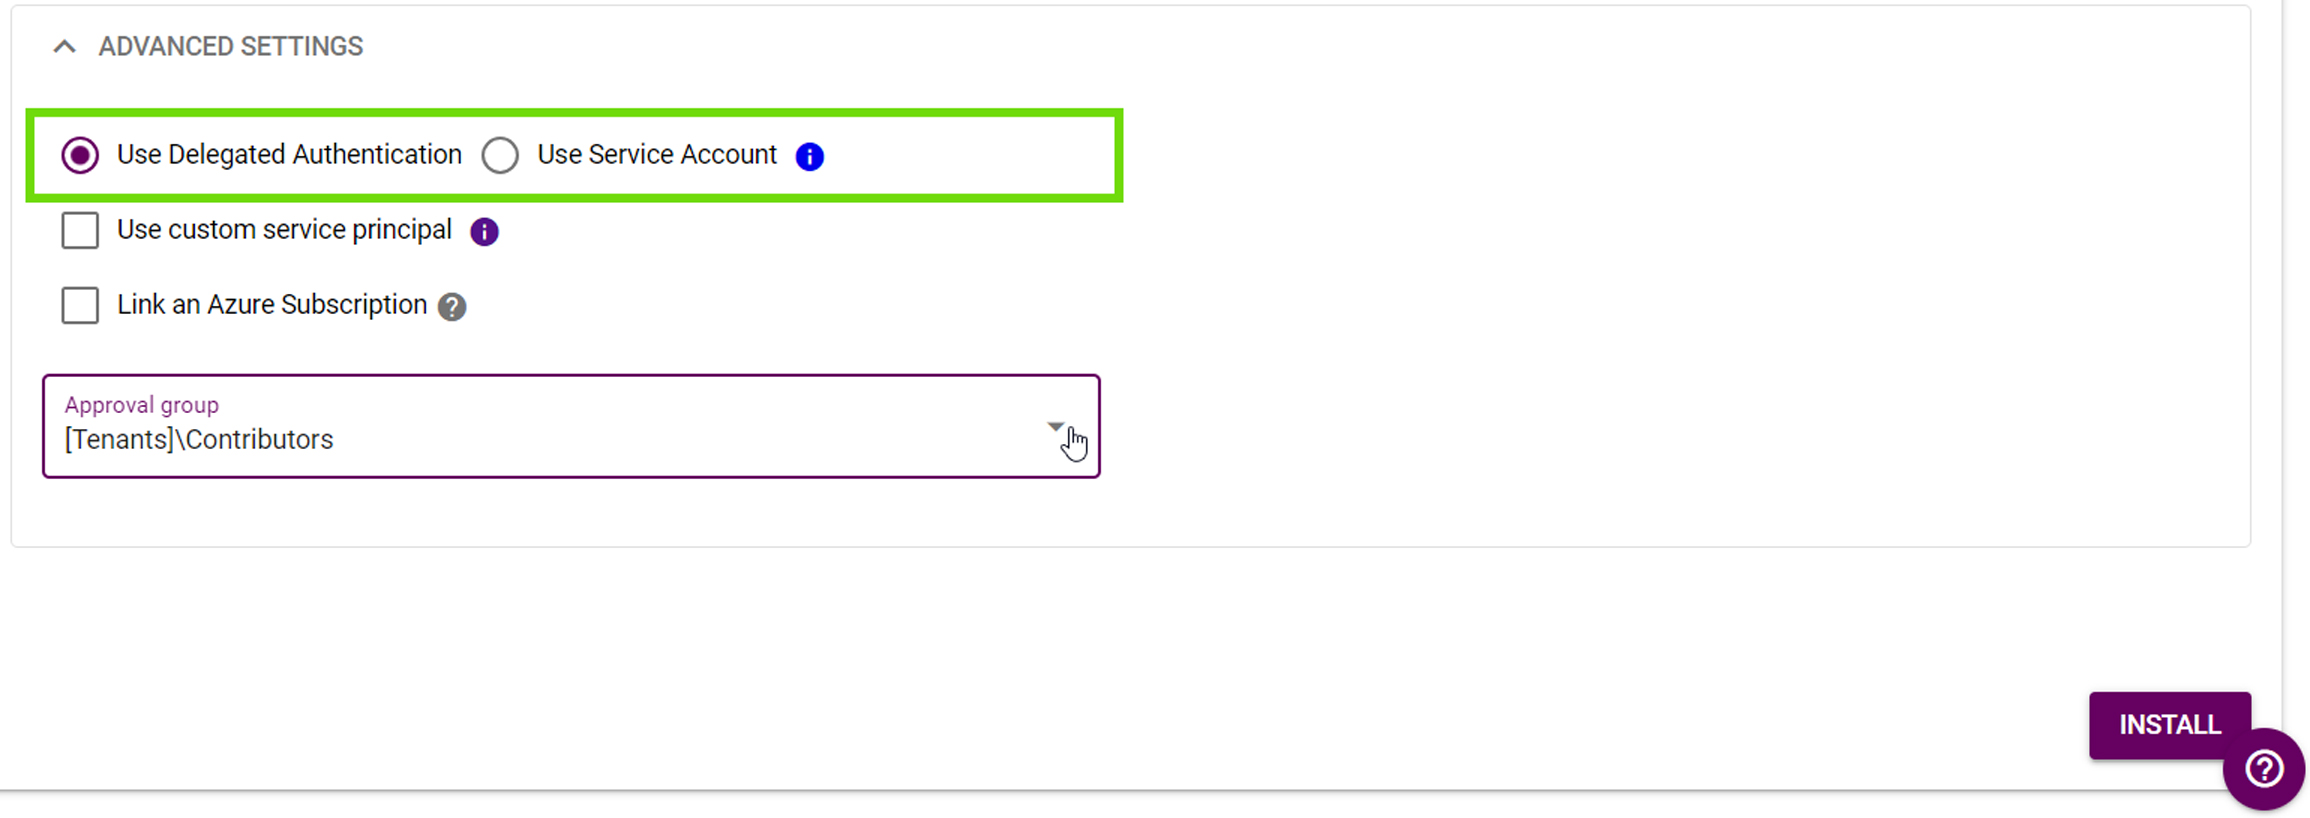
Authentication method
Choose the method by which Simeon authenticates into the tenant: Service Account or Delegated Authentication.
This is an important choice and should be aligned with your organization's security posture. Don't be caught unprepared! Refer to our guide to help you decide.
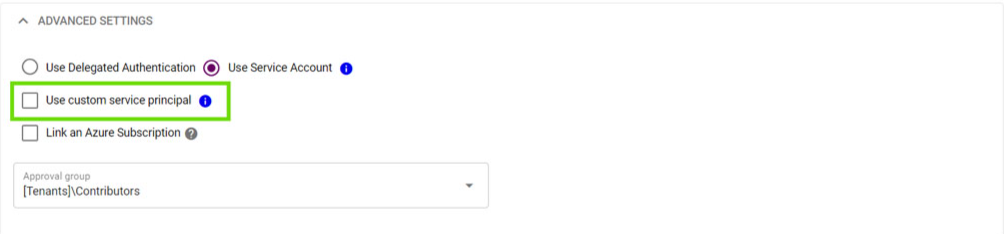
Service Principal authentication
A Service Principal is required to assist in tenant authentication and configuration management.
Simeon will create one in the tenant at install time. If you would prefer, you can bring your own custom service principal!
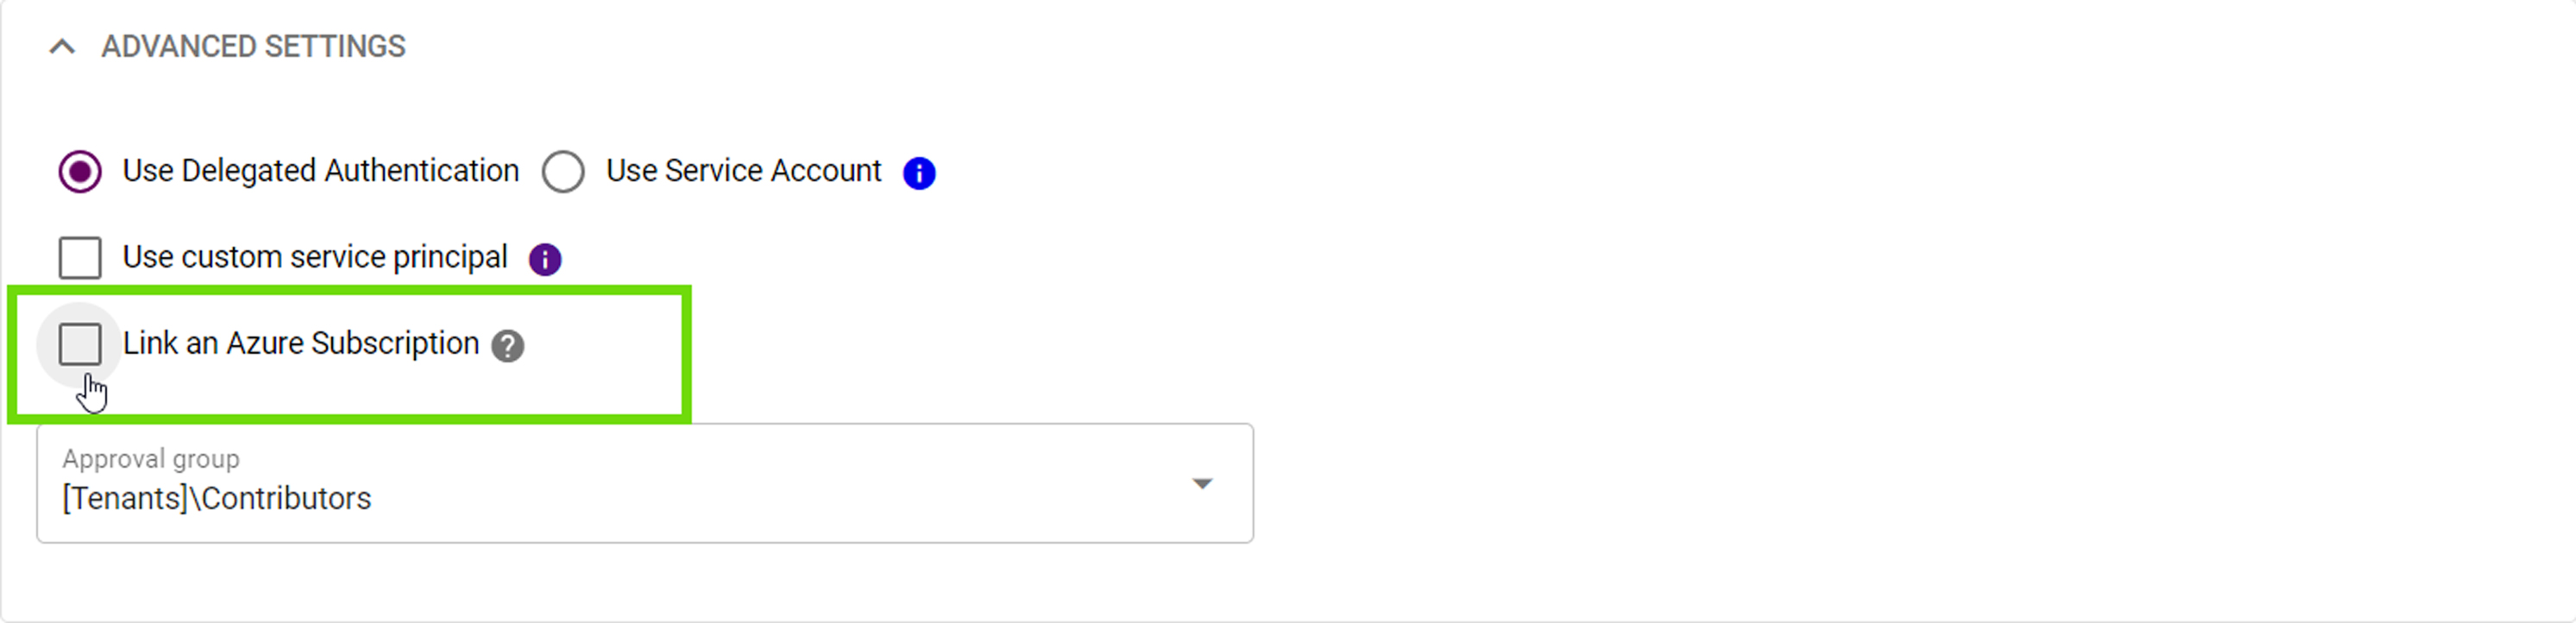
Link an Azure subscription
Enable this option if you have an Azure subscription in the tenant and would like Simeon to manage the configurations associated with that subscription.
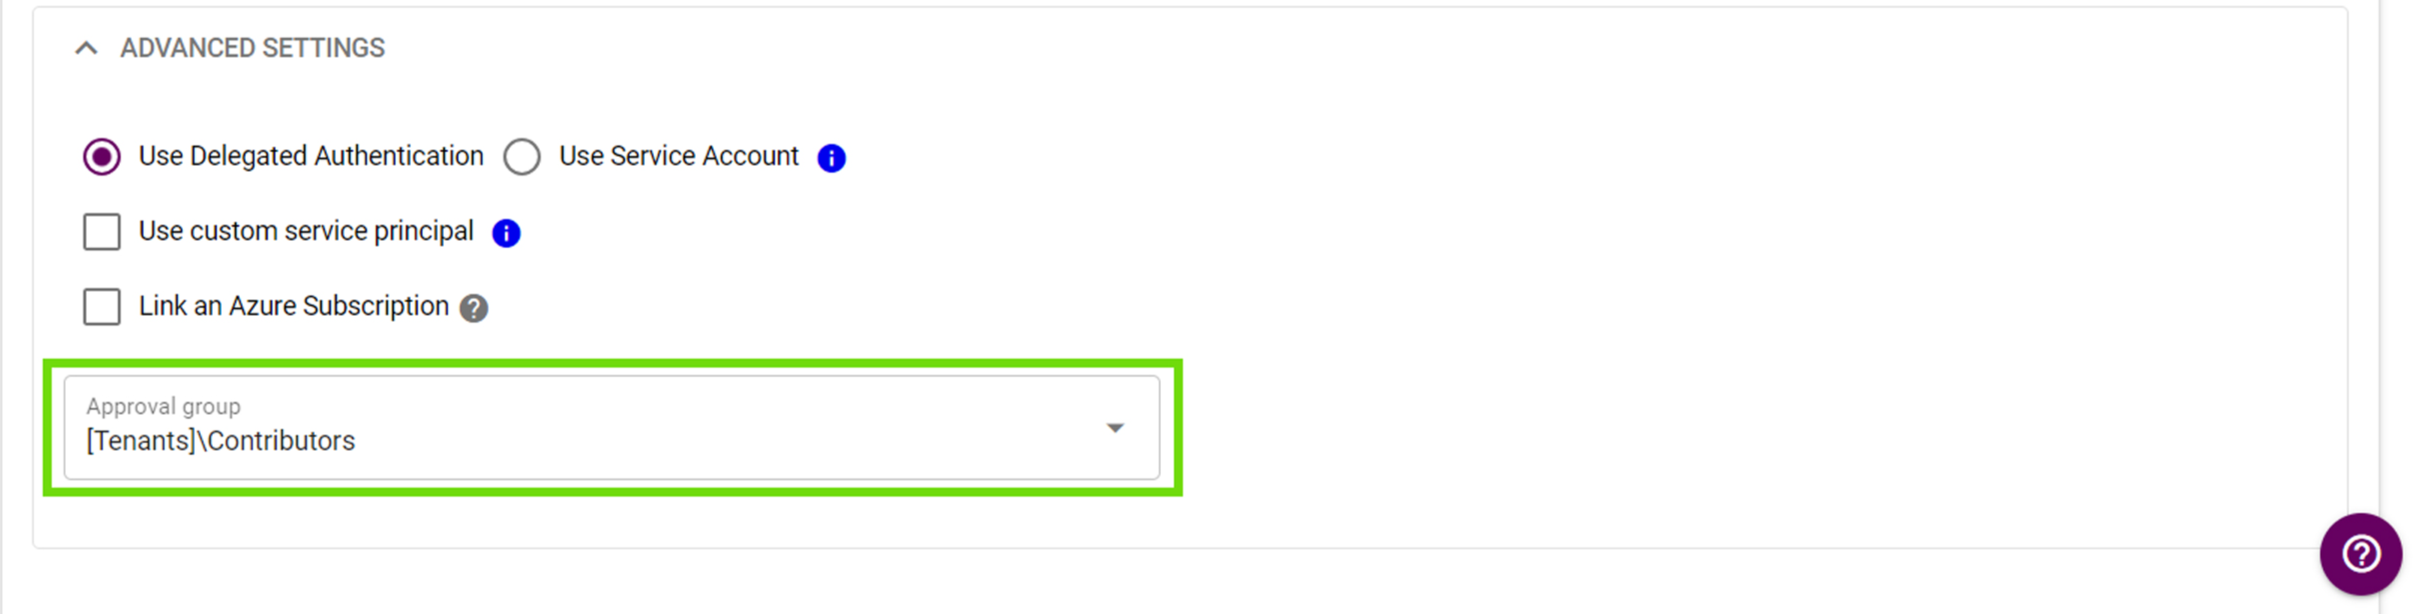
Approval group selection
Choose which group of users has the authority to approve or reject changes made to the tenant configurations. Please note that the default one is ”Contributors”.
Agent pool selection
Simeon offers the ability to choose where your Sync operations run through the agent pool feature. While syncs typically run on Microsoft-hosted agents by default, you can select self-hosted agents for enhanced control and security compliance.
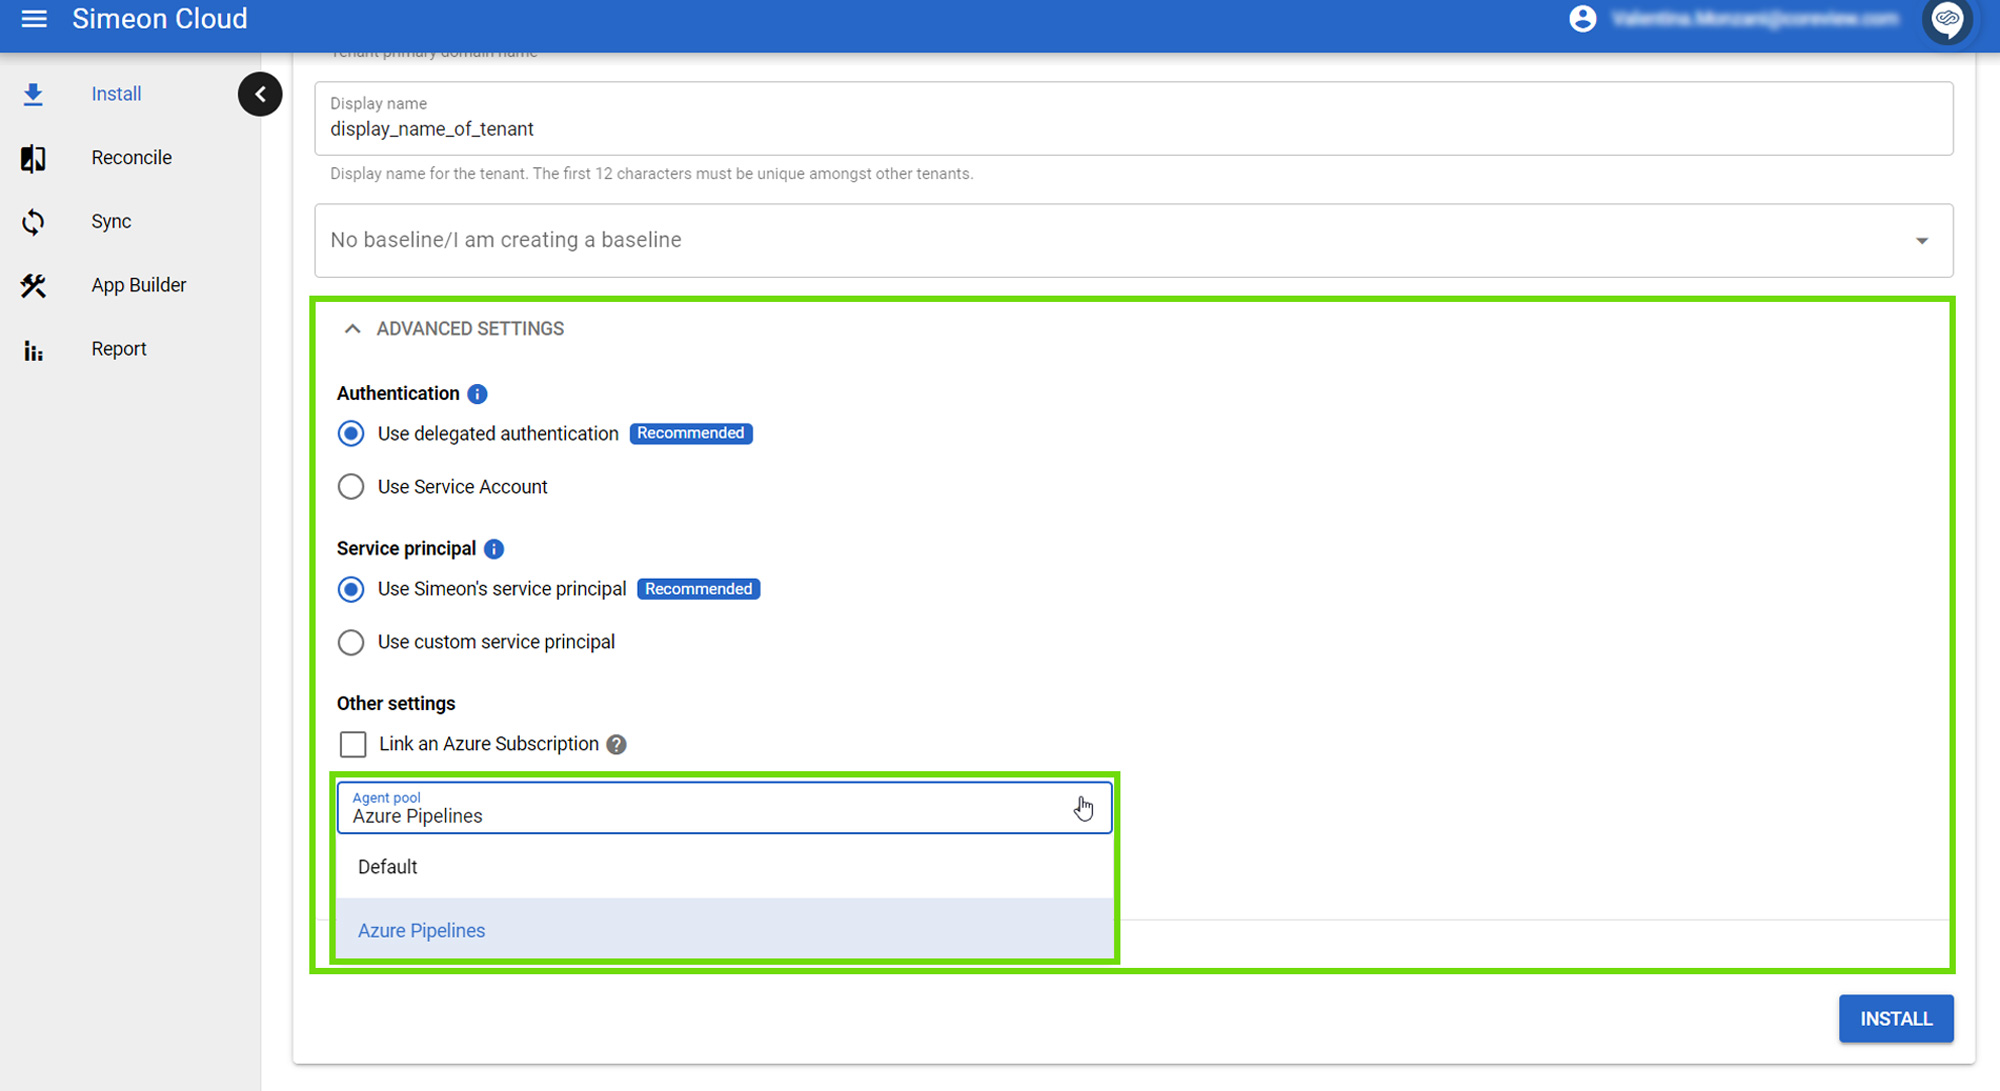
Agent pools can be selected either from the Sync page as well.
You will be able to change the tenant name, associated baseline, authentication method, custom service principal, the link to the Azure Subscription, agent pool, and approval group at a later time.
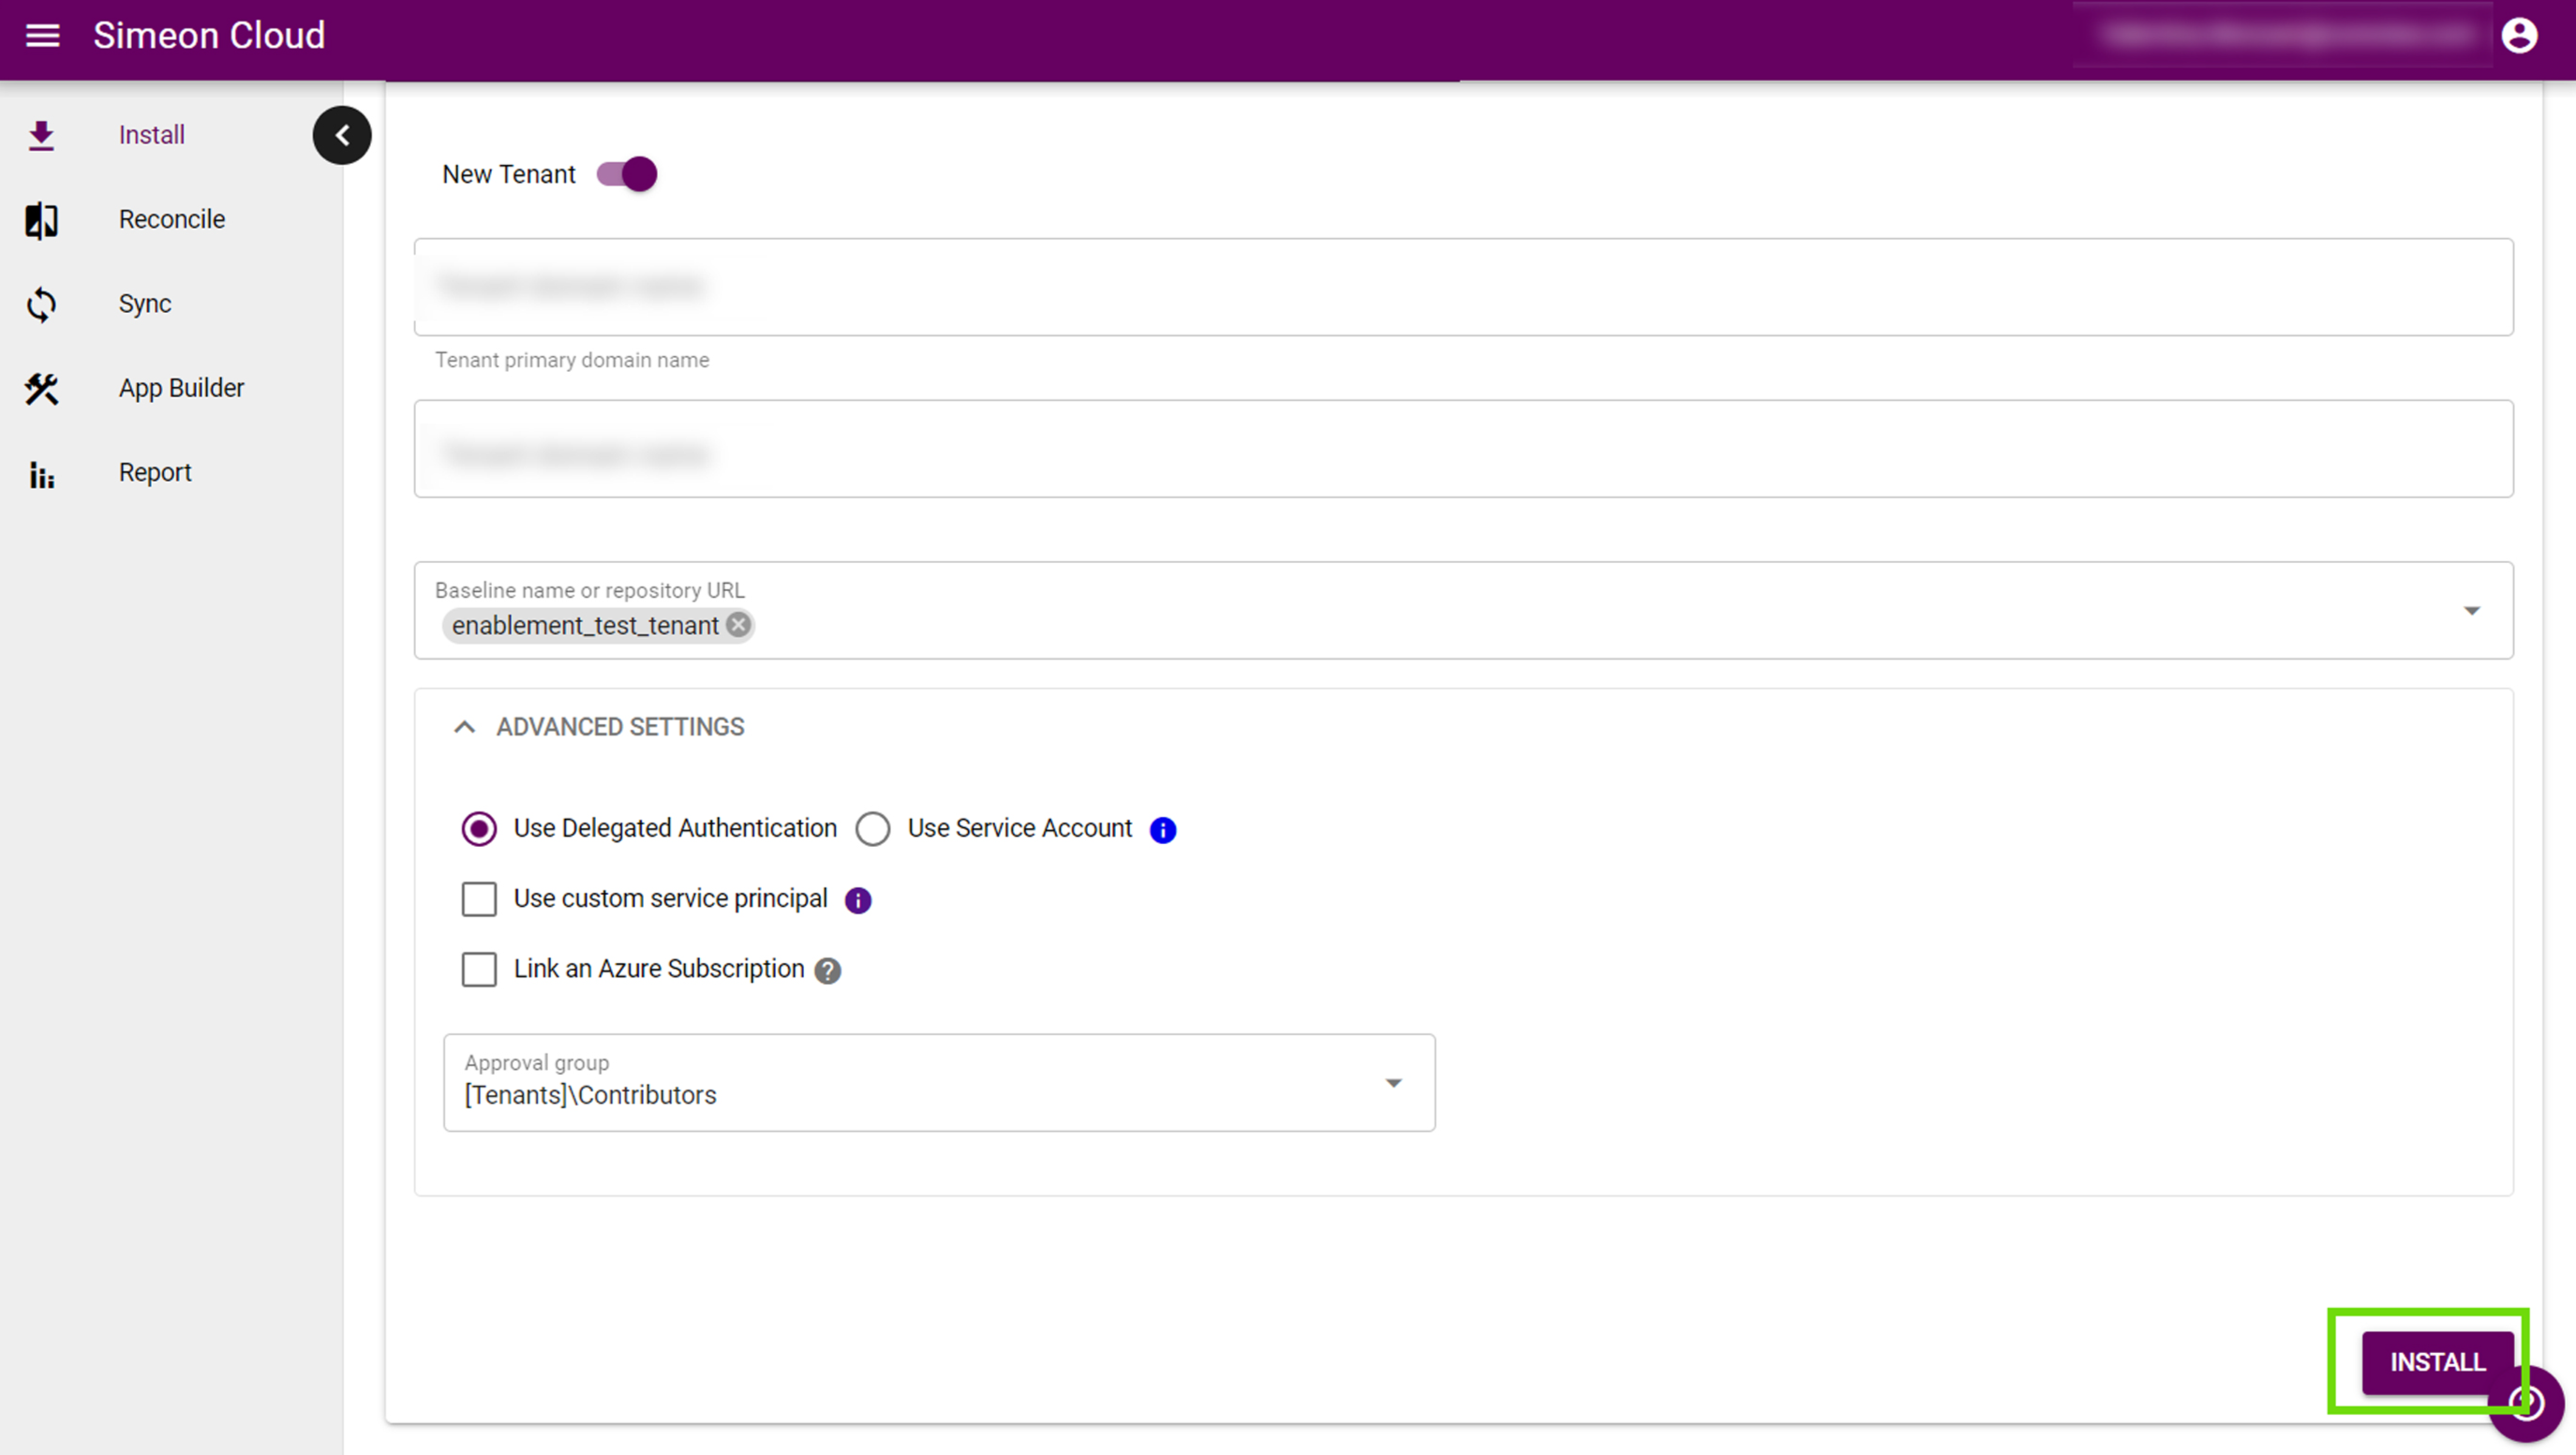
Launch the installation
When everything is configured, you can launch the installation by pressing Install.