You can schedule and execute Workflows using CSV data as input, either by connecting to an external data source or uploading a CSV file directly. Both methods let you automate and streamline bulk processes.
Schedule Workflow via CSV file upload
This method allows you to upload a CSV file manually and run the Workflow immediately or schedule it for later. This process is ideal for bulk onboarding, updates, or any scenario needing scheduled CSV-based automation.
Watch the demo or follow the steps in the guide below to learn how to use this method.
Step 1: upload CSV file
On the Workflow list page, click “Upload CSV file” to upload from your device.

Step 2: select items
- Click “Choose a file” and select your CSV.

- Highlight the elements you want to process. Select the checkbox at the top to include all rows.

Step 3: select and configure Workflow
- Pick the Workflow you want to execute on the selected element. You can use the search bar to refine your search.

- Then move on to the “Insert execution inputs” step to fill out any fields required by your selected Workflow.

Step 4: schedule execution
- Move on to “Schedule”. Choose whether to execute the Workflow immediately or at a specified future date and time. For scheduling, select “At specific time”.

- Set the date, time, and schedule name.

Step 5: review and submit
Review all chosen settings and data on the summary page. Click “Submit” to confirm and activate the scheduled or immediate Workflow.

Schedule Workflow with external CSV source
This method allows you to automatically run a Workflow at scheduled times, importing CSV data from a URL, FTP, FTPS, or SFTP location.
Step 1: schedule Workflow
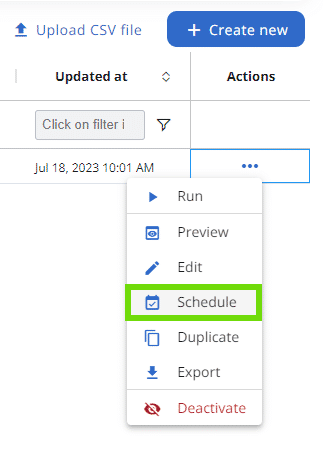
Open a Workflow and select “Actions” > “Schedule” in the top right corner to begin the scheduling process.
Step 2: define schedule and Workflow
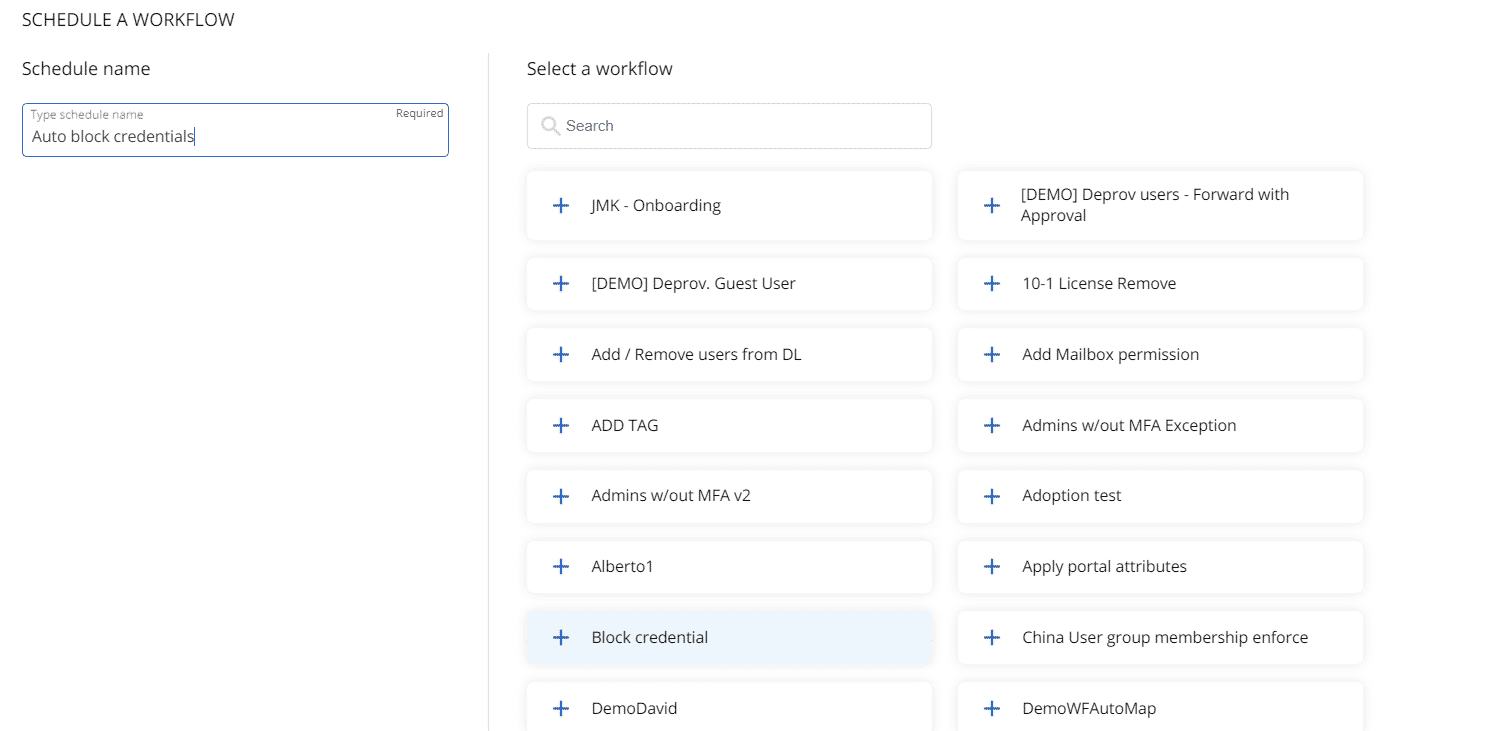
Provide a name for your scheduled task and select the Workflow you wish to run. Click “Next” to proceed.
Step 3: enter data source details
Input the details for your CSV source: URL, FTP, FTPS, or SFTP. Complete all required fields. Click “Next” when finished.
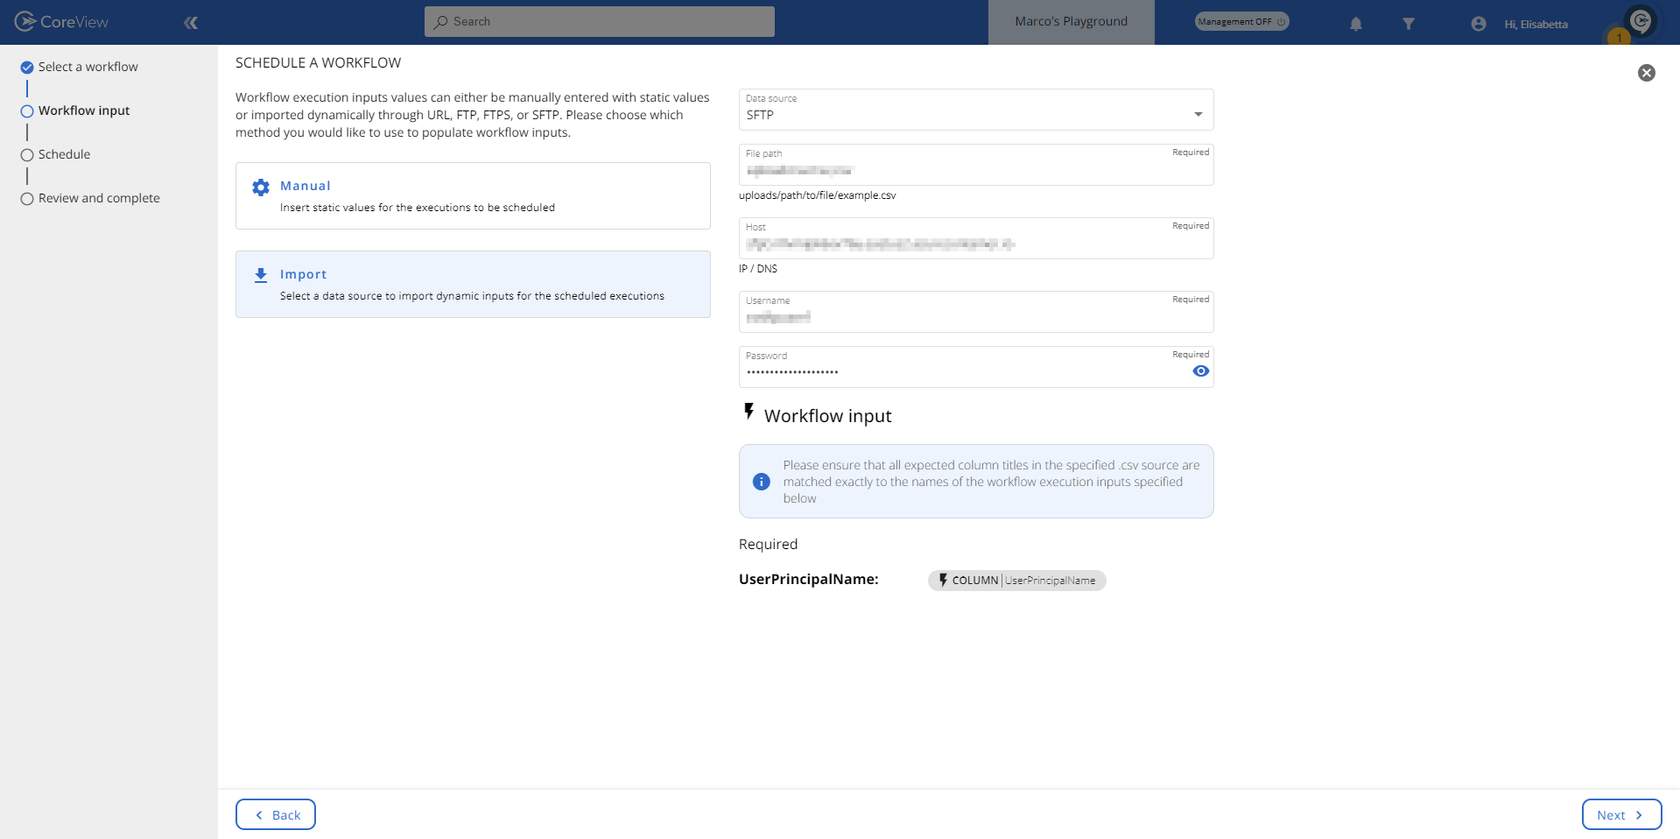
Make sure every column title in your CSV matches the workflow input names exactly.
Step 4: set recurrence
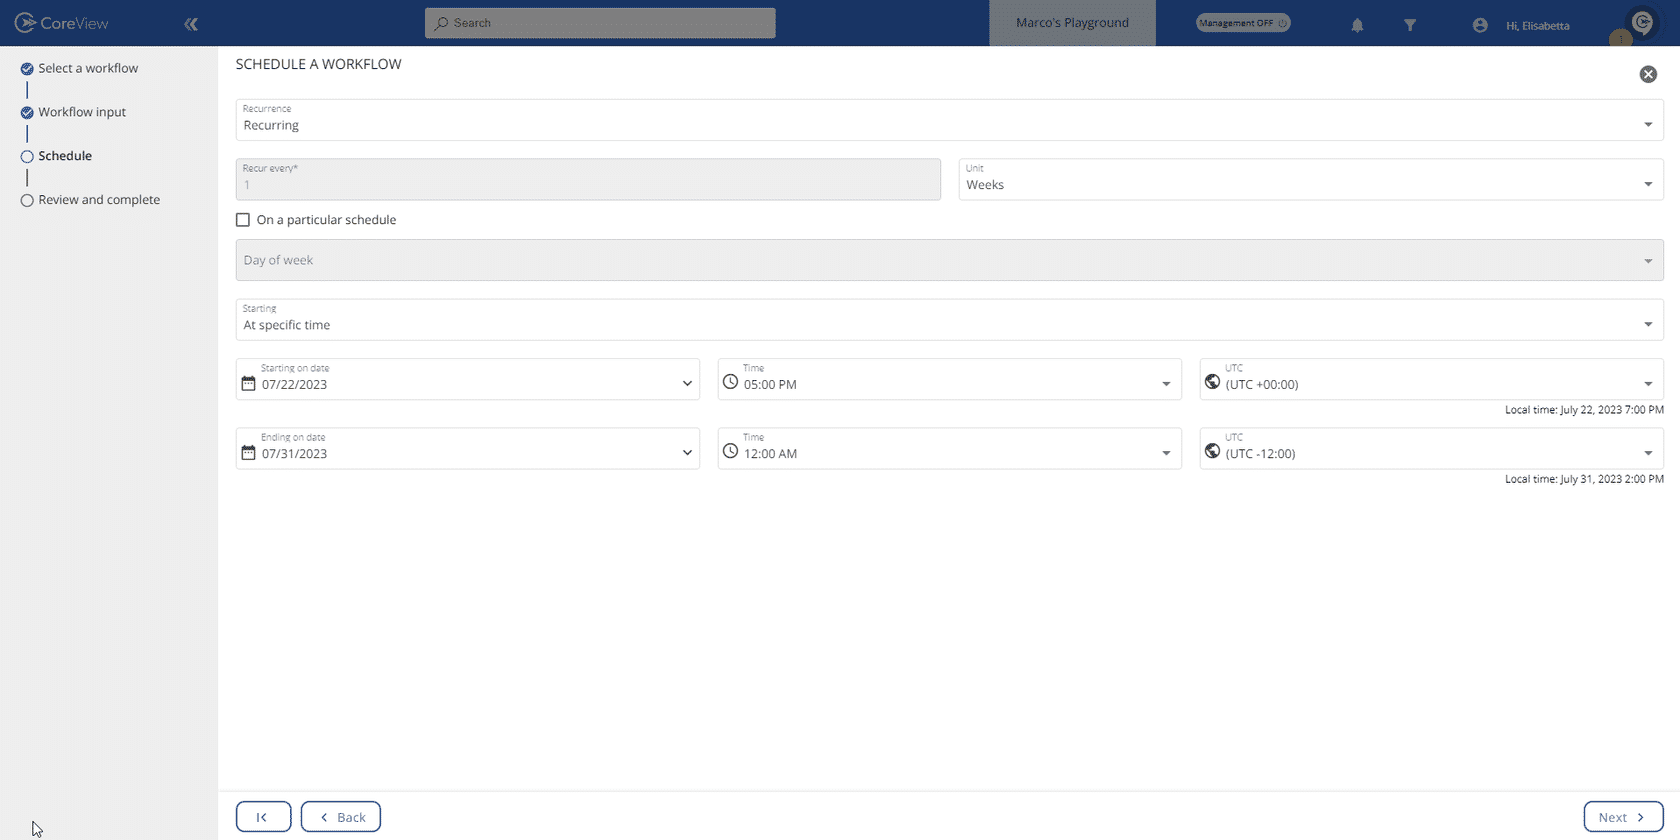
Specify how often you want the Workflow to run (e.g., daily, weekly). Advance by clicking “Next”.
Step 5: review and confirm
Double-check all settings on the review page. When ready, click “Submit” to activate your schedule.
Notes
- Each row in the CSV will trigger a separate Workflow execution with a unique ID.
- After execution, the CSV file will be replaced with a new one containing an aggregation ID for batch tracking.