You can tailor the schedule settings for any audit report individually. This functionality offers customization options, allowing you to set specific schedule settings for any report and ensuring that the reports align with the needs of different users or teams. Once the report has been scheduled, it will be available in your “Scheduled” reports.
How to access the scheduling functionality
The scheduling functionality can be accessed differently depending on the report section:
- Generally, it can be accessed from the “Actions” command above the report, at the far right of the screen.

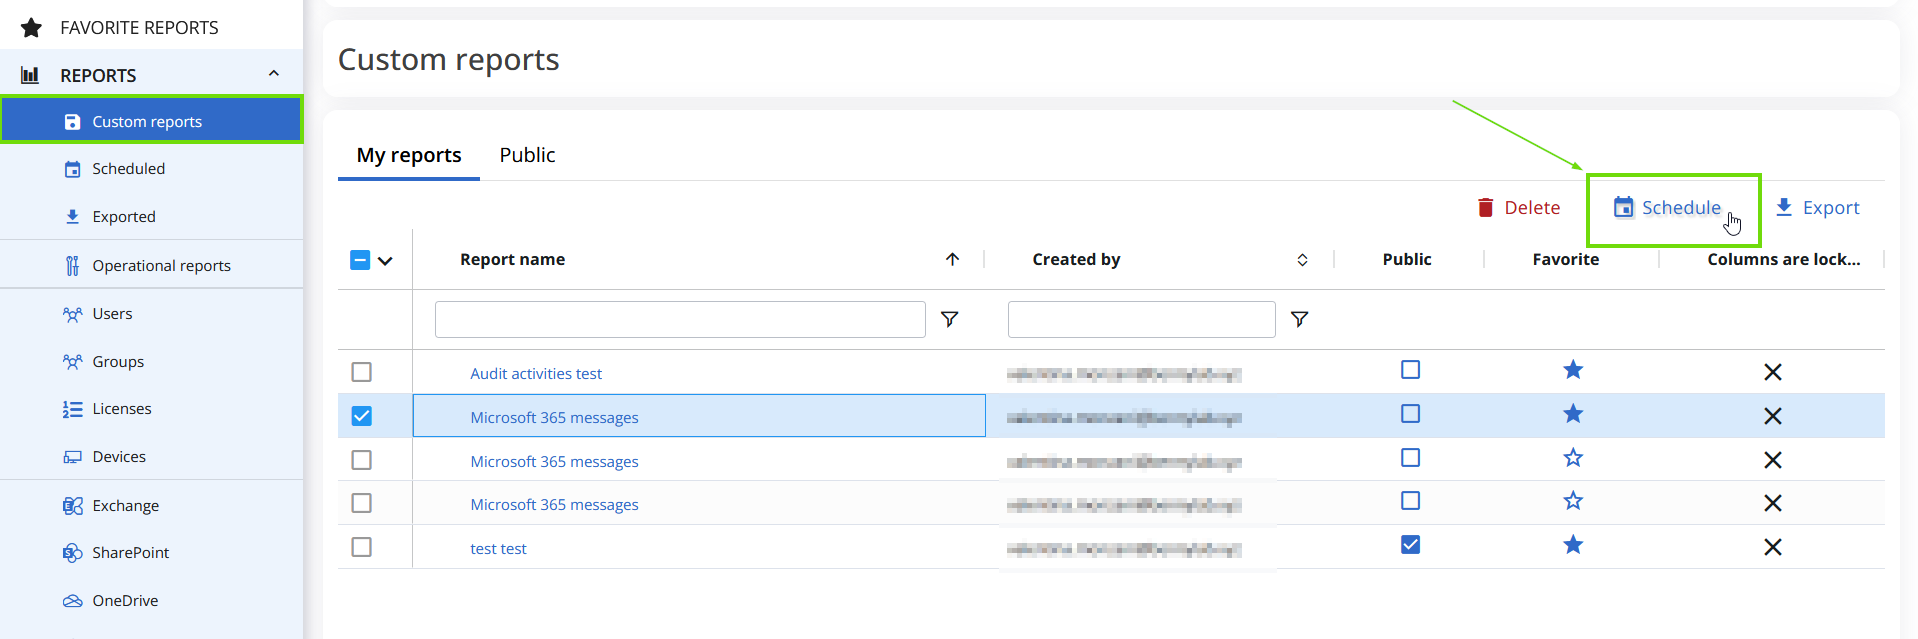
- From custom reports, click on the report in the “Custom reports” section to make the “Schedule” option appear.
Schedule settings
In both instances, click “Schedule” to open the “Schedule settings” page (as shown below), where you can define the following parameters:
Conditions: you can decide when to send the report based on certain conditions. These include:
- “Always”: this setting is used if you always want to be notified.
- “Is empty”: this setting is used if you want to be notified only if CoreView has not detected items matching your criteria.
- “Is not empty”: this setting is used if you want to be notified only if CoreView has detected items matching your criteria.
Recurrence: you can decide whether to send the report only once or make it recurring.
Starting time: if you want to send the report on a particular schedule, you can check the checkbox next to “Starting”. This enables you to specify the time the report should be sent. Options include:
- “Now”: the report is sent immediately.
- “Specific Date and Time”: you can select a specific date from the calendar, specify the start and end times, and select the time zone. This ensures the report is sent at exactly the right time, no matter where recipients are located.

Subscription settings
In addition to these schedule settings, you can also adjust subscription settings, including:
- Email text comment.
- Report format.
- Subscribed users' email addresses.

Review and complete
Now:
- Review details relating to the schedule settings.
- Review details relating to the configure subscription.
- If needed, modify the details by clicking on the “Edit” text and pencil icon on the right.

The report will now appear in your scheduled reports.