Using Conditional Access to grant access only inside the chosen data center is crucial to mitigate potential risks. This ensures that CoreView accounts cannot be used outside of the data center and remain secure. It's recommended to implement this step along with disabling MFA for service accounts.
Requirement: This process requires an Azure Active Directory Premium P1 or P2 subscription.
Exclude CoreView service accounts from existing policies
Step 1
Login to Azure portal as an Administrator.
Step 2
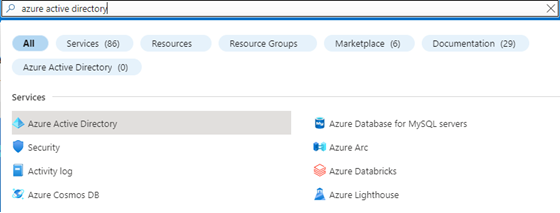
Open the Azure Active Directory blade.
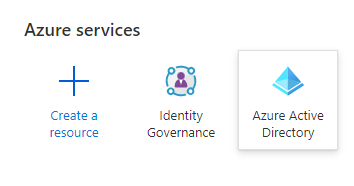
Note: If the Azure Active Directory is not present among the recently used Azure services or in the dashboard, search for it in the search bar at the top of the Azure Web Portal or click on more services.
Step 3
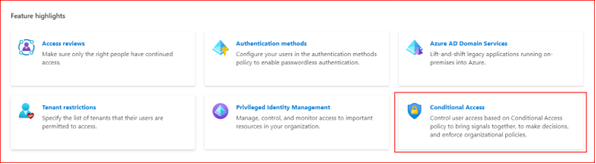
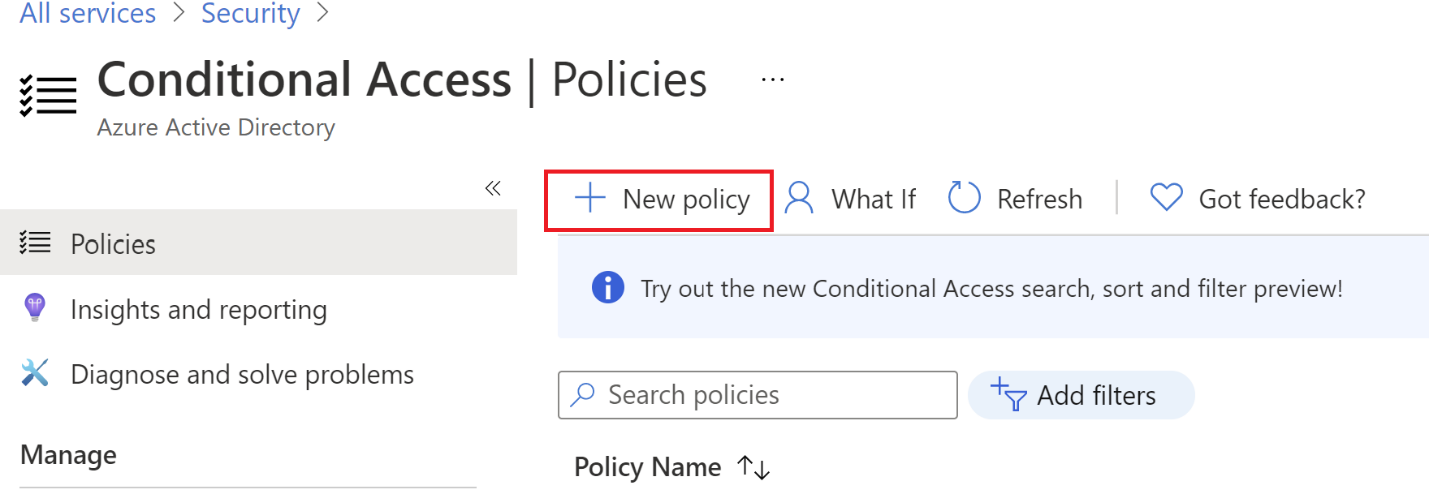
Click on the Security menu and then on “Conditional Access”:
The “Conditional Access – Policies” menu will be opened:
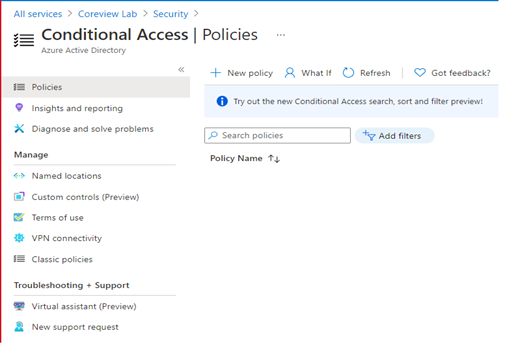
- If you have a policy that enforces MFA on the admin accounts, you must exclude CoreView service user accounts from it (see instructions from step 5 to 8).
- If you do not have a conditional access policy that enforces MFA on the admin accounts, please go to the step 9 below.
Step 5
Click on the policy name to open its details. Click on Users and Groups under Assignment, then the Exclude tab on the right side.
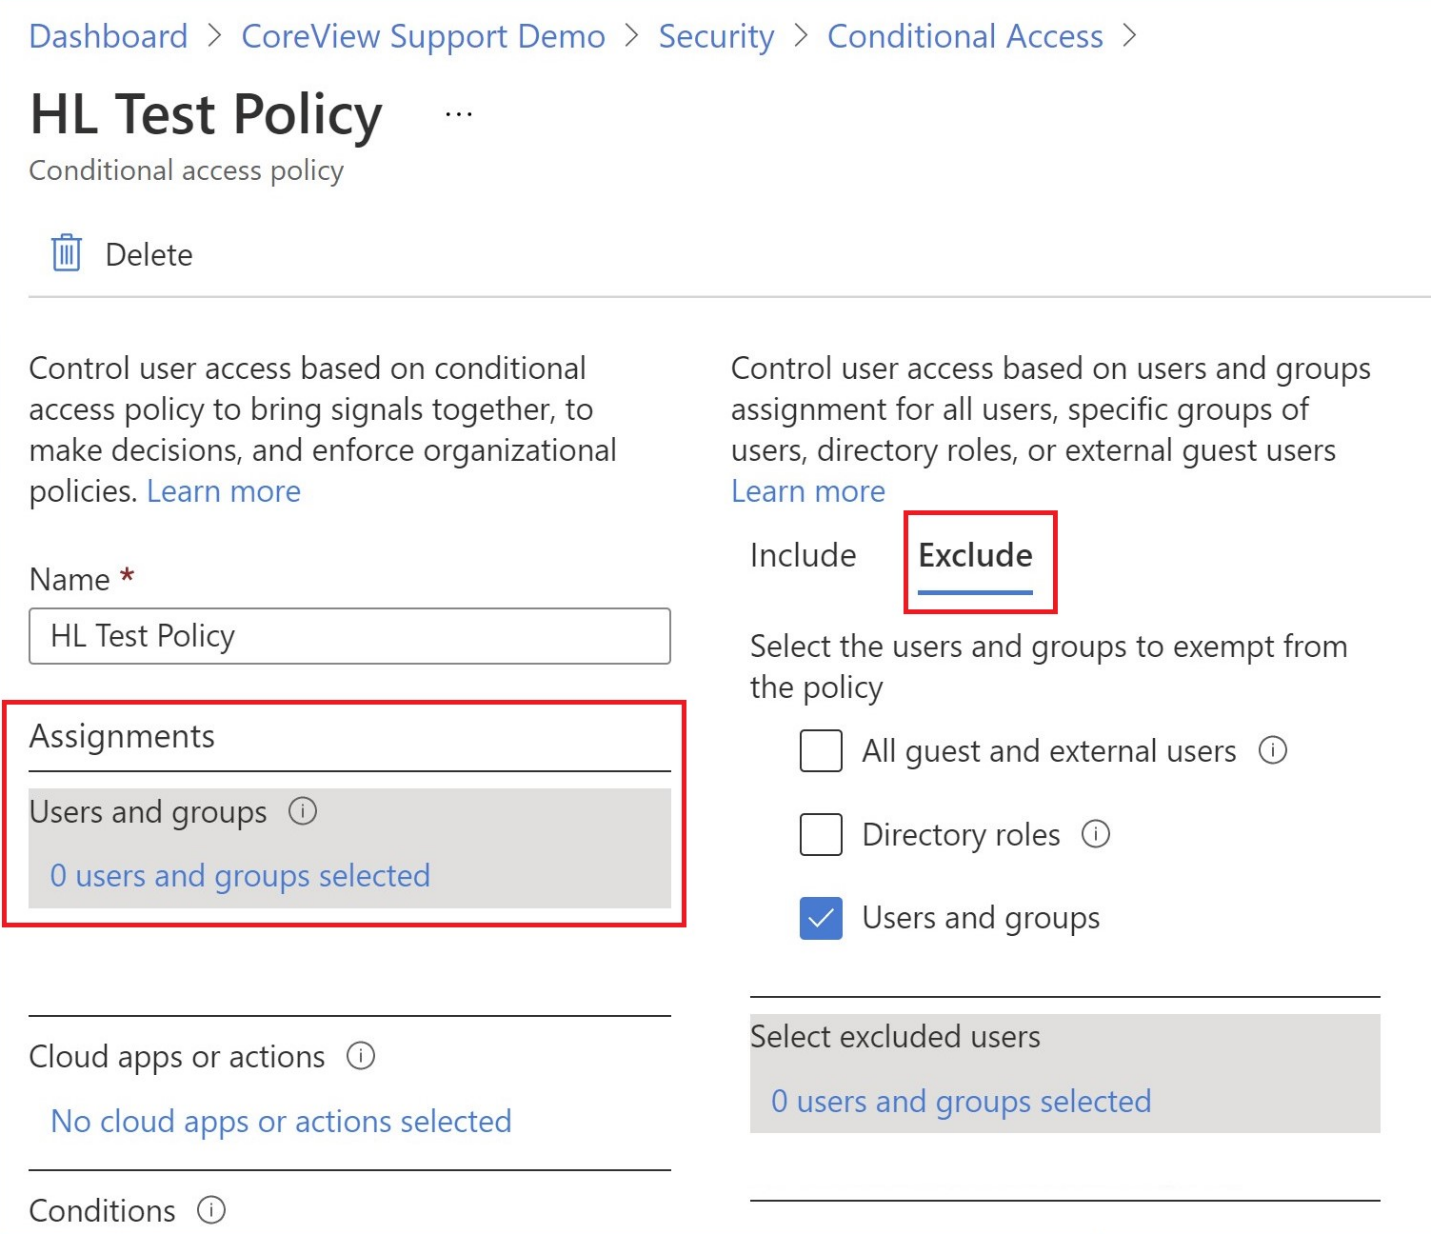
Step 6
Check the box for “Users and Groups”. Then in the “Select excluded users’ panel”, search for the CoreView service user(s).
Note: The number of service users depends on the size of your tenant.
If you require the naming rules for the service accounts, please consult your Technical Account Manager or reach out to Support.
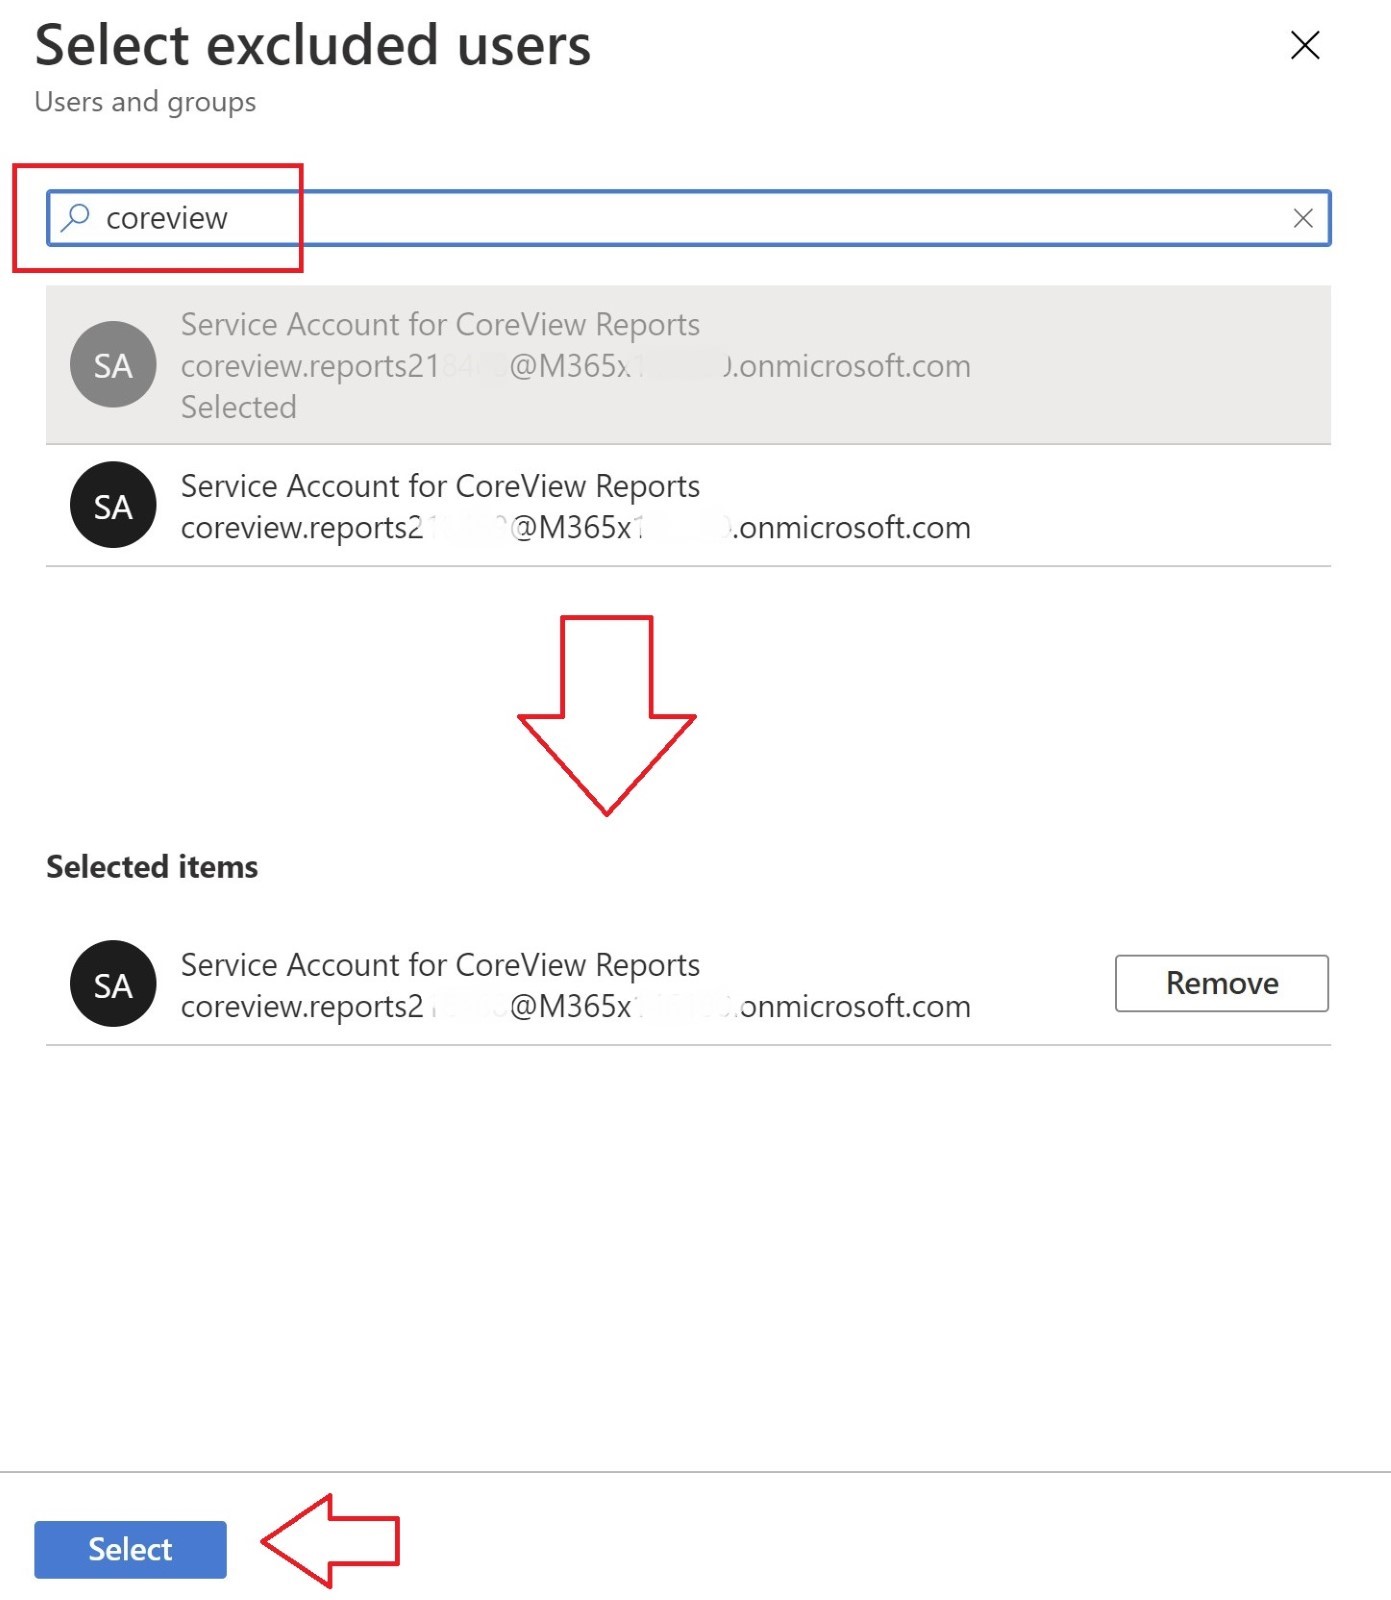
Step 7
Click on a user account to select it, and it will appear in the Selected items area below the search. Perform this action for all the CoreView service users and press the Select button. The Select excluded users menu will close.
Step 8
Click the Save button on the left side of the window to save your policy changes.
Now we can proceed, and setup allowed IP addresses for those users.
Setup allowed IP addresses for those users
Step 9
Create named location and add IP addresses. A new Named Location must be created. Select Named locations under the Manage section and click on + IP ranges location.
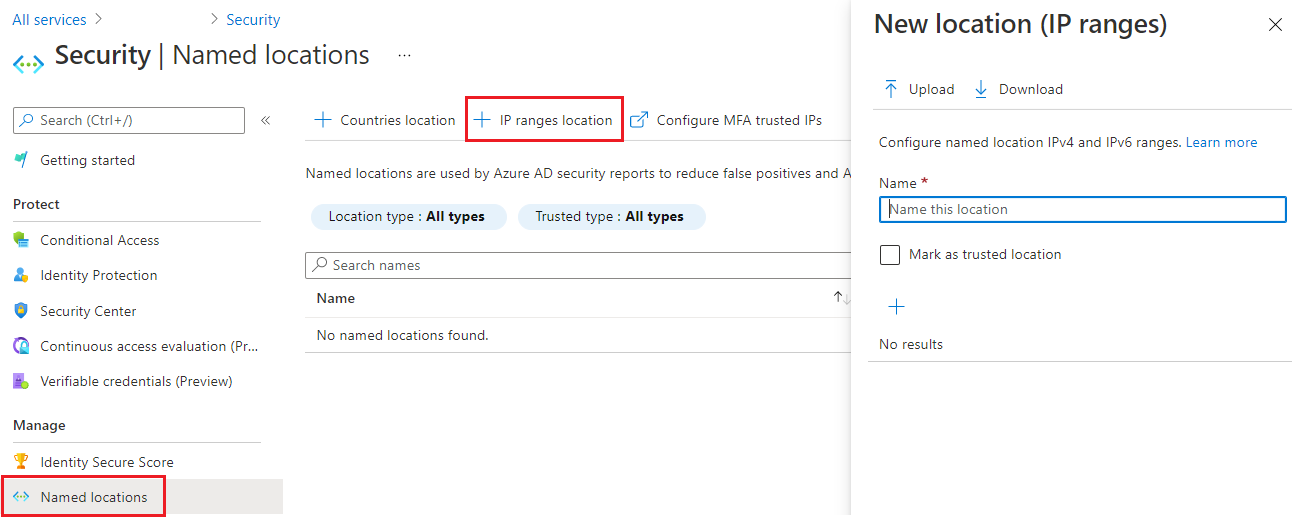
Step 10
Insert the name for the location (Recommended: CoreView <region form> Platform IPs) and all IP addresses with the subnets in the table below. Once the list is complete, click “Create“.
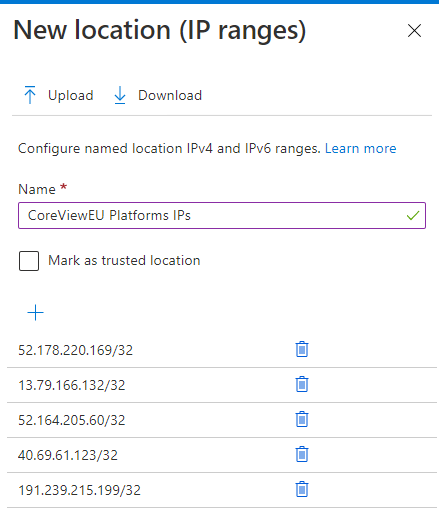
Note: We have used the European data center’s IP addresses for this example.
Please refer to the following table for the current list of trusted CoreView Data Center IP Addresses, below. Note: you can check the “Mark as trusted location” for a lower user sign-in risk.
Data centers and IPs
| Europe: North Europe - Ireland |
|
| US: East US - Virginia |
|
| Canada: Canada East - Quebec |
|
| Government: US Gov Virginia - Virginia |
|
| Australia: Australia East - New South Wales |
|
Create a new policy for CoreView service accounts
Step 11
Create a new policy for CoreView service accounts. A new policy must be created. Select Policy and click on New Policy.
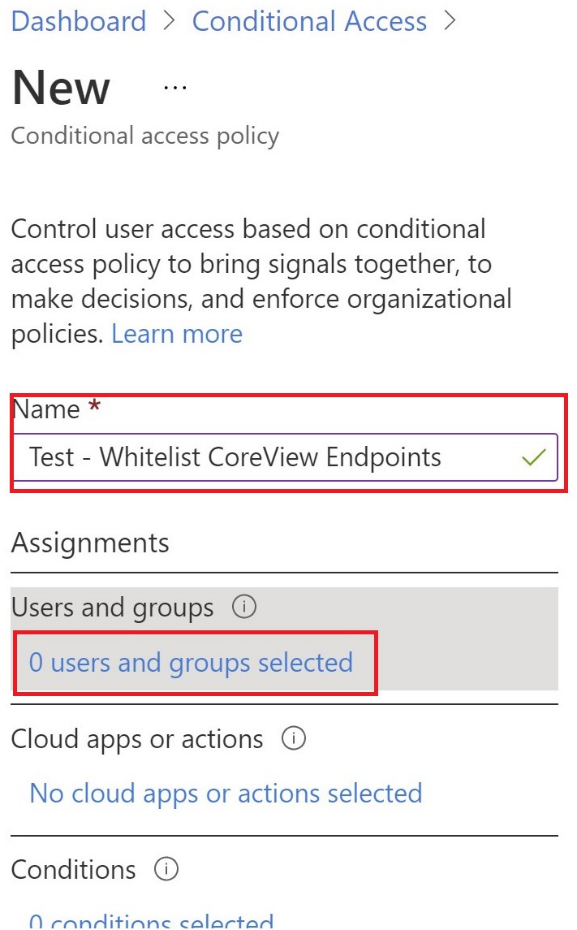
Step 12
Insert the new Policy. Insert the name of the policy (Example: Safelist CoreView endpoints) and add all CoreView service users and cloud applications. To do that, make edits to the areas under Assignments.
First click on Users and groups.
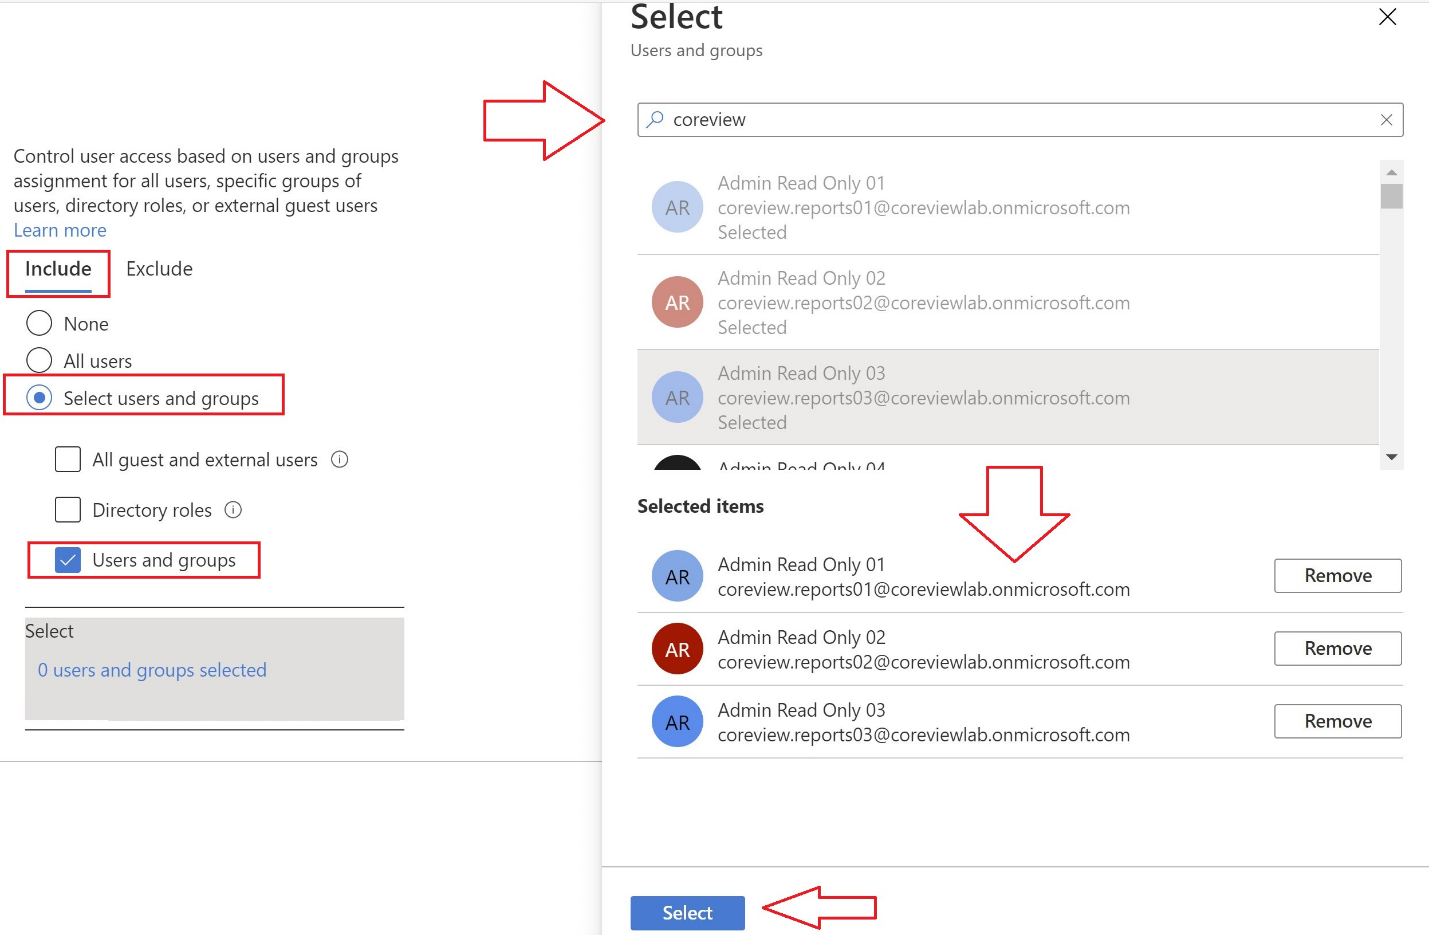
In the “Include” tab select “Users and groups” and press on “Select.” From the select bar search for all CoreView service users and add them as the policy members. Note: The number of service users depends on the size of your tenant. The rules for the names are:
cvroa<randomicnumber>@<onmicrosoft domain>
coreview.reports<randomicnumber>@<onmicrosoft domain>
4ward365.admin@<onmicrosoft domain>
Press the “Select” button to select the users for the policy.
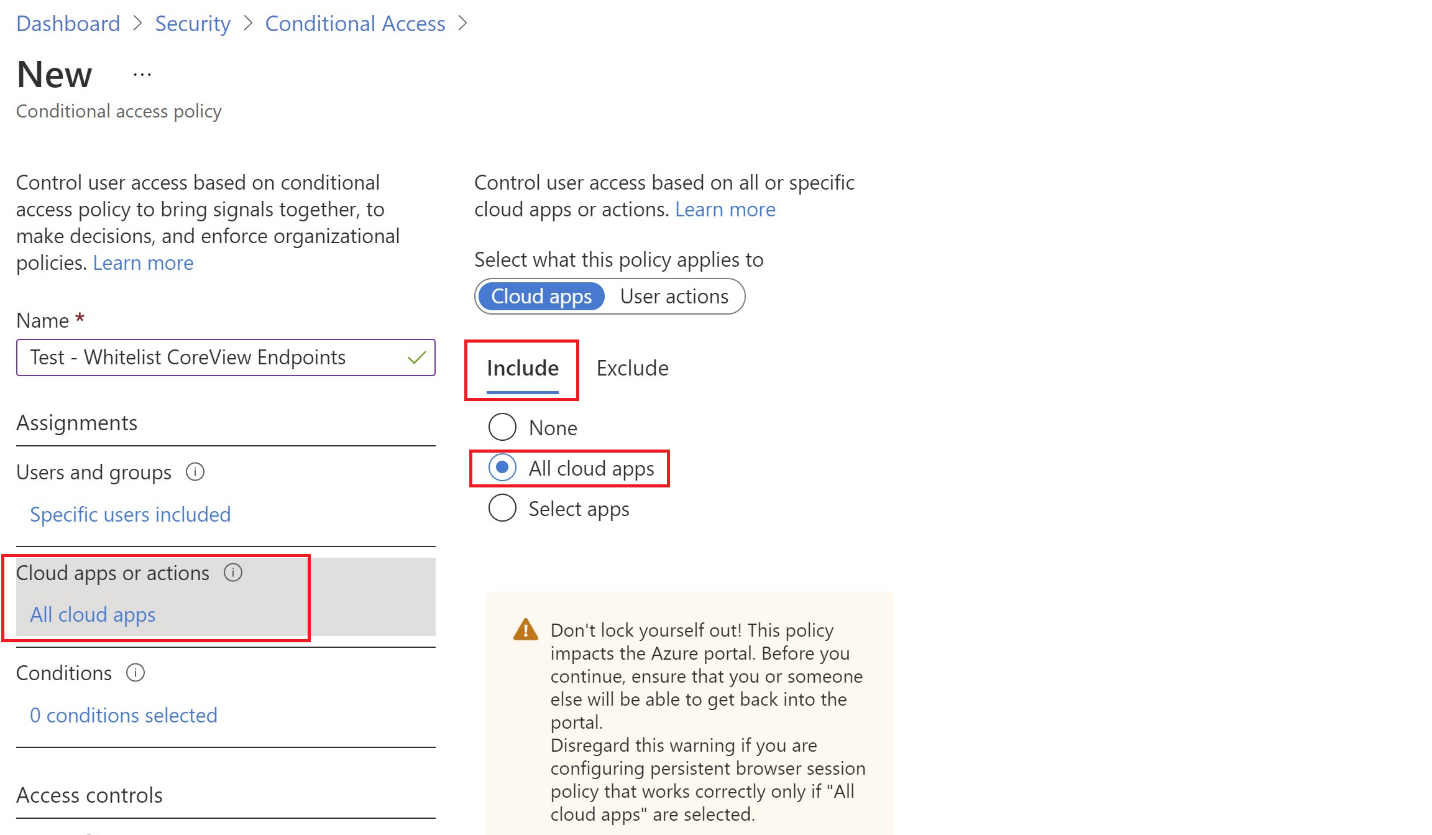
In the “Cloud apps or actions” section, click on “No cloud apps or actions selected”. Choose “All cloud apps” in the “Include” tab as shown in the screenshot. “No cloud apps or actions selected” will change to say “All cloud apps“.
In the Conditions section, you must include all locations and exclude the location created previously, so click on 0 conditions selected and then Locations. Set the Configure toggle to Yes.
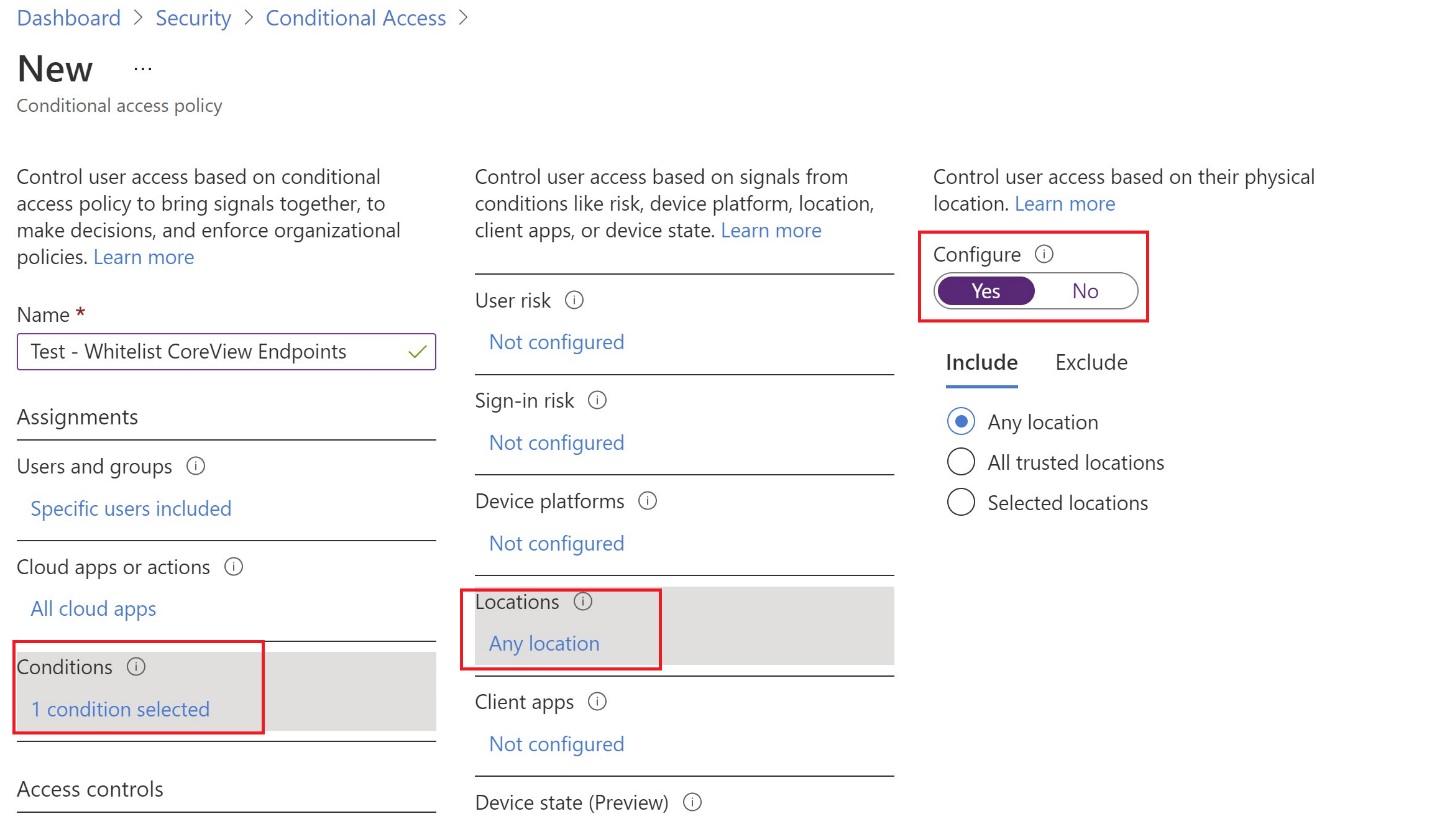
In the Include tab of the Locations section, set Any location as shown in the screenshot above.
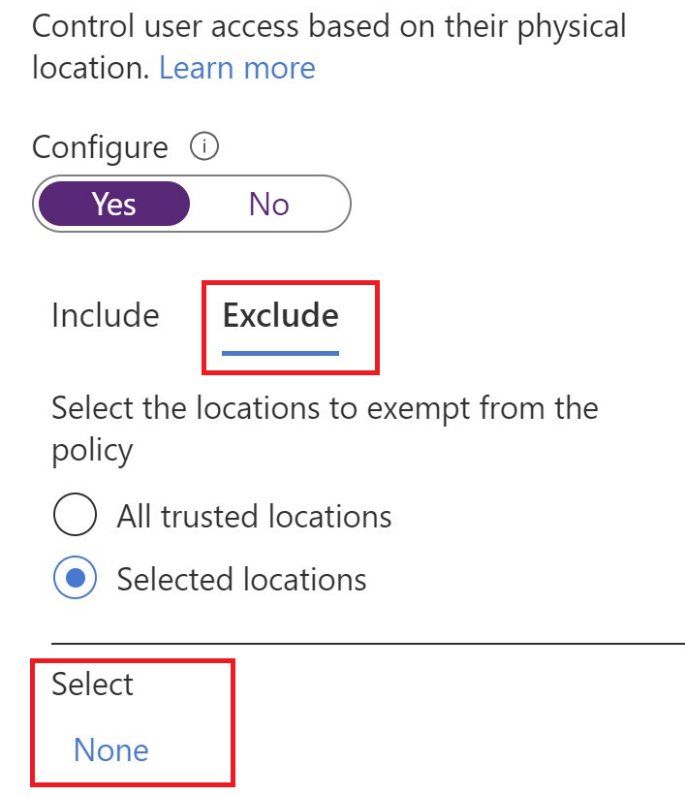
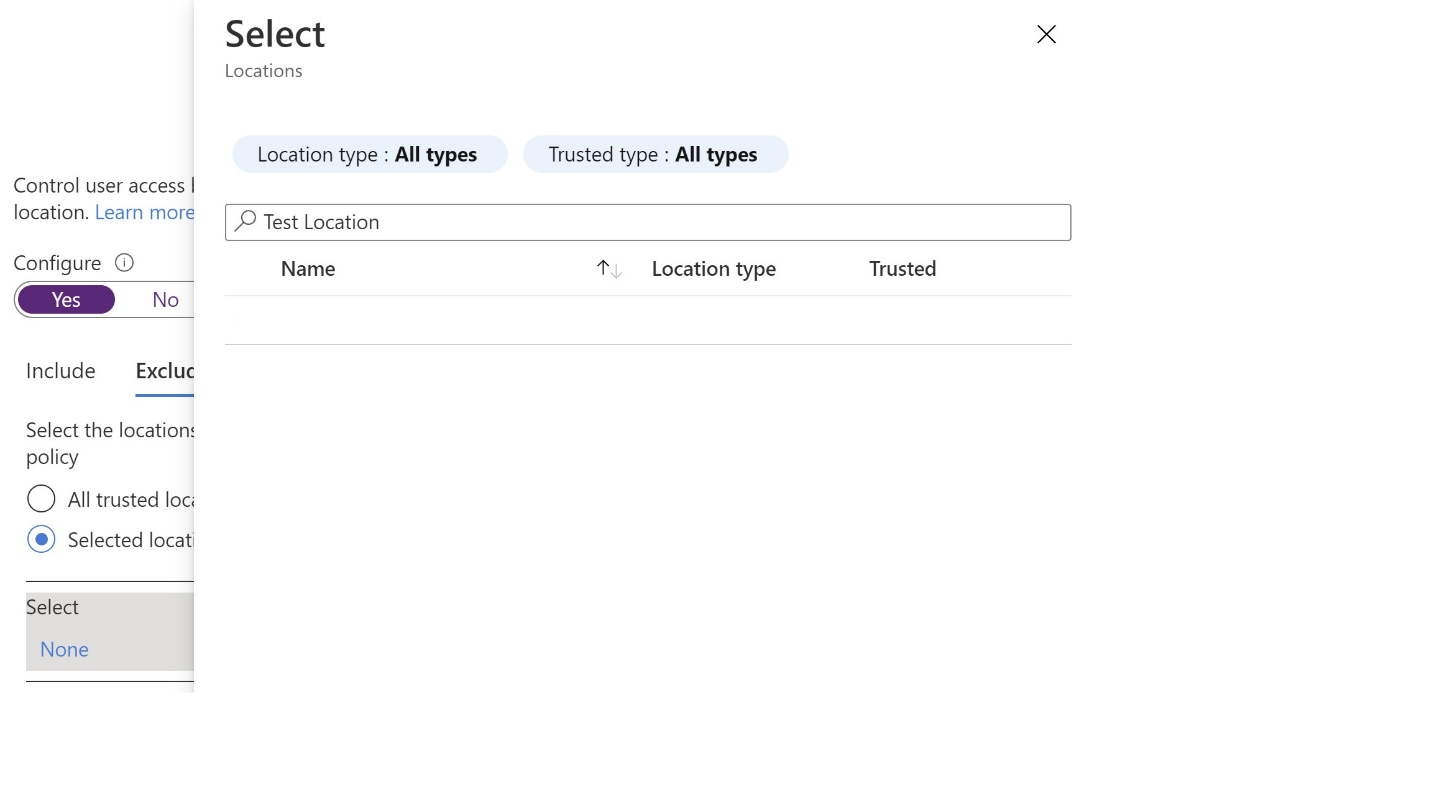
In the Exclude tab of the Locations section, ensure that Selected locations is selected, then click on None. Search for the location created previously to set it to be excluded.
Check the location and press Select.
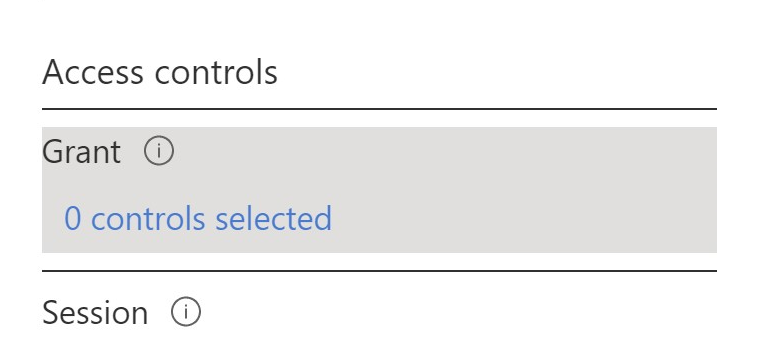
Under the Access Controls section, click 0 controls selected under Grant.
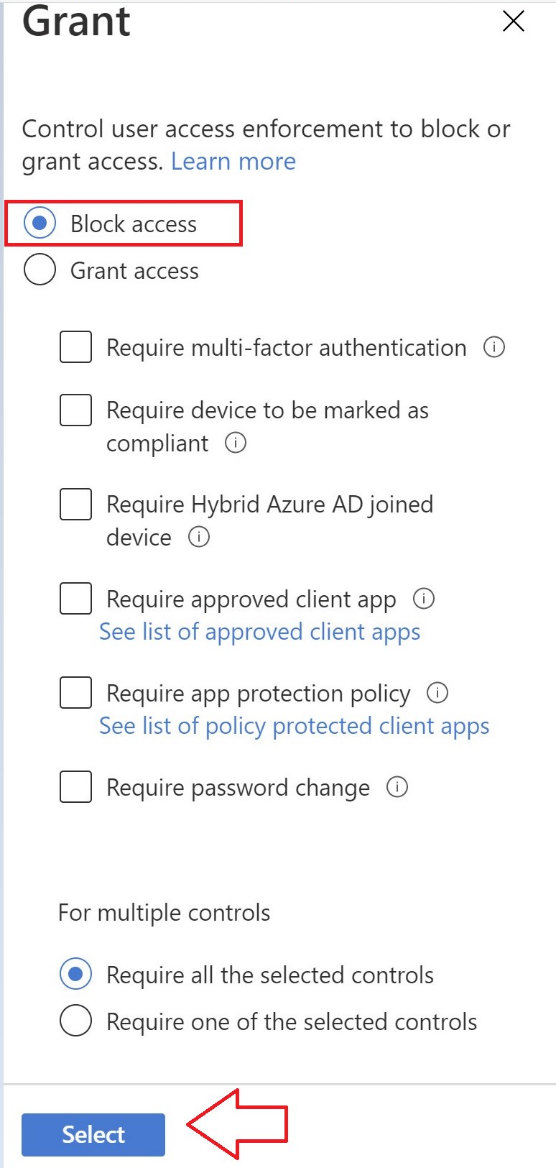
In this step. we recommend blocking the access. Select Block access and press Select.
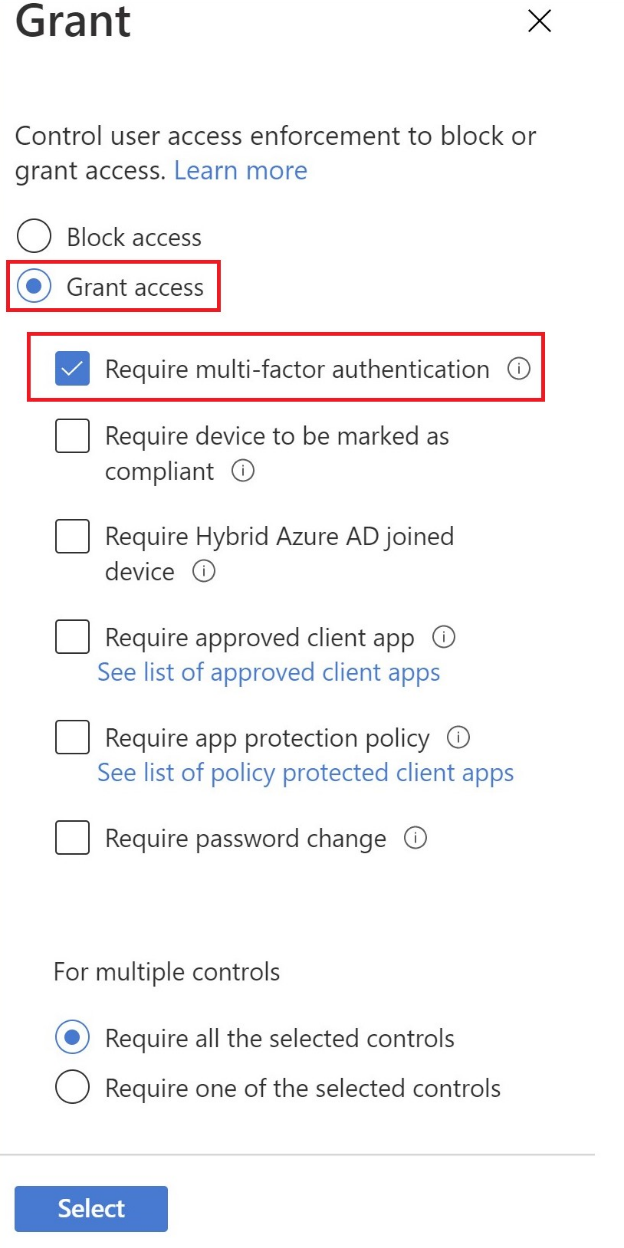
Alternatively, you can enable the Multi-Factor Authentication for CoreView service users from non-excluded IP addresses. To do that choose Grant access in the Grant section and check Require multi-factor authentication:
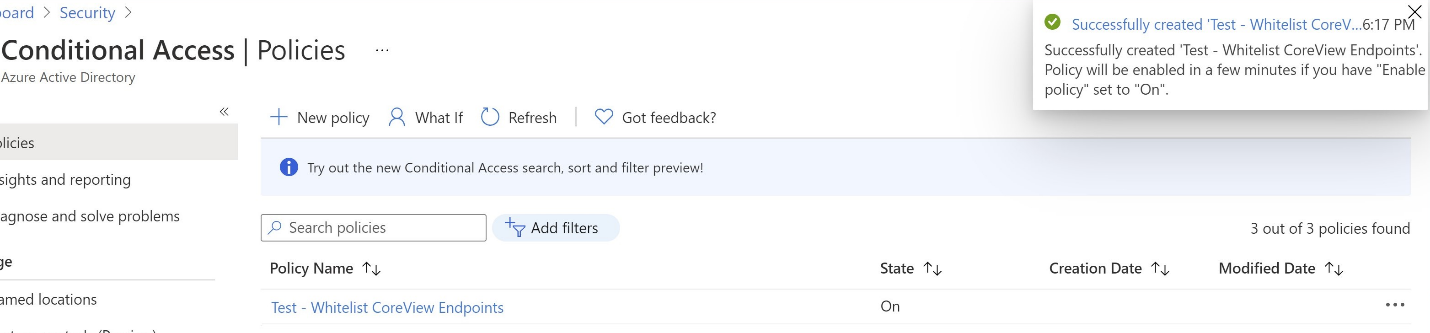
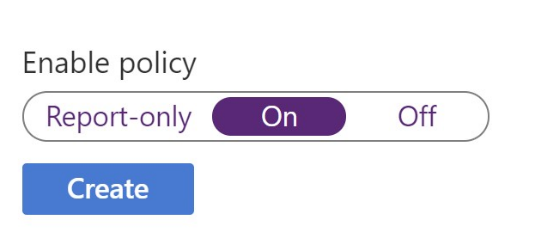
As the last step, enable this policy and click Create.
Now the policy is listed in Conditional Access – Policies