License Pools are not available in the Essentials and Professional solutions but are available as an add-on.
License Pools must be configured prior to using this report.
The License Pools Center provides tools for viewing license allocations, monitoring available licenses in each pool, and updating assignments if necessary. You can choose from several data views to see how licenses are distributed by Pool or by SKU, and adjust allocations directly in the report using in-line editing options. If you try to assign more licenses than are available, the interface will prevent the change and highlight the conflict.
To access License Pools Center, select “Reports > Licenses > License Pool Center” from the side panel menu.
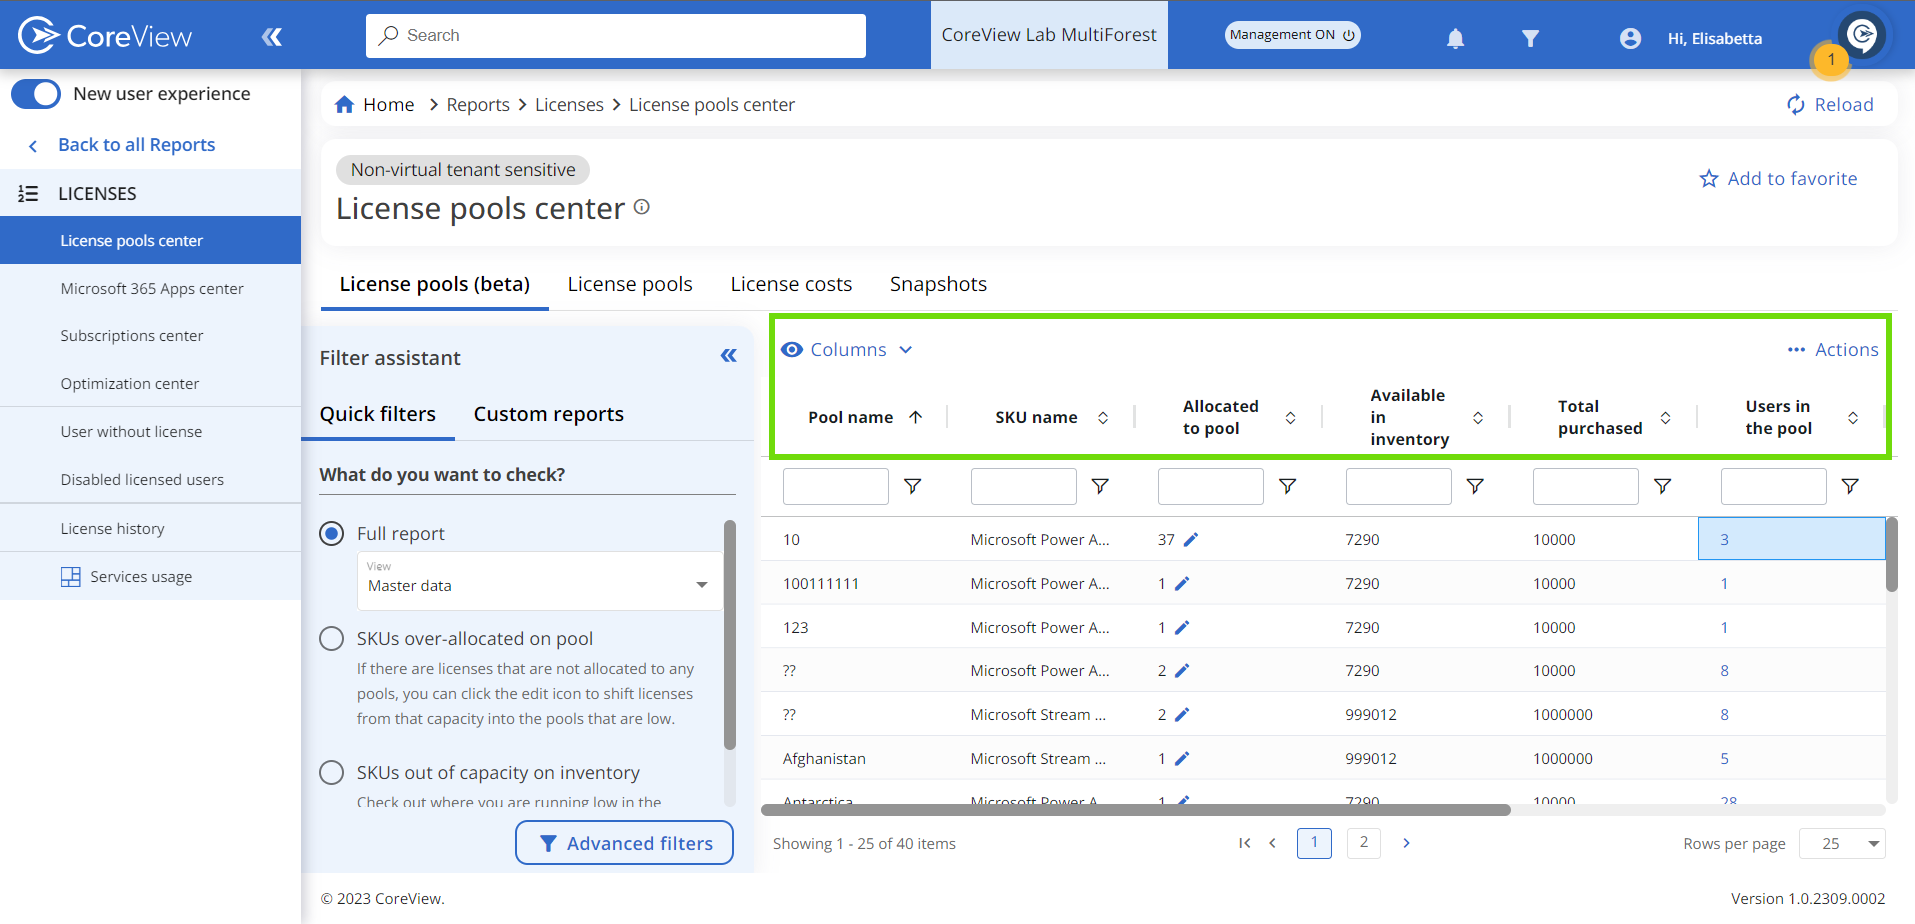
The License Pools tab is also available in report-only mode, which enables scheduling and creation of custom reports. To activate report-only mode, modify the pool configuration settings and select the report-only option. Note: switching between report-only and standard modes can impact your custom report settings.
Filter assistant
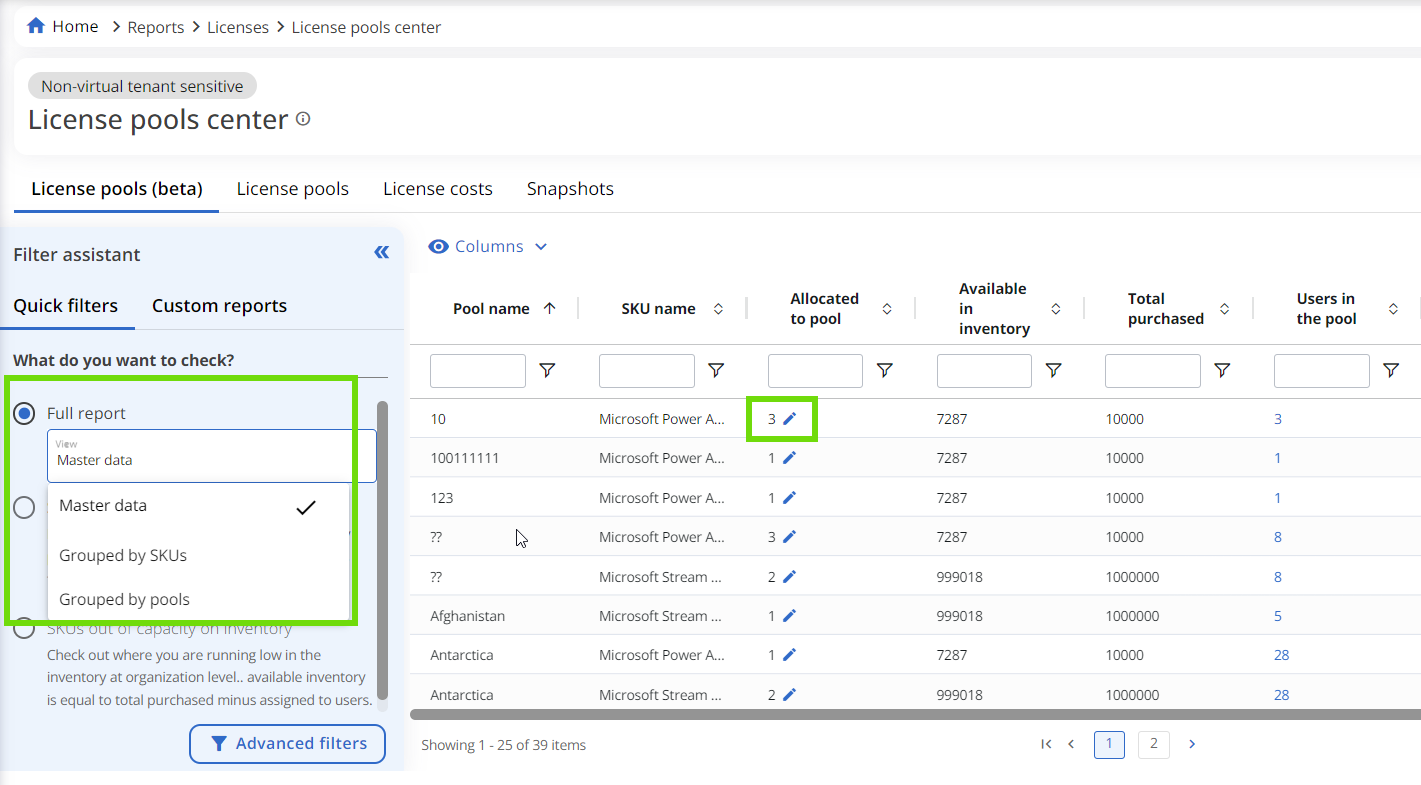
The Filter Assistant provides the following data views:
- Grouped by SKUs: displays SKUs as the primary entry, showing allocations across all Pools.
- Grouped by Pools: displays Pools as the primary entry, showing all SKUs assigned within each Pool.
- Master data: provides a tabular view with one row for each Pool/SKU combination.
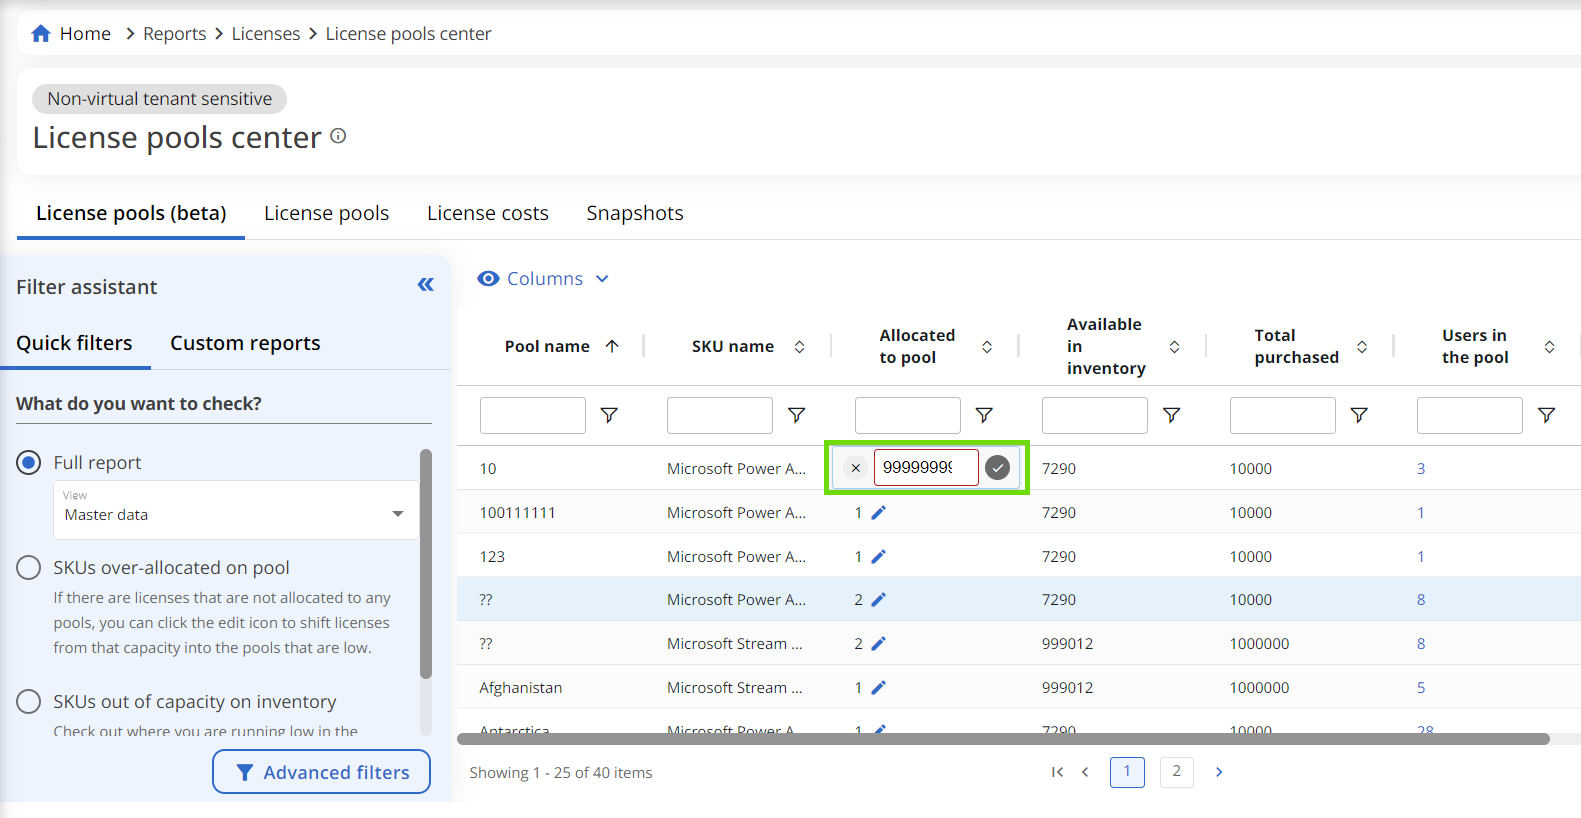
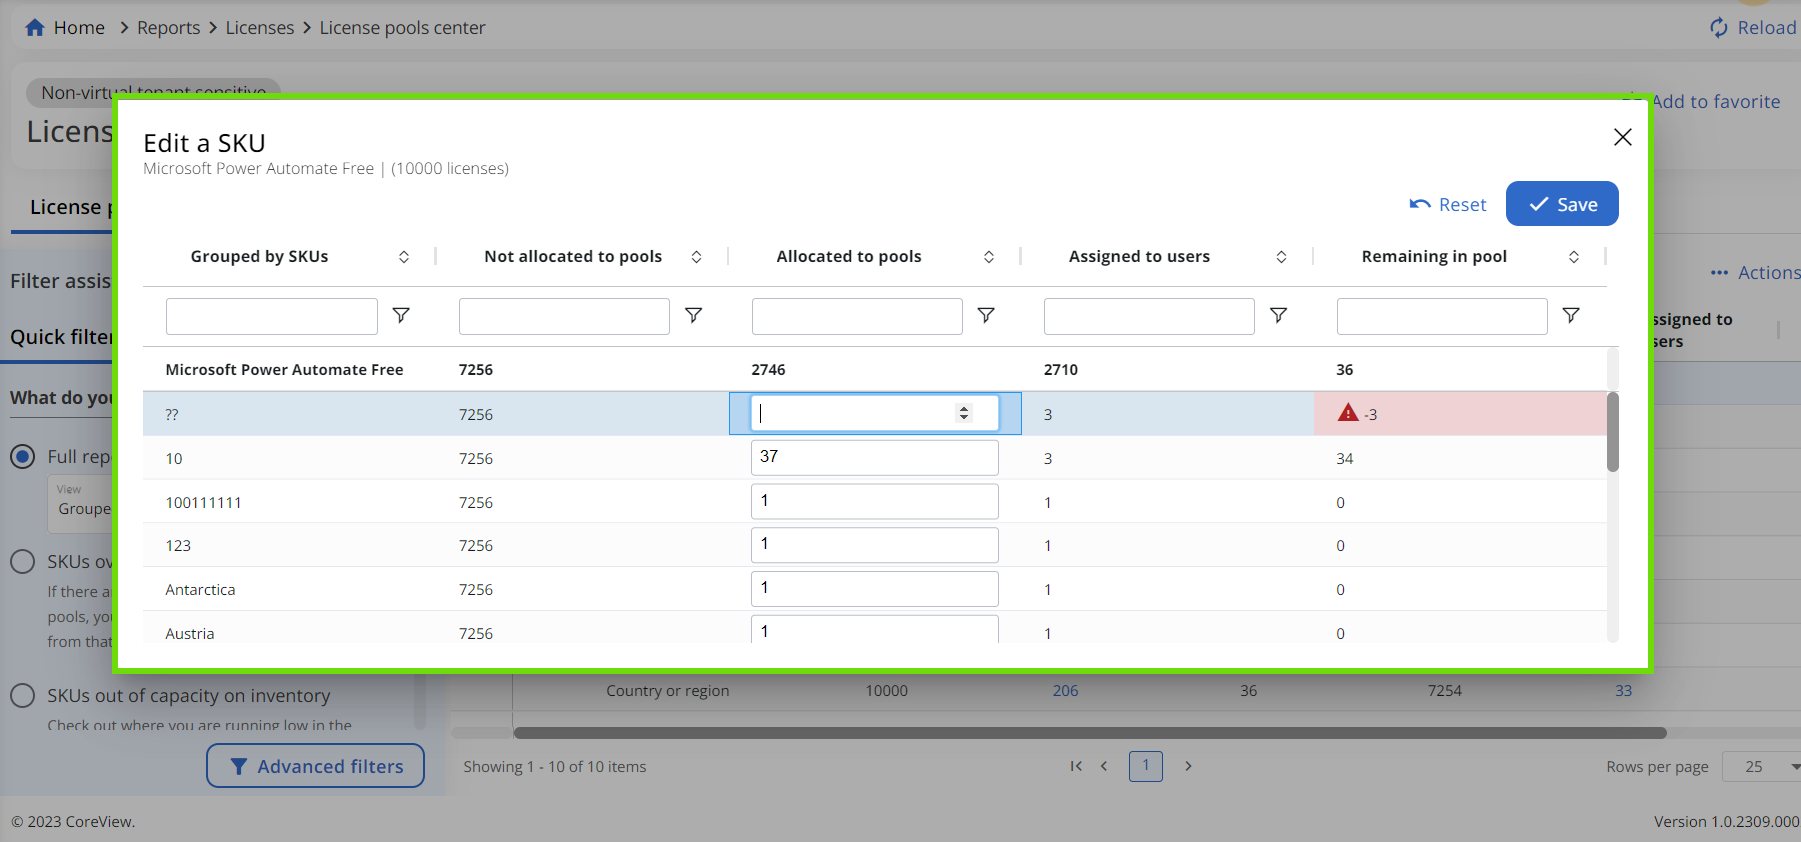
In each view, in-line edits can be used to adjust license allocation. When a value exceeding available capacity is entered, saving is disabled and the input field is visually flagged.
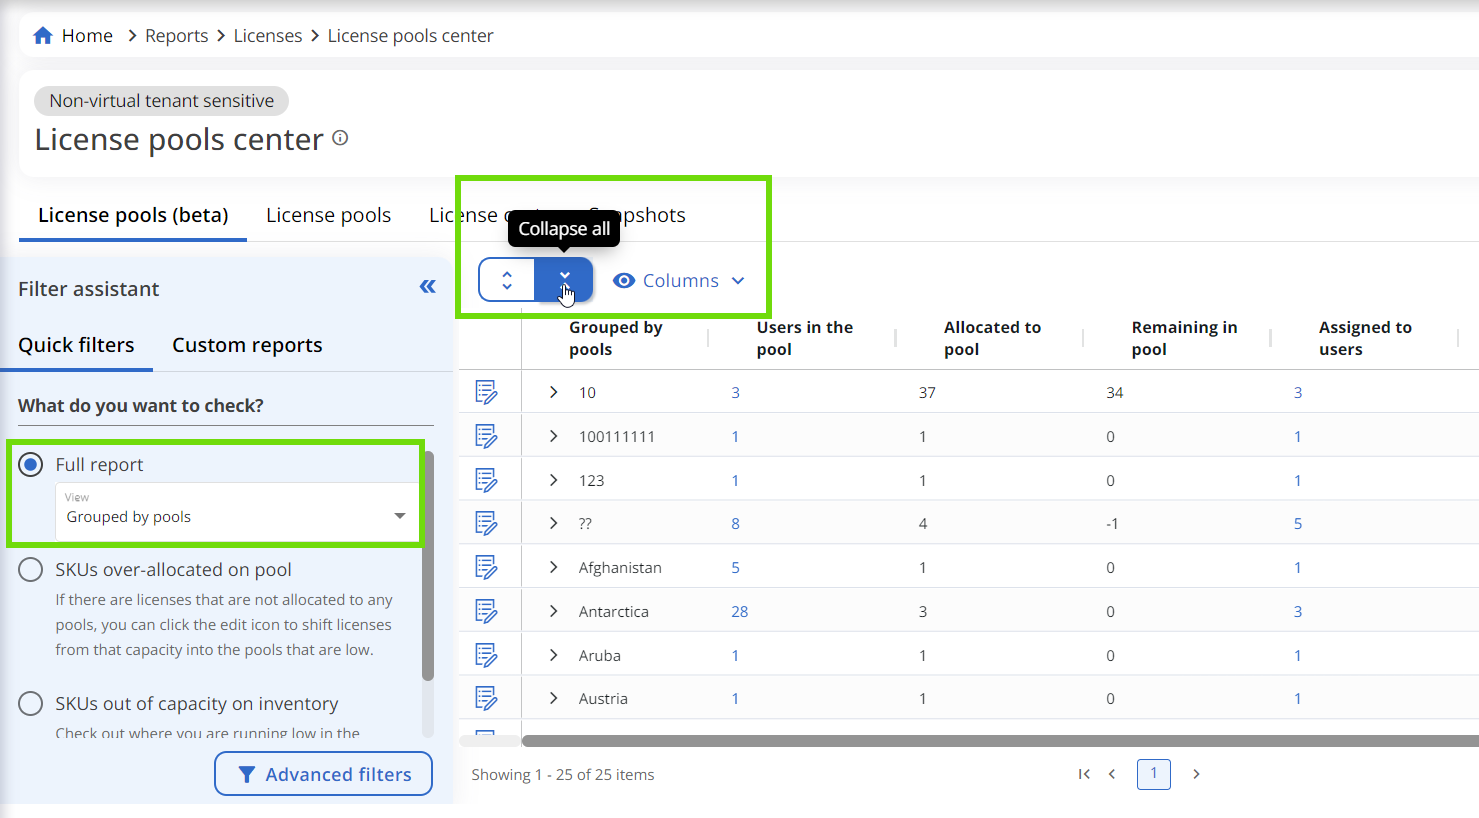
Grouped by Pools
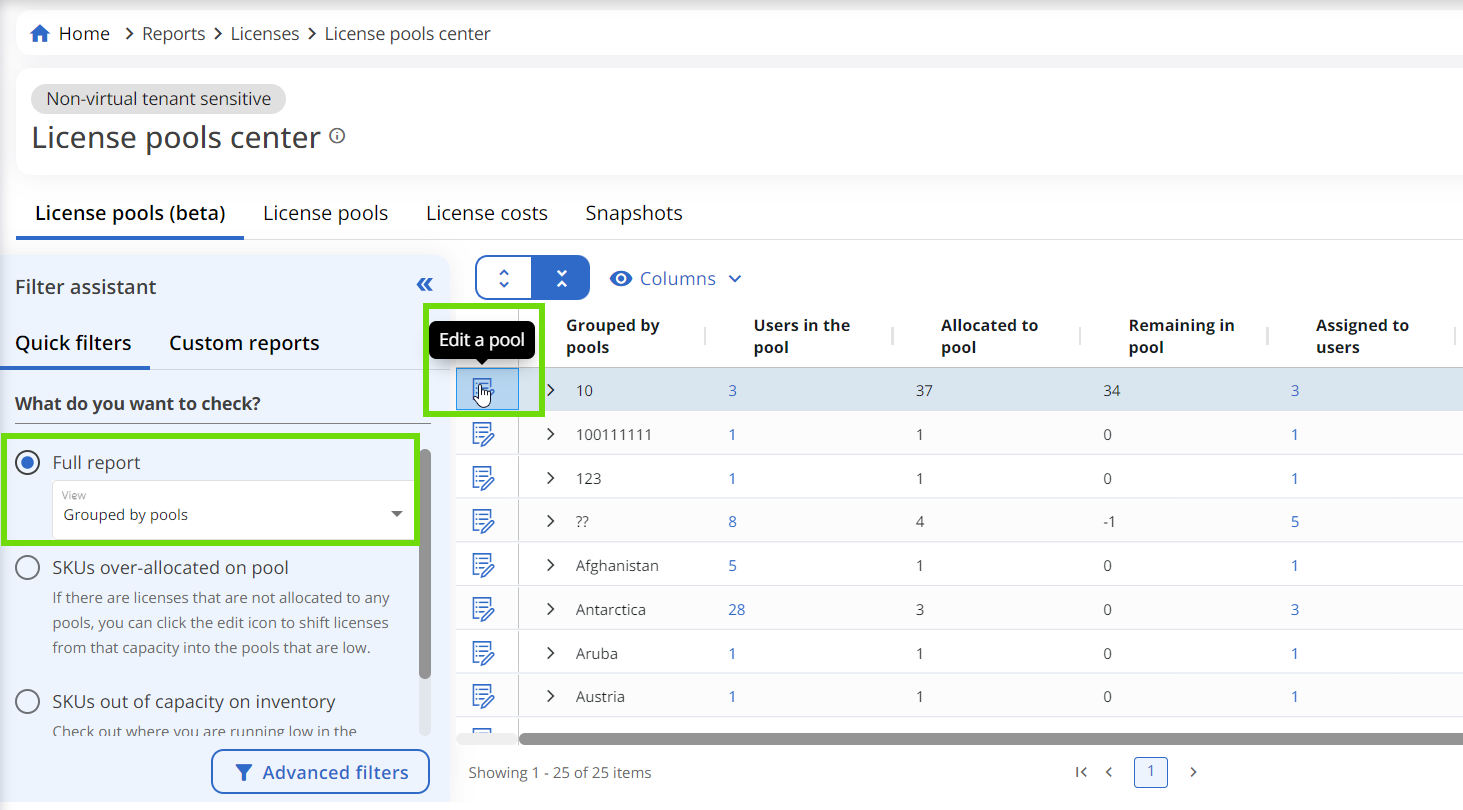
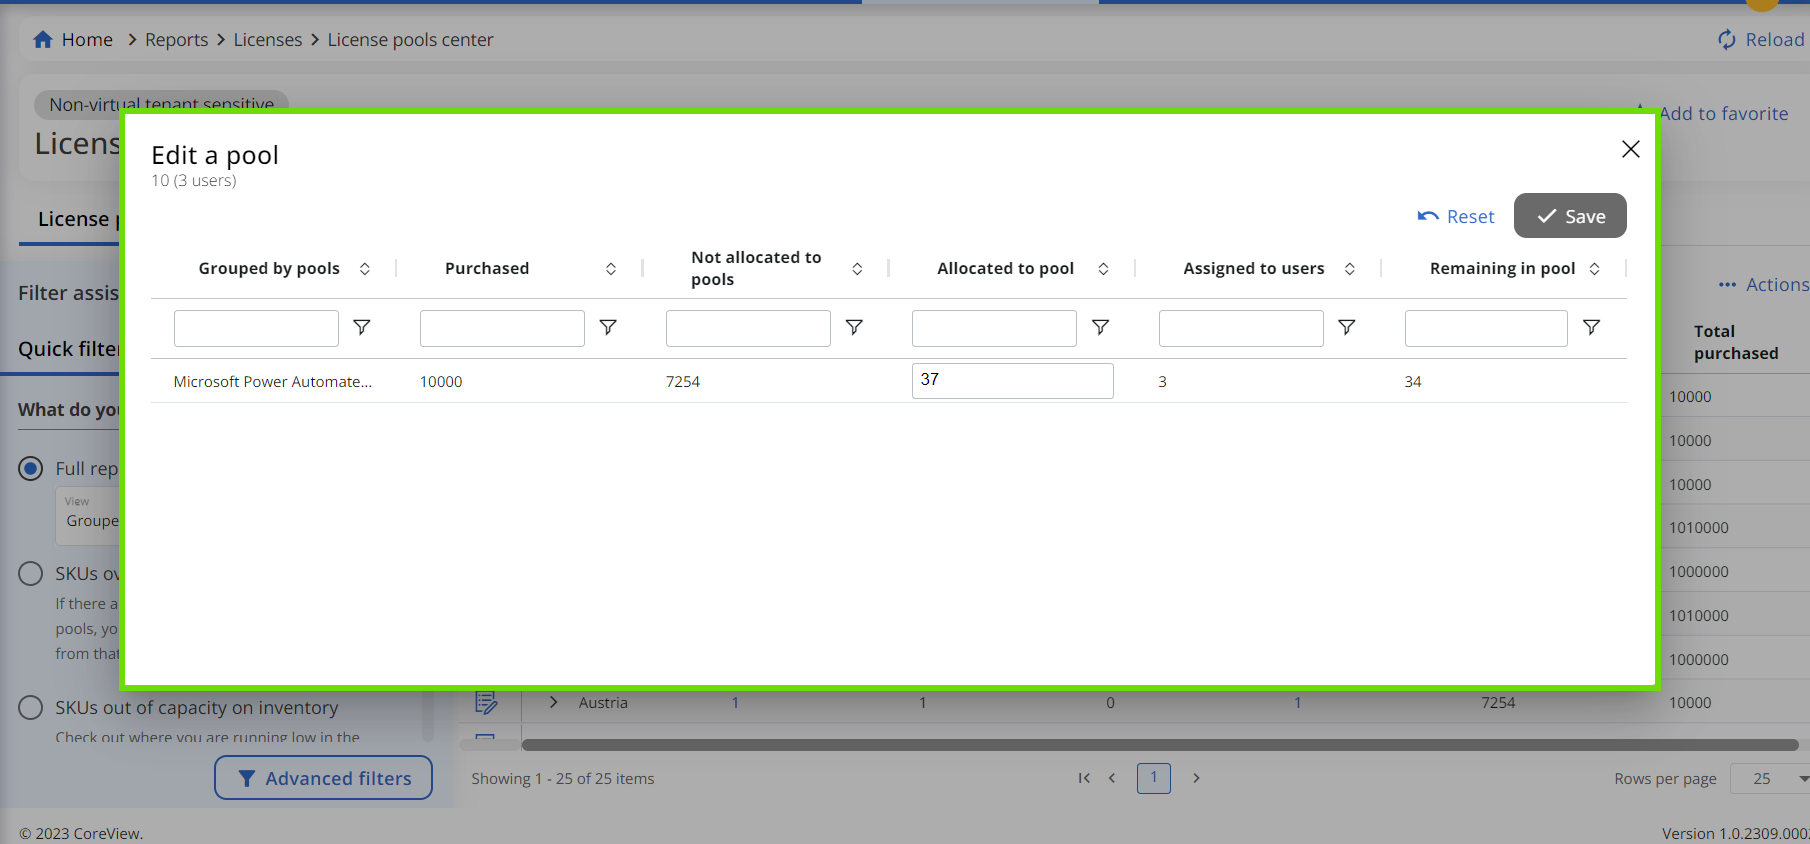
The “Grouped by Pools” view displays License Pool data as a pivot table with each Pool expanded to show assigned SKUs. Users can select “Expand all” or “Collapse all” to change row visibility. The “Edit a Pool” option supports in-line editing for each Pool.
The License Pool Center calculates the total number of assignments by counting each instance of a license assigned to a user that is included in the pool configuration. This means that if a single user holds multiple distinct licenses from the pool, they will be counted once for each license. As a result, the “Assigned to users” count may be higher than the number of unique users shown in reports such as Active Users.
Grouped by SKUs
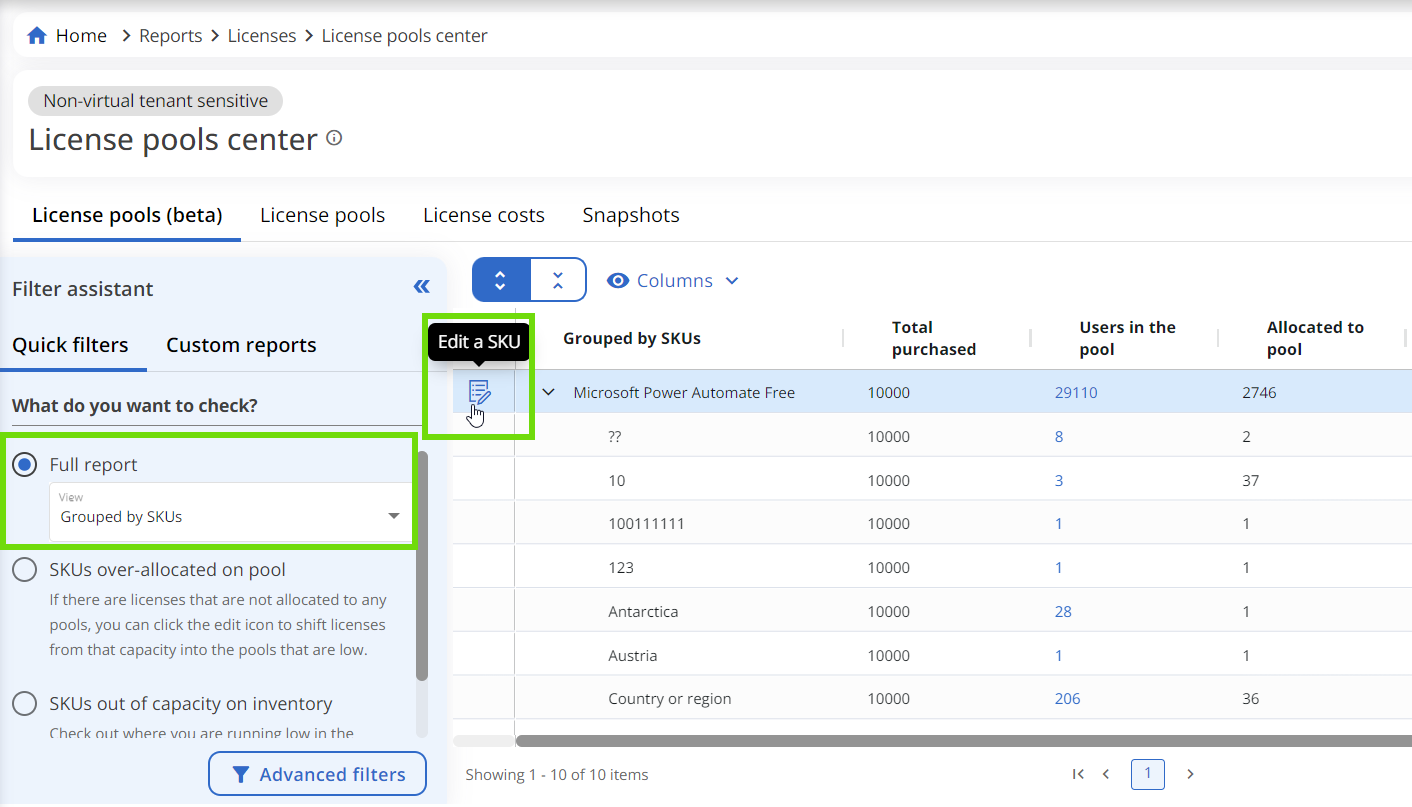
The “Grouped by SKUs” view displays a pivot table describing allocation of each SKU across Pools. The “Edit a SKU” option supports editing allocations for each license across different Pools.
SKUs over-allocated on Pool
The predefined filter “SKUs over-allocated on Pool” isolates Pools where license allocation exceeds available capacity. If licenses were directly assigned in Microsoft, outside of CoreView, these licenses can be brought into Pools as needed using the edit function.
SKUs out of capacity on inventory
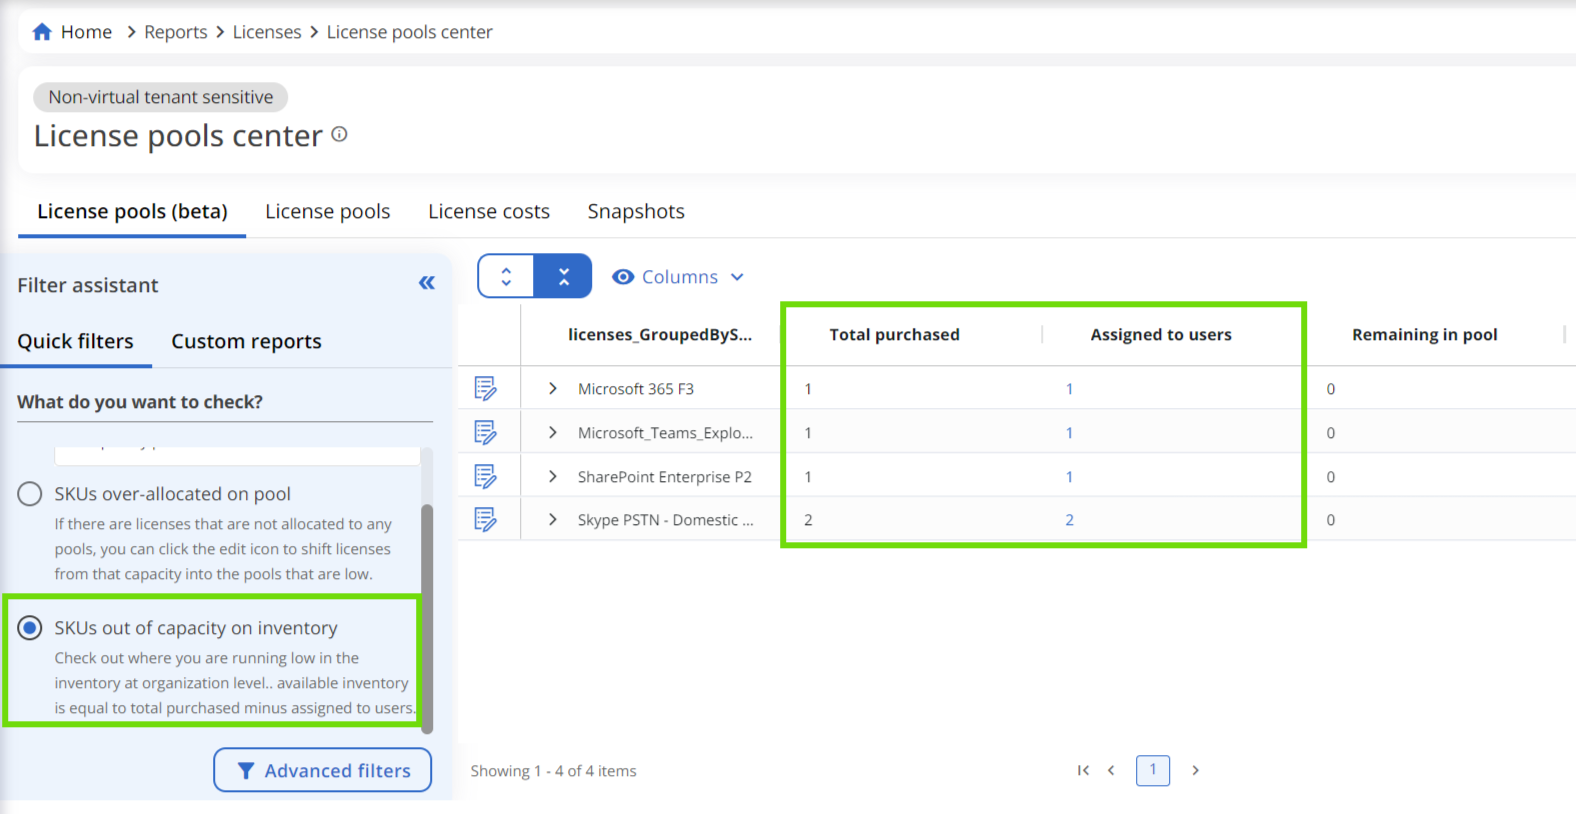
The predefined filter “SKUs out of capacity on inventory” lists Pools or SKUs where the number of available licenses is zero.
Advanced filters
The “Advanced filters” panel contains:
- A toggle to display only allocated SKUs
- The ability to exclude specific licenses from the view.
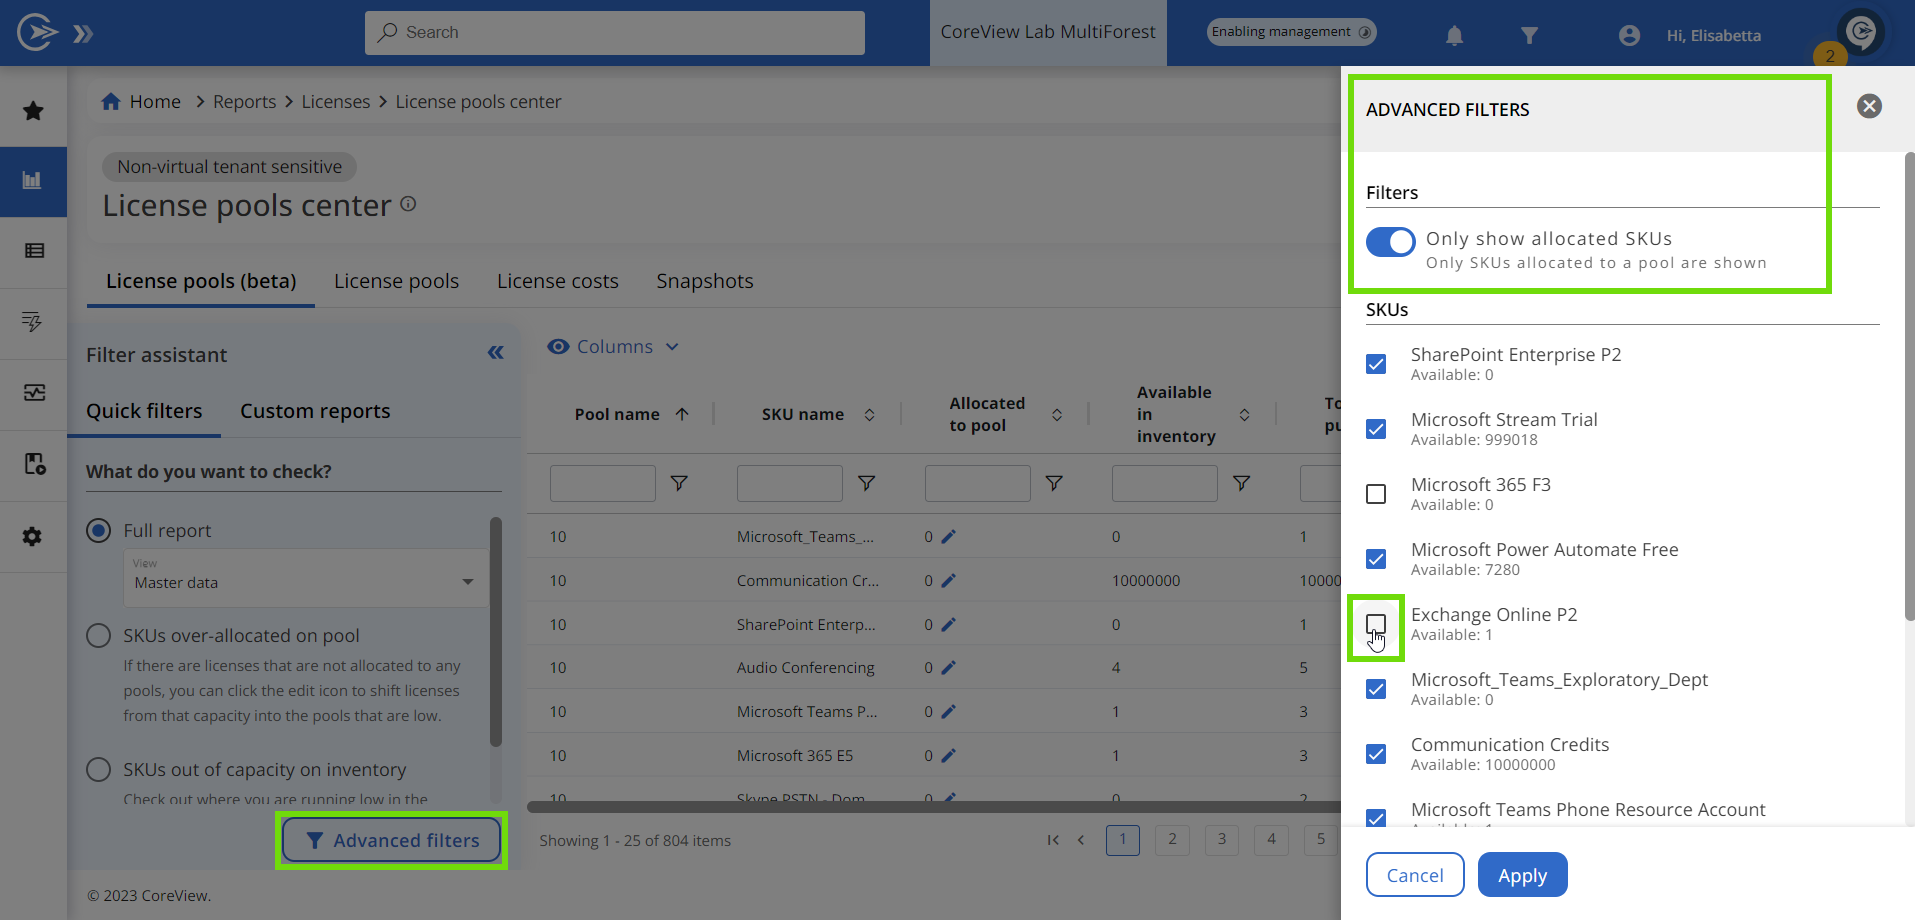
Pools with no allocated licenses are hidden when the allocated SKUs view is active.
The report preserves saved sorting and pinned column preferences across sessions. Unsaved column filters are not retained.
