In addition to the required user accounts, Delegated Authentication or Service Account, Simeon will also create a service principal in the tenant you're installing.
What is the service principal?
This service principal assists in authenticating into the tenant and making configuration changes to supported configurations wherever possible.
By default, when you install a tenant, Simeon creates a service principal named
Simeon Cloud Sync within that tenant.
There are key points to remember regarding service principal authentication:
- Not all configurations can be synced using a service principal, as Microsoft's support for this method is limited.
- Simeon will utilize the service principal for syncing configurations wherever it's possible.
- For configurations that cannot be synced via the service principal, Simeon will revert to using the user account specified during installation, either delegated authentication or a service account (see the following section).
- Utilizing the service principal for supported configurations enhances security since it no user account is involved.
Custom service principal
If you would prefer not to use Simeon's default service principal, or you wish to have very granular control over every aspect of Simeon's access into the tenant, you can bring your own custom service principal. This approach allows you to assign the properties and scopes to the service principal as you desire.
Simeon will then utilize your custom service principal instead of our default one.
Instructions to create a custom service principal
To create and configure a custom service principal in the Azure portal, follow these steps:
- Create the service principal with the desired permissions in the Azure portal:
- Go to portal.azure.com > Enterprise applications > + New application > + Create your own application
- Give your application a name and select Non-gallery
- Configure the service principal as follows:
- Go to portal.azure.com > App registrations > Open the app registration for the custom application
- Expose an API > + Add a scope
- Application ID URI: api://simeoncloud/{tenantId}
- Scope name: user_impersonation
- Who can consent: Admins only
- Admin consent display name: Access resources as the impersonated user
- Admin consent description: Allows the application to read and write resources as the impersonated user
- State: Enabled
- + Add a client application
- Client ID: 1950a258-227b-4e31-a9cf-717495945fc2 (this ID is for Microsoft Azure PowerShell)
- Authorized scopes: Check the box next to api://simeoncloud…
- API permissions > + Add a permission
- You can choose those permissions that correspond to the configuration types that you want to Sync
- For a list of the scopes used by Simeon, refer to this guide.
- To see the default Simeon Cloud Sync service principal configuration, refer to this page.
-
Grant admin consent for MSFT for the service principal you created:
- In the Azure portal > App registrations > API permissions > Grant admin consent for MSFT
-
Create a secret key:
- Under “Certificates and secrets” > + new client secret > follow the on-screen instructions.
-
Navigate to the Simeon Application > Install > Advanced Settings
- If reinstalling an existing tenant, toggle New Tenant > Existing Tenant to view existing tenants
- Select Use custom service principal
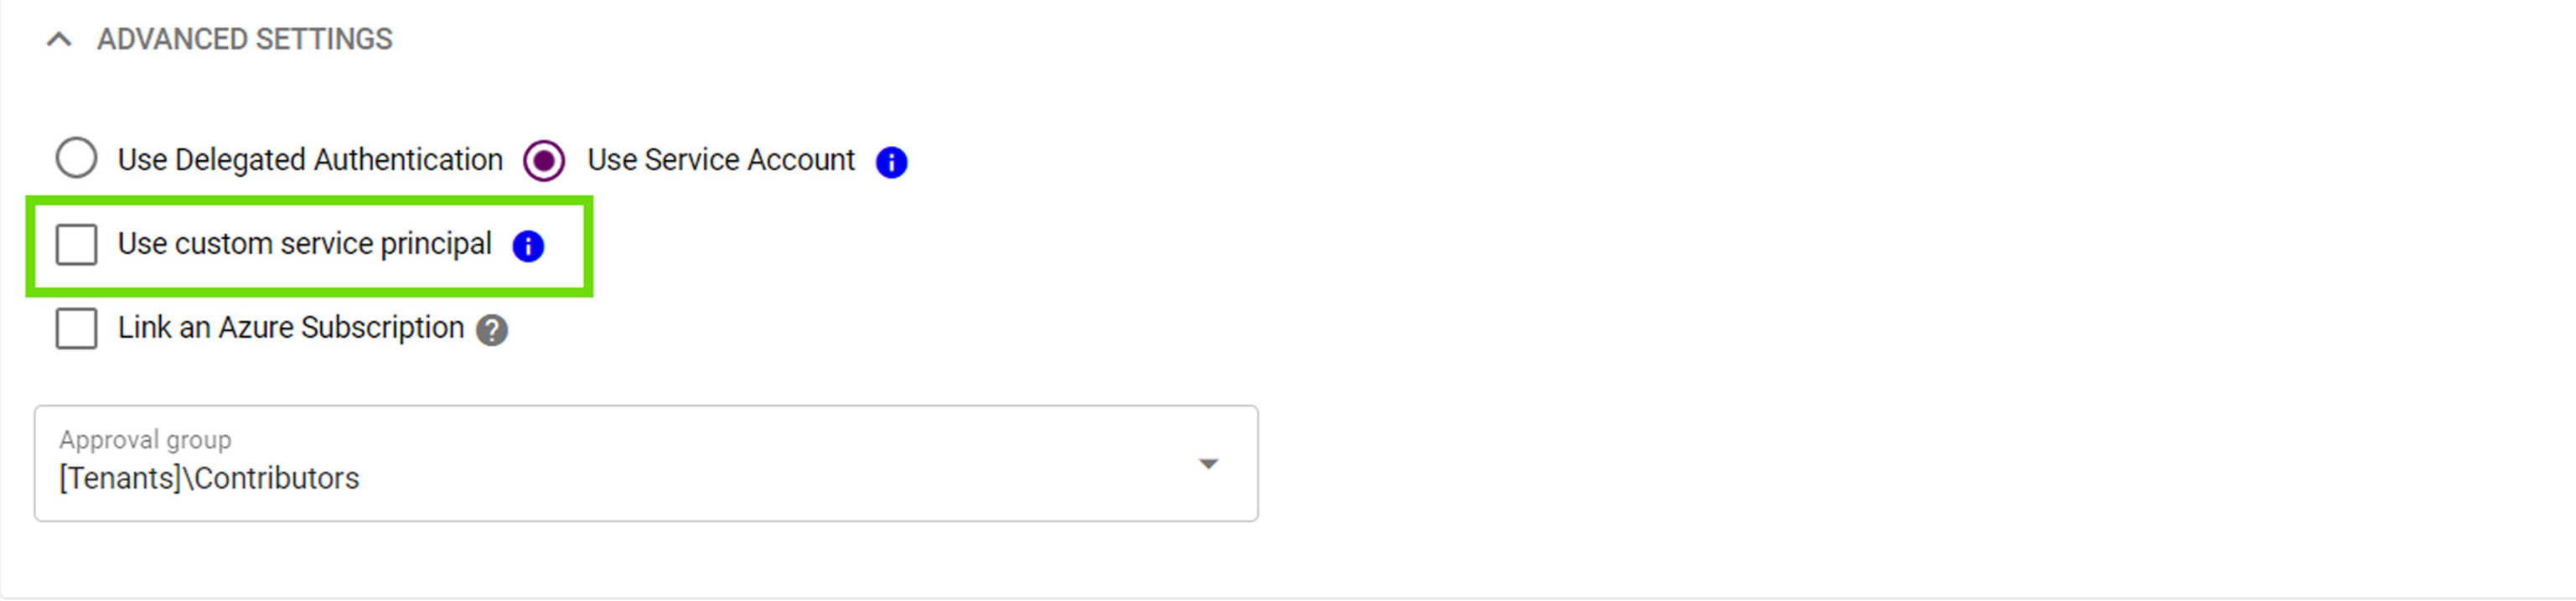
- Enter the Application AppID from the Azure portal; not to be confused with the object ID.
- Enter the Application secret key generated in Step 4 above.
- Proceed with the tenant installation and Sync.