Security groups in Microsoft 365 are designed to grant access to resources, such as SharePoint. These groups simplify administration by enabling administrators to manage access at the group level, rather than adding users to each resource individually.
Security groups can include either users or devices, which can be used with mobile device management services like Intune. The group membership can also be set to dynamic in Azure Active Directory. This allows for the automatic addition or removal of members based on specific attributes, such as department, location, or title.
Security groups can also be added to Teams. They can be managed using the Microsoft 365 Admin Center, PowerShell, or CoreView.
1. Using Microsoft 365 Admin Center
- Go to “Groups” in the Microsoft 365 Admin Center
- Click “Add a group” and choose “Security” as the group type

- Fill out the form and submit it to create the security group.
2. Using PowerShell
Syntax:
#Syntax
New-ADGroup
#Example
New-ADGroup -Name "CoreView_TestSecurityGroup" -GroupCategory Security
To learn more about PowerShell commands for creating Security groups please refer to the article New-ADGroup.
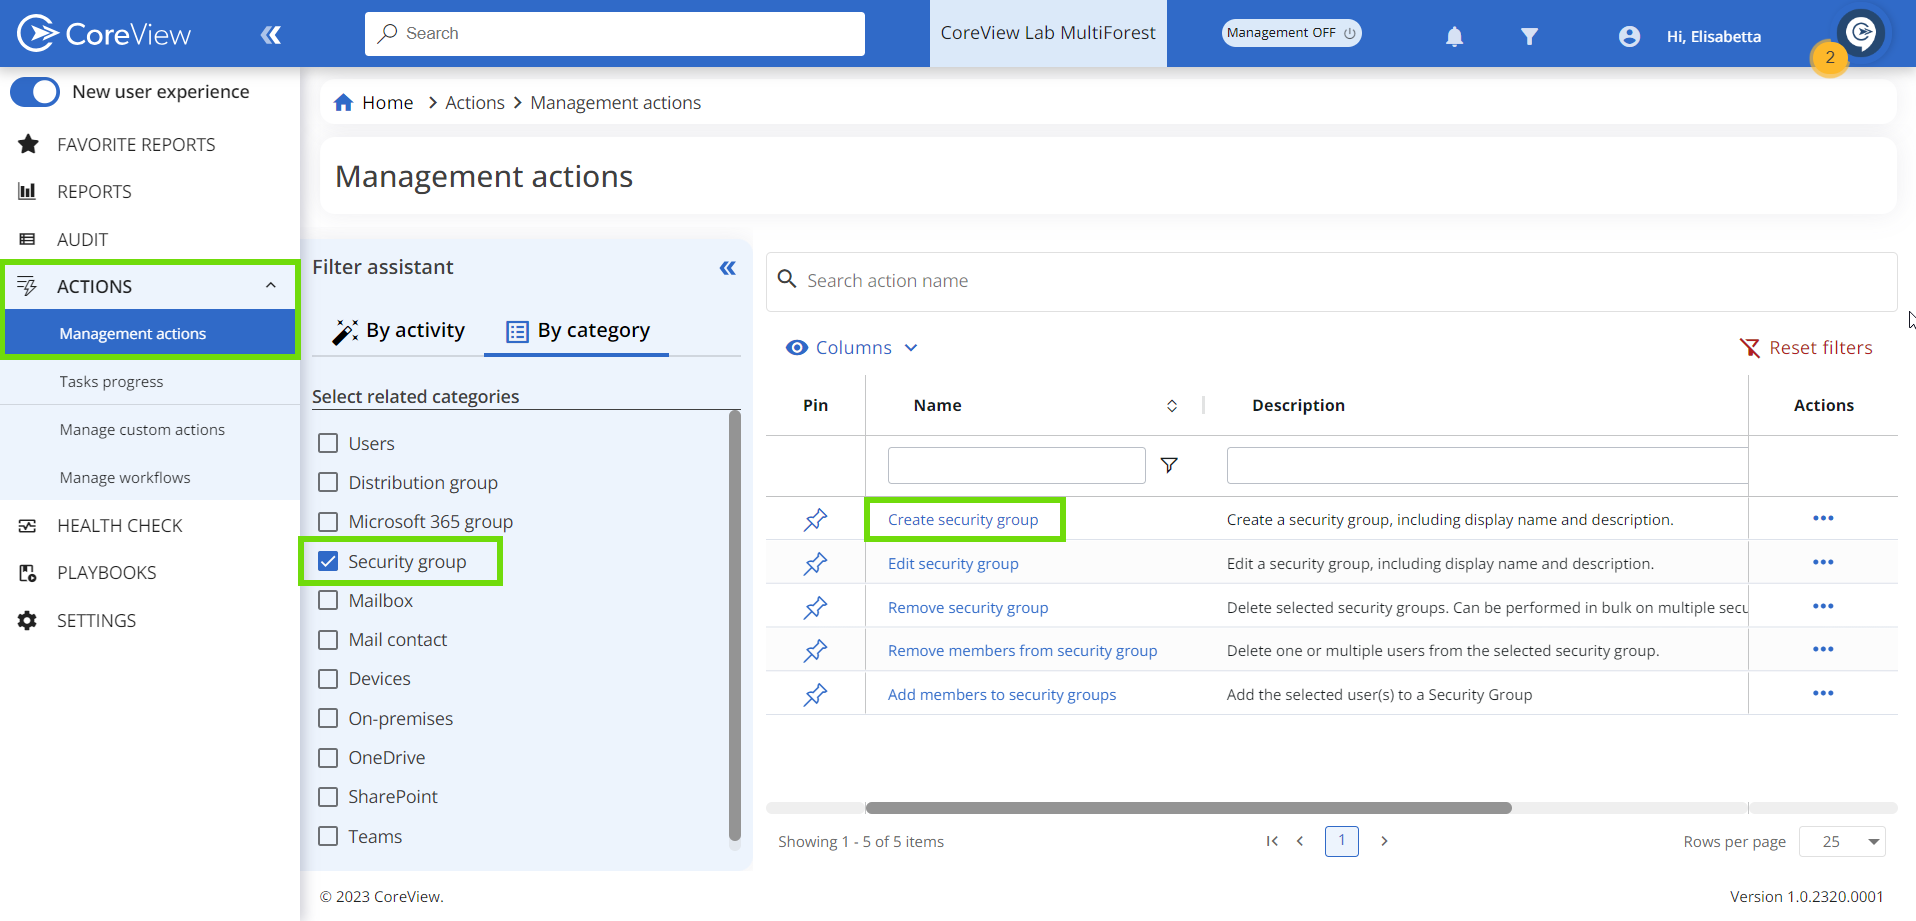
3. Using CoreView
- Go to the CoreView portal
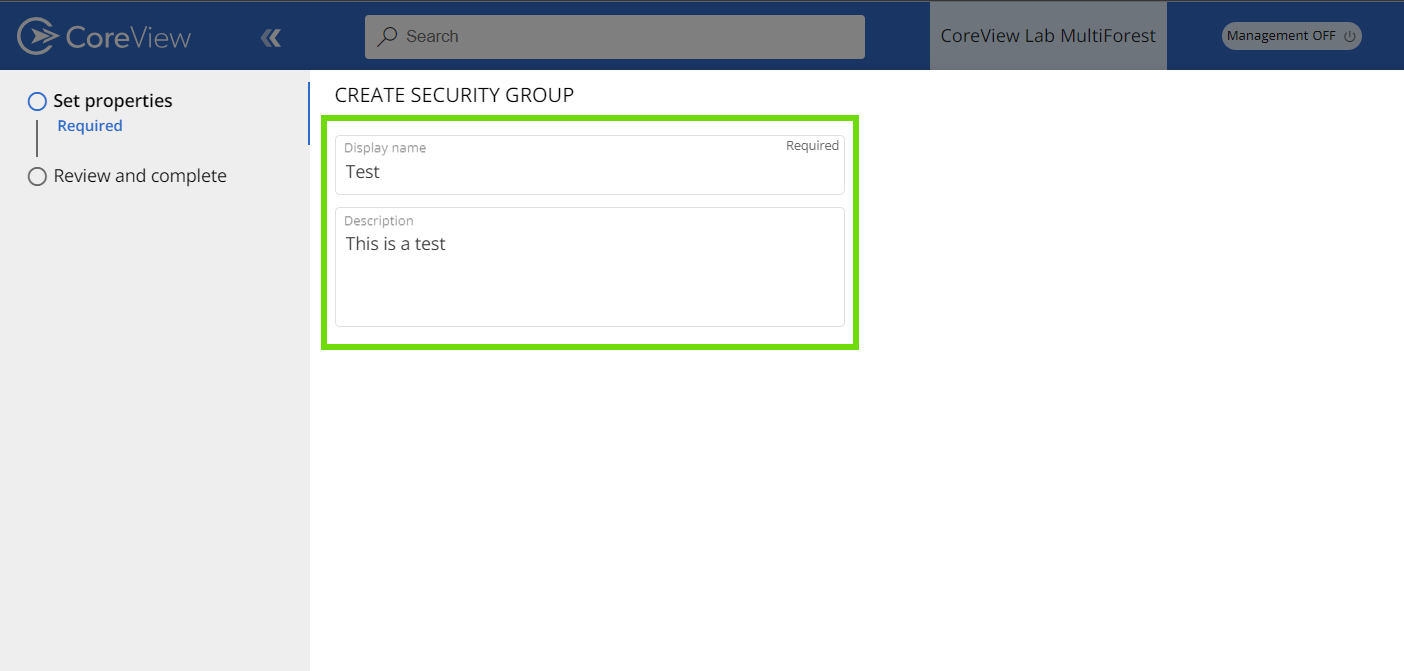
- Under “Actions”, click on “Management actions” and select “Security group”, then choose “Create security group”.
- Fill out the form with the desired security group name.