Please note that this feature is not available in the Configuration Manager SaaS version. If you are an MSP, please refer to this article on how to onboard customers. If you are a direct customer, please contact your TAM or account manager for assistance.
Remove is the process of uninstalling a tenant from Configuration Manager. This process involves removing resources as well (see bottom of the article to learn what this process involves)
To access the “Remove” function, select “Remove” from the “Action” button located at the end of the tenant's row. This action deletes the tenant's resources in Azure DevOps, including the Sync pipeline and the tenant's repository. The repository data is permanently deleted, which means the tenant's backups are also removed and cannot be recovered.

Now, start the removal process.
- Type the tenant's display name to enable the “remove” button.

- Once the display name is typed in, click the “remove” button that is now enabled:

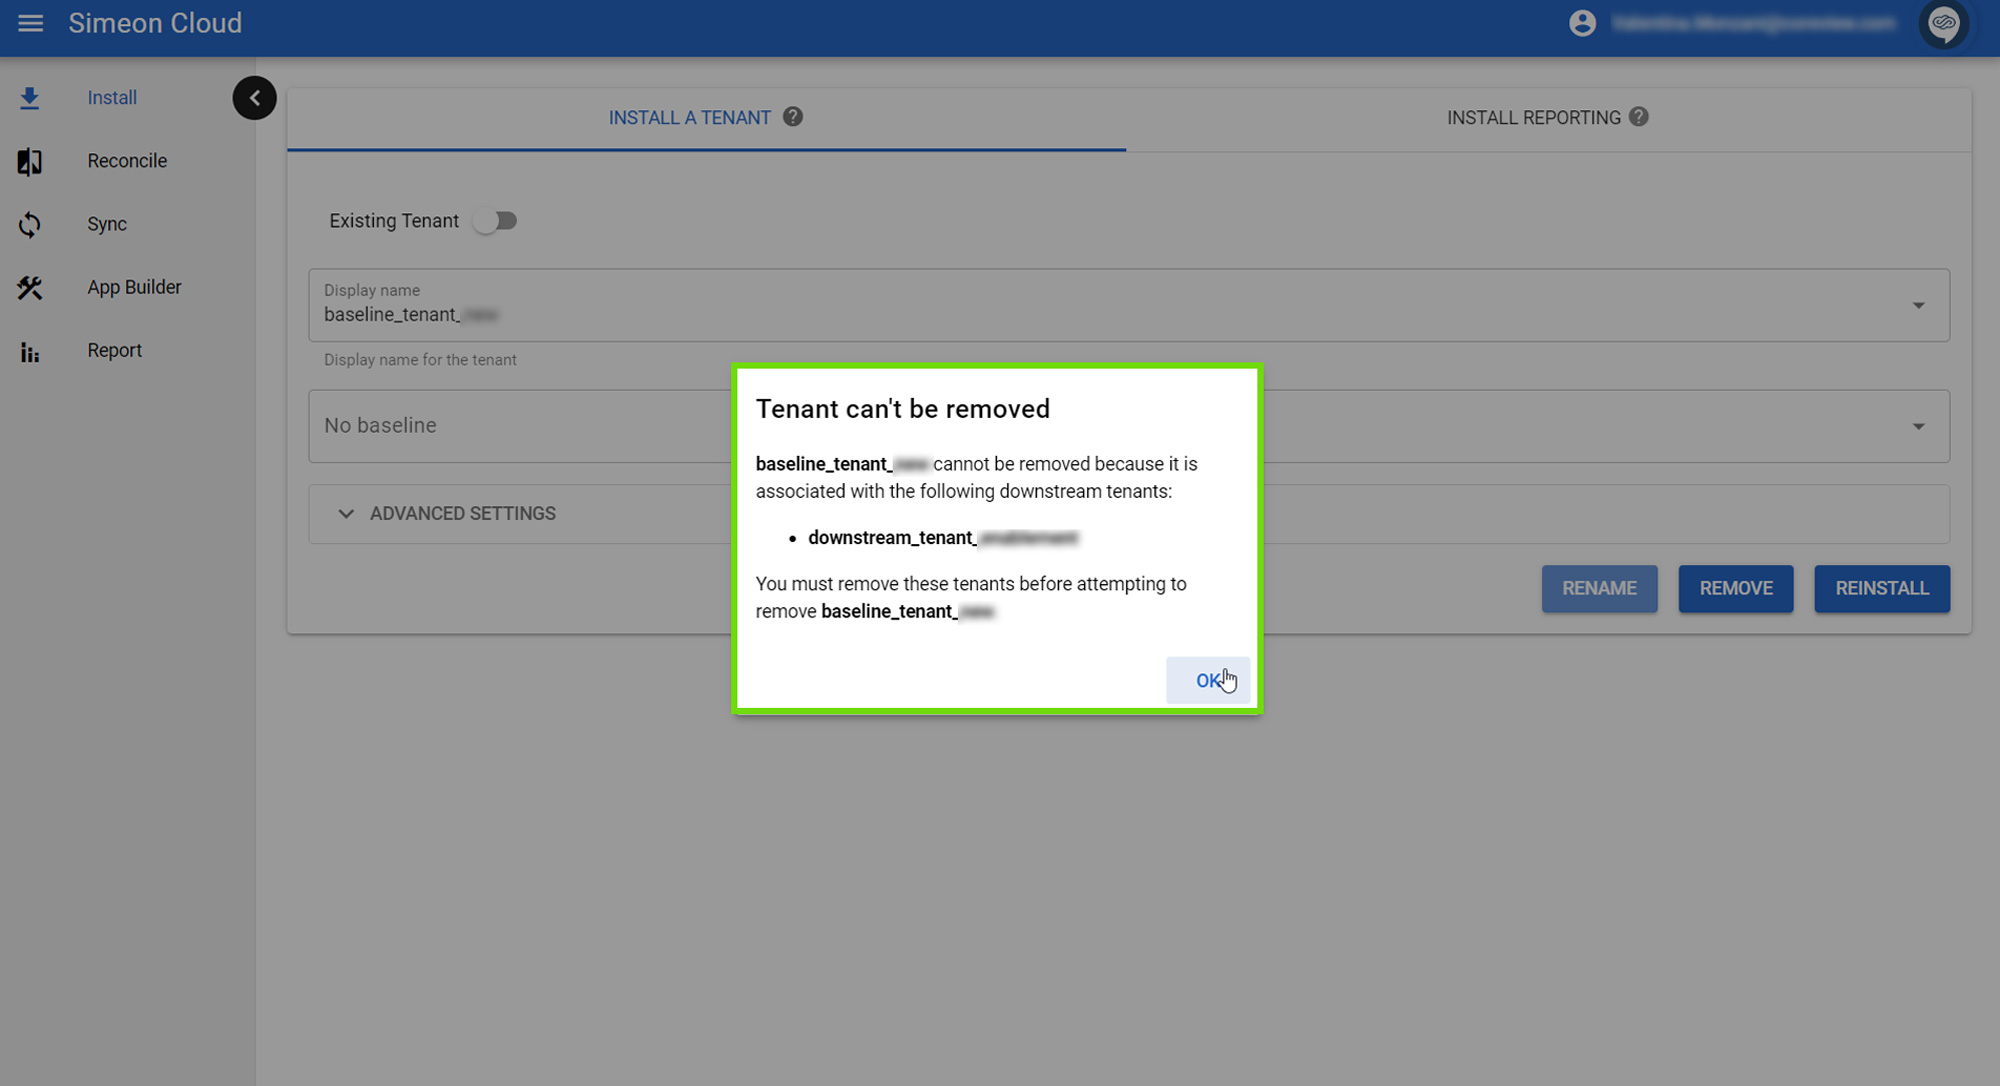
Before you can remove a baseline, you must either remove the client/downstream tenants or edit any client/downstream tenants to associate them with a different baseline.

After this process, the tenant will no longer be visible in the Configuration Manager app or in Azure DevOps.
Removing resources
When removing a tenant, you will see a popup notification (see below) asking if you would like to sign into the tenant to remove the Simeon resources (service principal and service account).
- If you choose yes, you will be prompted to sign in with a Global Admin account to perform the resource removal.
- If you select no, the tenant will be removed from Simeon, but the resources in the tenant (“service principal” and “service account”) will remain and will need to be manually removed later.

