How can you review the accounts associated with the number of “Consumed Portal Licenses” reported in the “Portal information” tab in “My organization” settings?
You can either use:
- Microsoft PowerShell or
- CoreView.
Let's see how, starting with the definition of “Consumed portal licenses.”
Definition of “Consumed portal licenses”
The count of “Consumed” portal licenses represents the set of all distinct accounts to which there is at least one Microsoft 365 license assigned.
Please note that when you purchase an add-on, you will be billed for the same number of licenses as indicated in the counter for the purchased add-on.

Please note the following conditions for “Consumed portal licenses”:
- Count Update: the official “Consumed Portal License” count is updated at the conclusion of a “Full Import”, so roughly every twenty-four (24) hours.
- Microsoft Applied Licenses: these are licenses that Microsoft may have added to your tenant that you have not purchased. Some may be trial versions and other new capabilities.
- Free Licenses: CoreView will count the assignment of free licenses, such as “ToDo”, or “Flow”, as a valid license.
- Expired Subscriptions: administrators should be timely in removing from users any license associated with an expired Microsoft subscription to avoid an expired license from being included in the “Consumed Portal License” count. CoreView does not remove licenses from users when a subscription expires if they remain in the Microsoft 365 tenant.
How to check your ‘Consumed portal licenses’ using Microsoft PowerShell
To view the list of all user accounts in your organization that have been assigned any of your licensing plans (licensed users/Consumed portal licenses), run the following command:
Connect-Graph -Scopes User.Read.All

Get-MgUser -Filter 'assignedLicenses/$count ne 0' -ConsistencyLevel eventual -CountVariable licensedUserCount -All -Select UserPrincipalName,DisplayName,AssignedLicenses | Format-Table -Property UserPrincipalName,DisplayName,AssignedLicenses

Write-Host "Found $licensedUserCount licensed accounts."
You will get the complete list of users with assigned licenses and the total number of licensed users at the very end.
For more information or other ways to retrieve this info from Microsoft, please check this article.
How to check your “Consumed portal licenses” using CoreView
To produce a report of accounts associated with the “Consumed Portal Licenses” count you can leverage the “Active users” report.
Before proceeding, make sure that you do not have any filter(s) in place (Virtual-TenantsTM, advanced filters, …) that may otherwise limit your ability to report on the entire population of your Microsoft 365 tenant.
Follow these steps to generate the report:
Step 1: navigate to Active users report
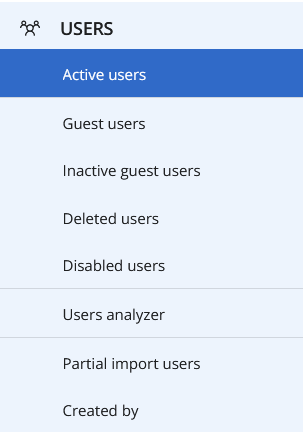
Navigate to “Reports” > “Users” > “Active users.”

Step 2: edit columns
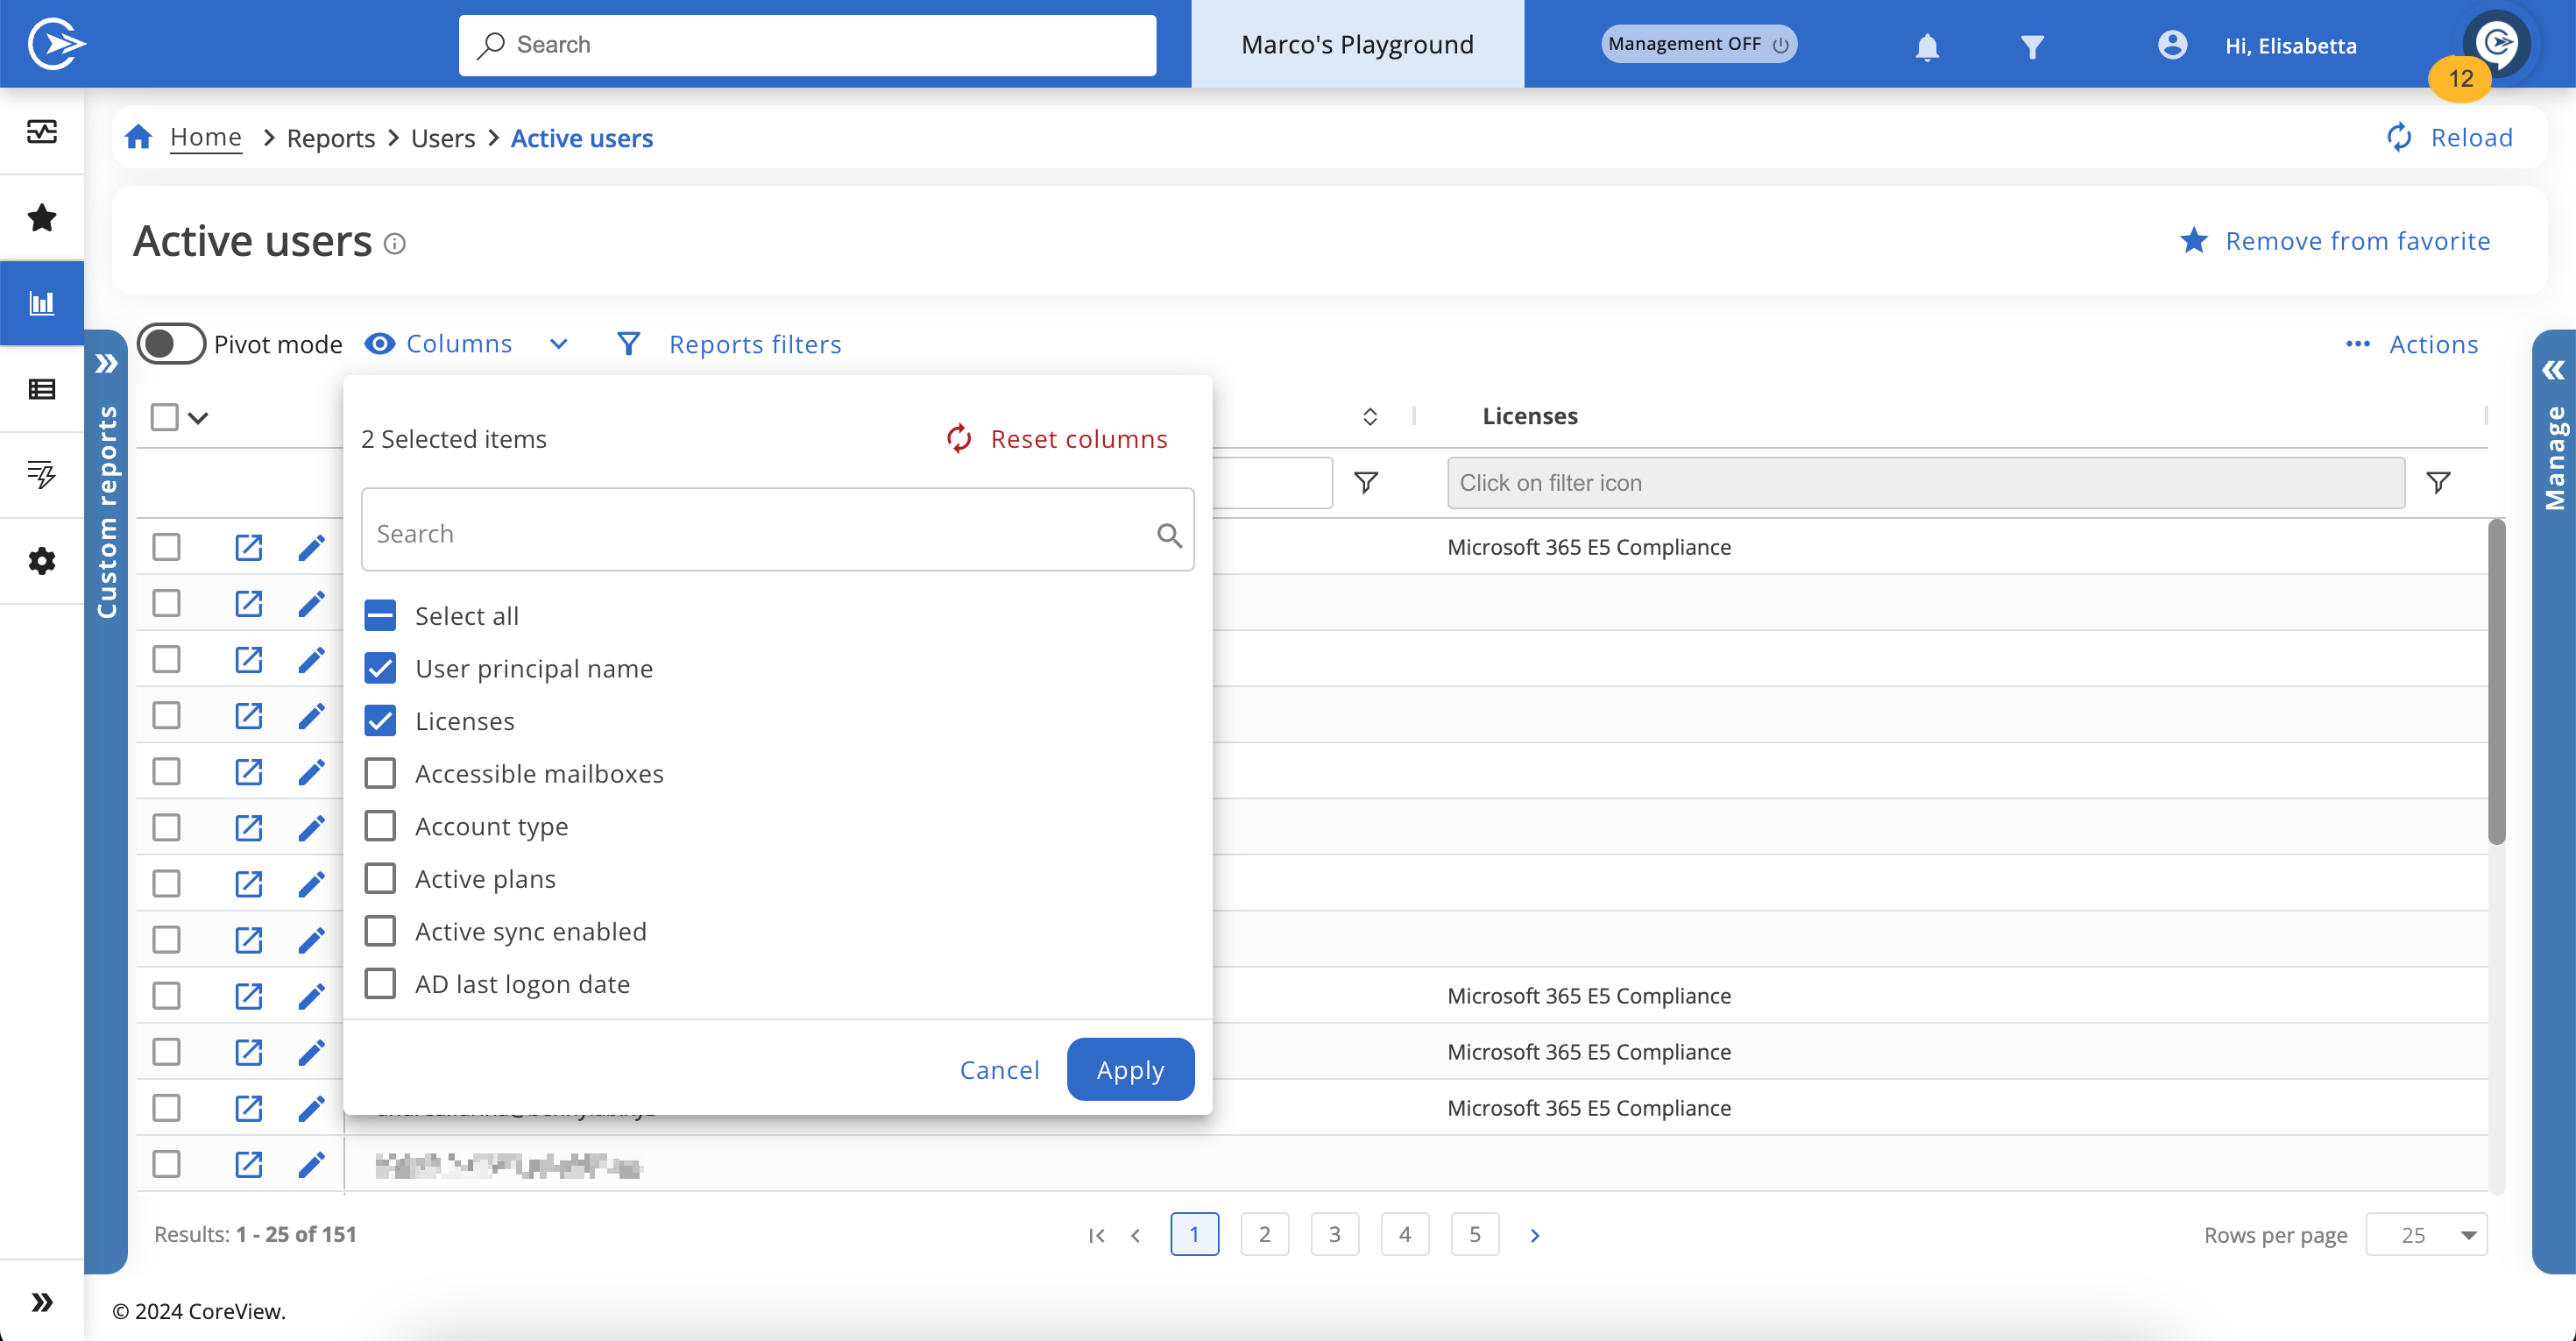
Proceed by editing the columns shown in the report with the properties:
- User Principal Name
- Licenses

Step 3: apply filter
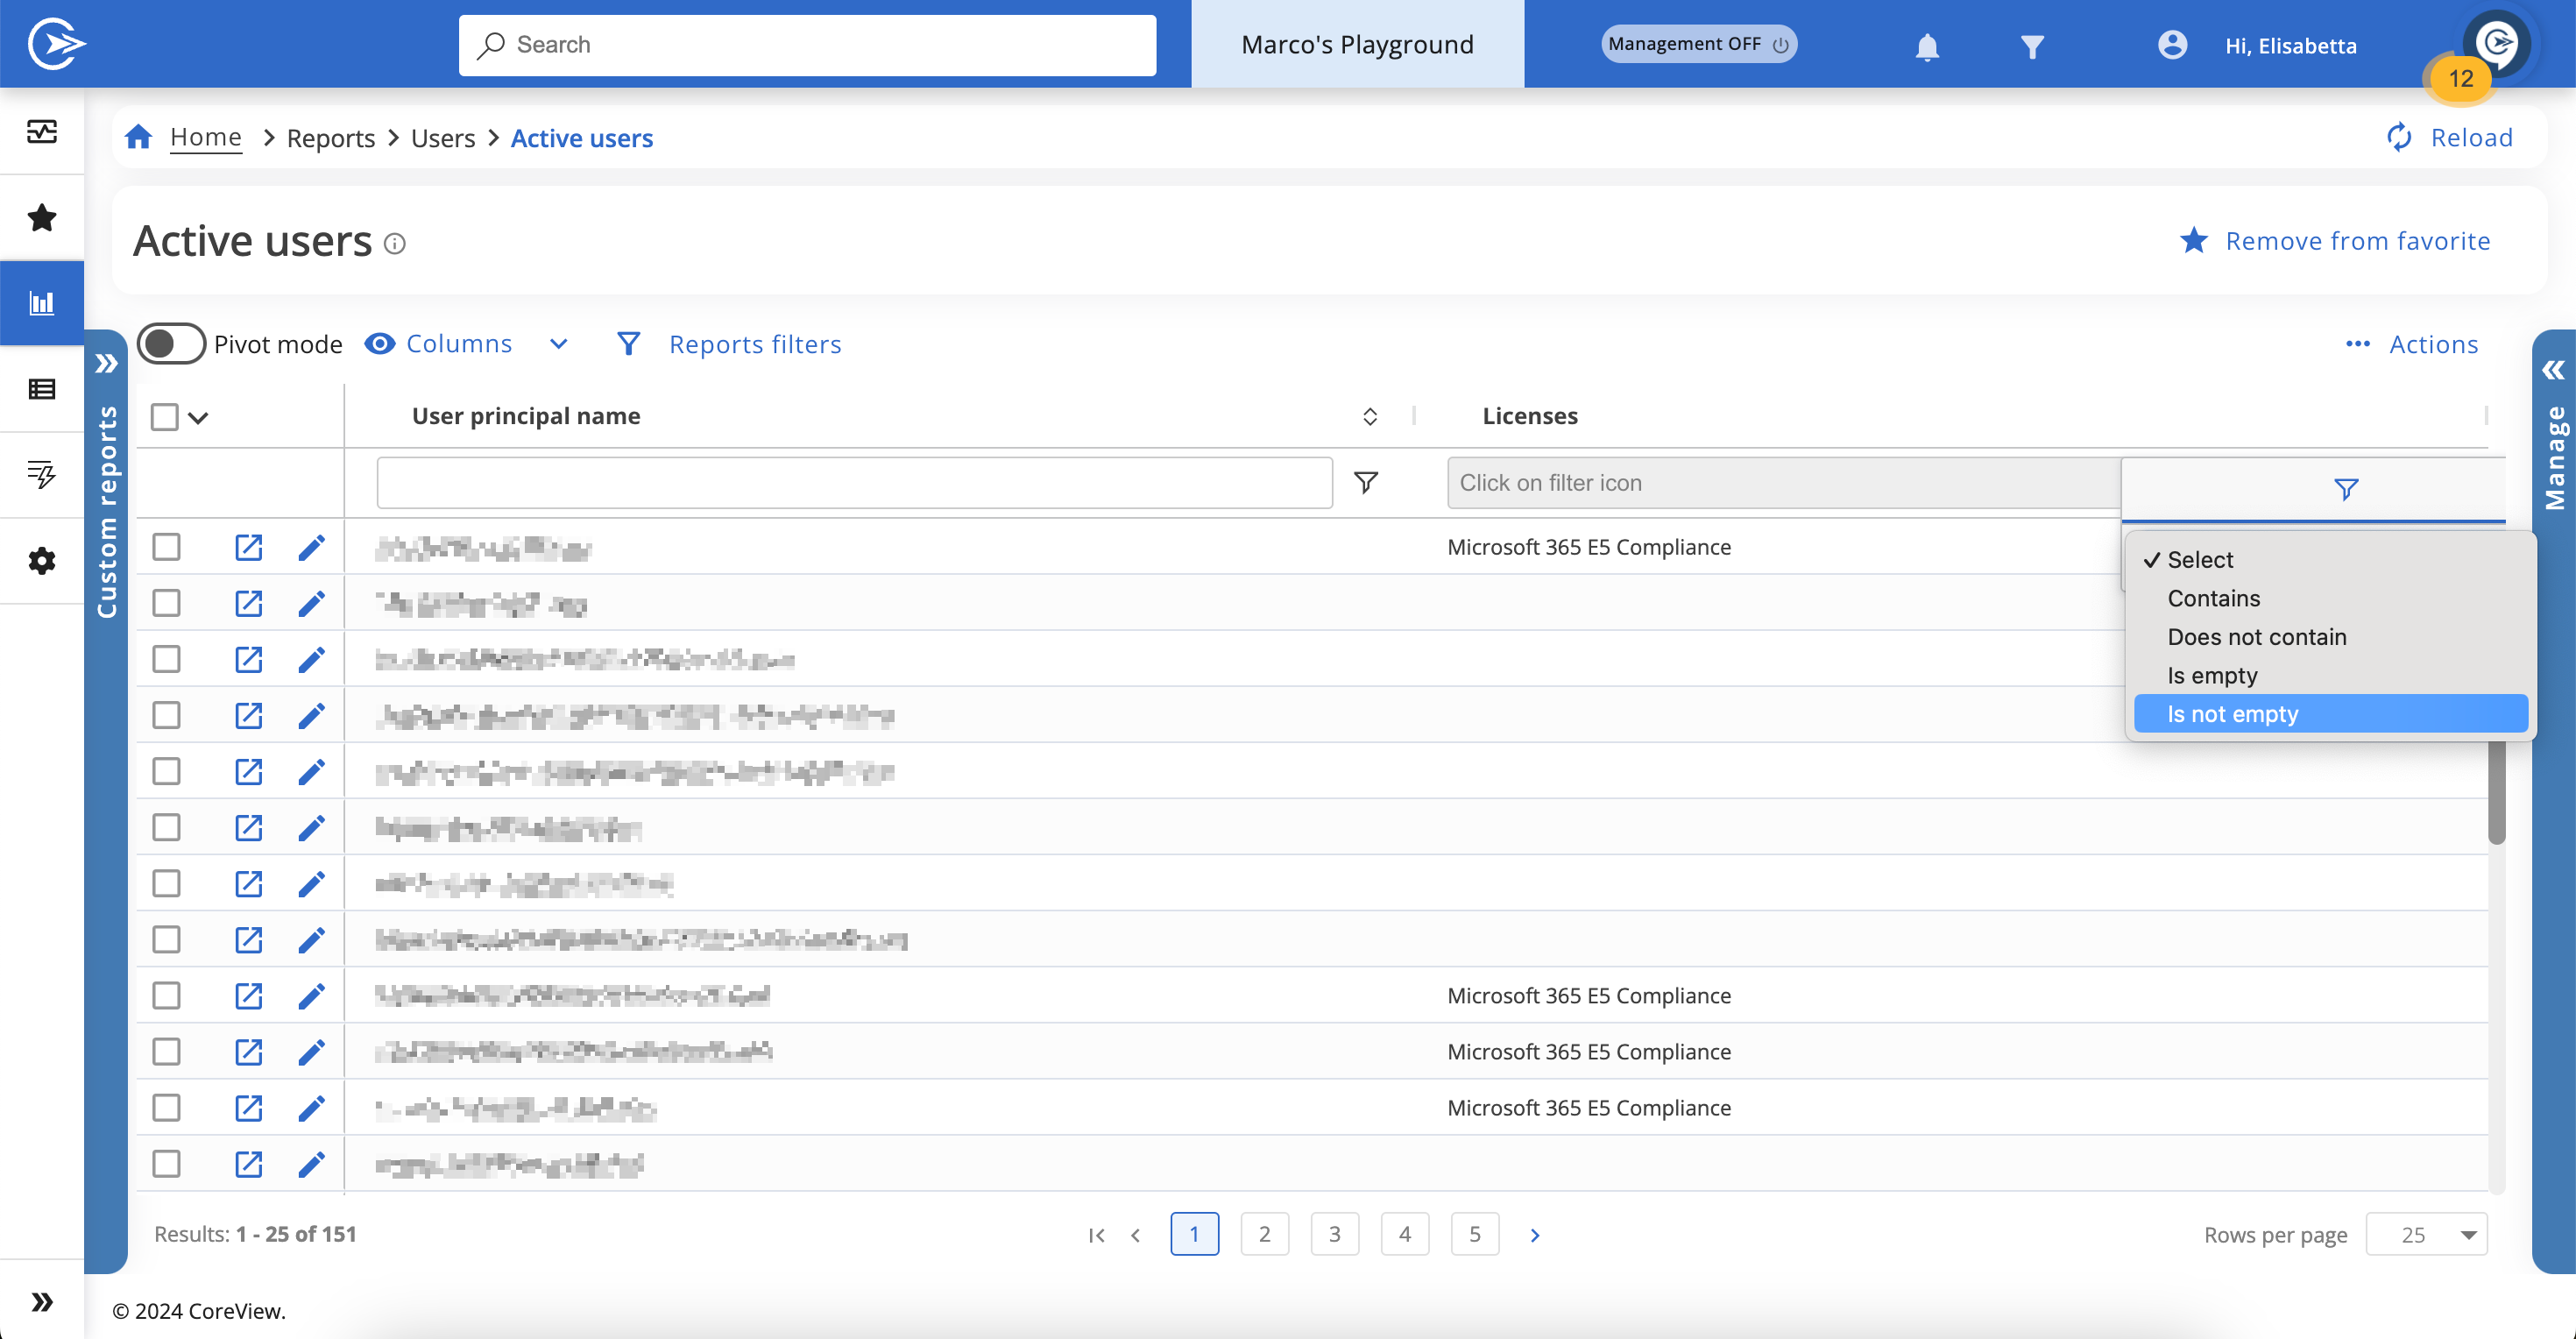
To show only the users counted as “Consumed portal licenses”, you’ll need to apply a filter.
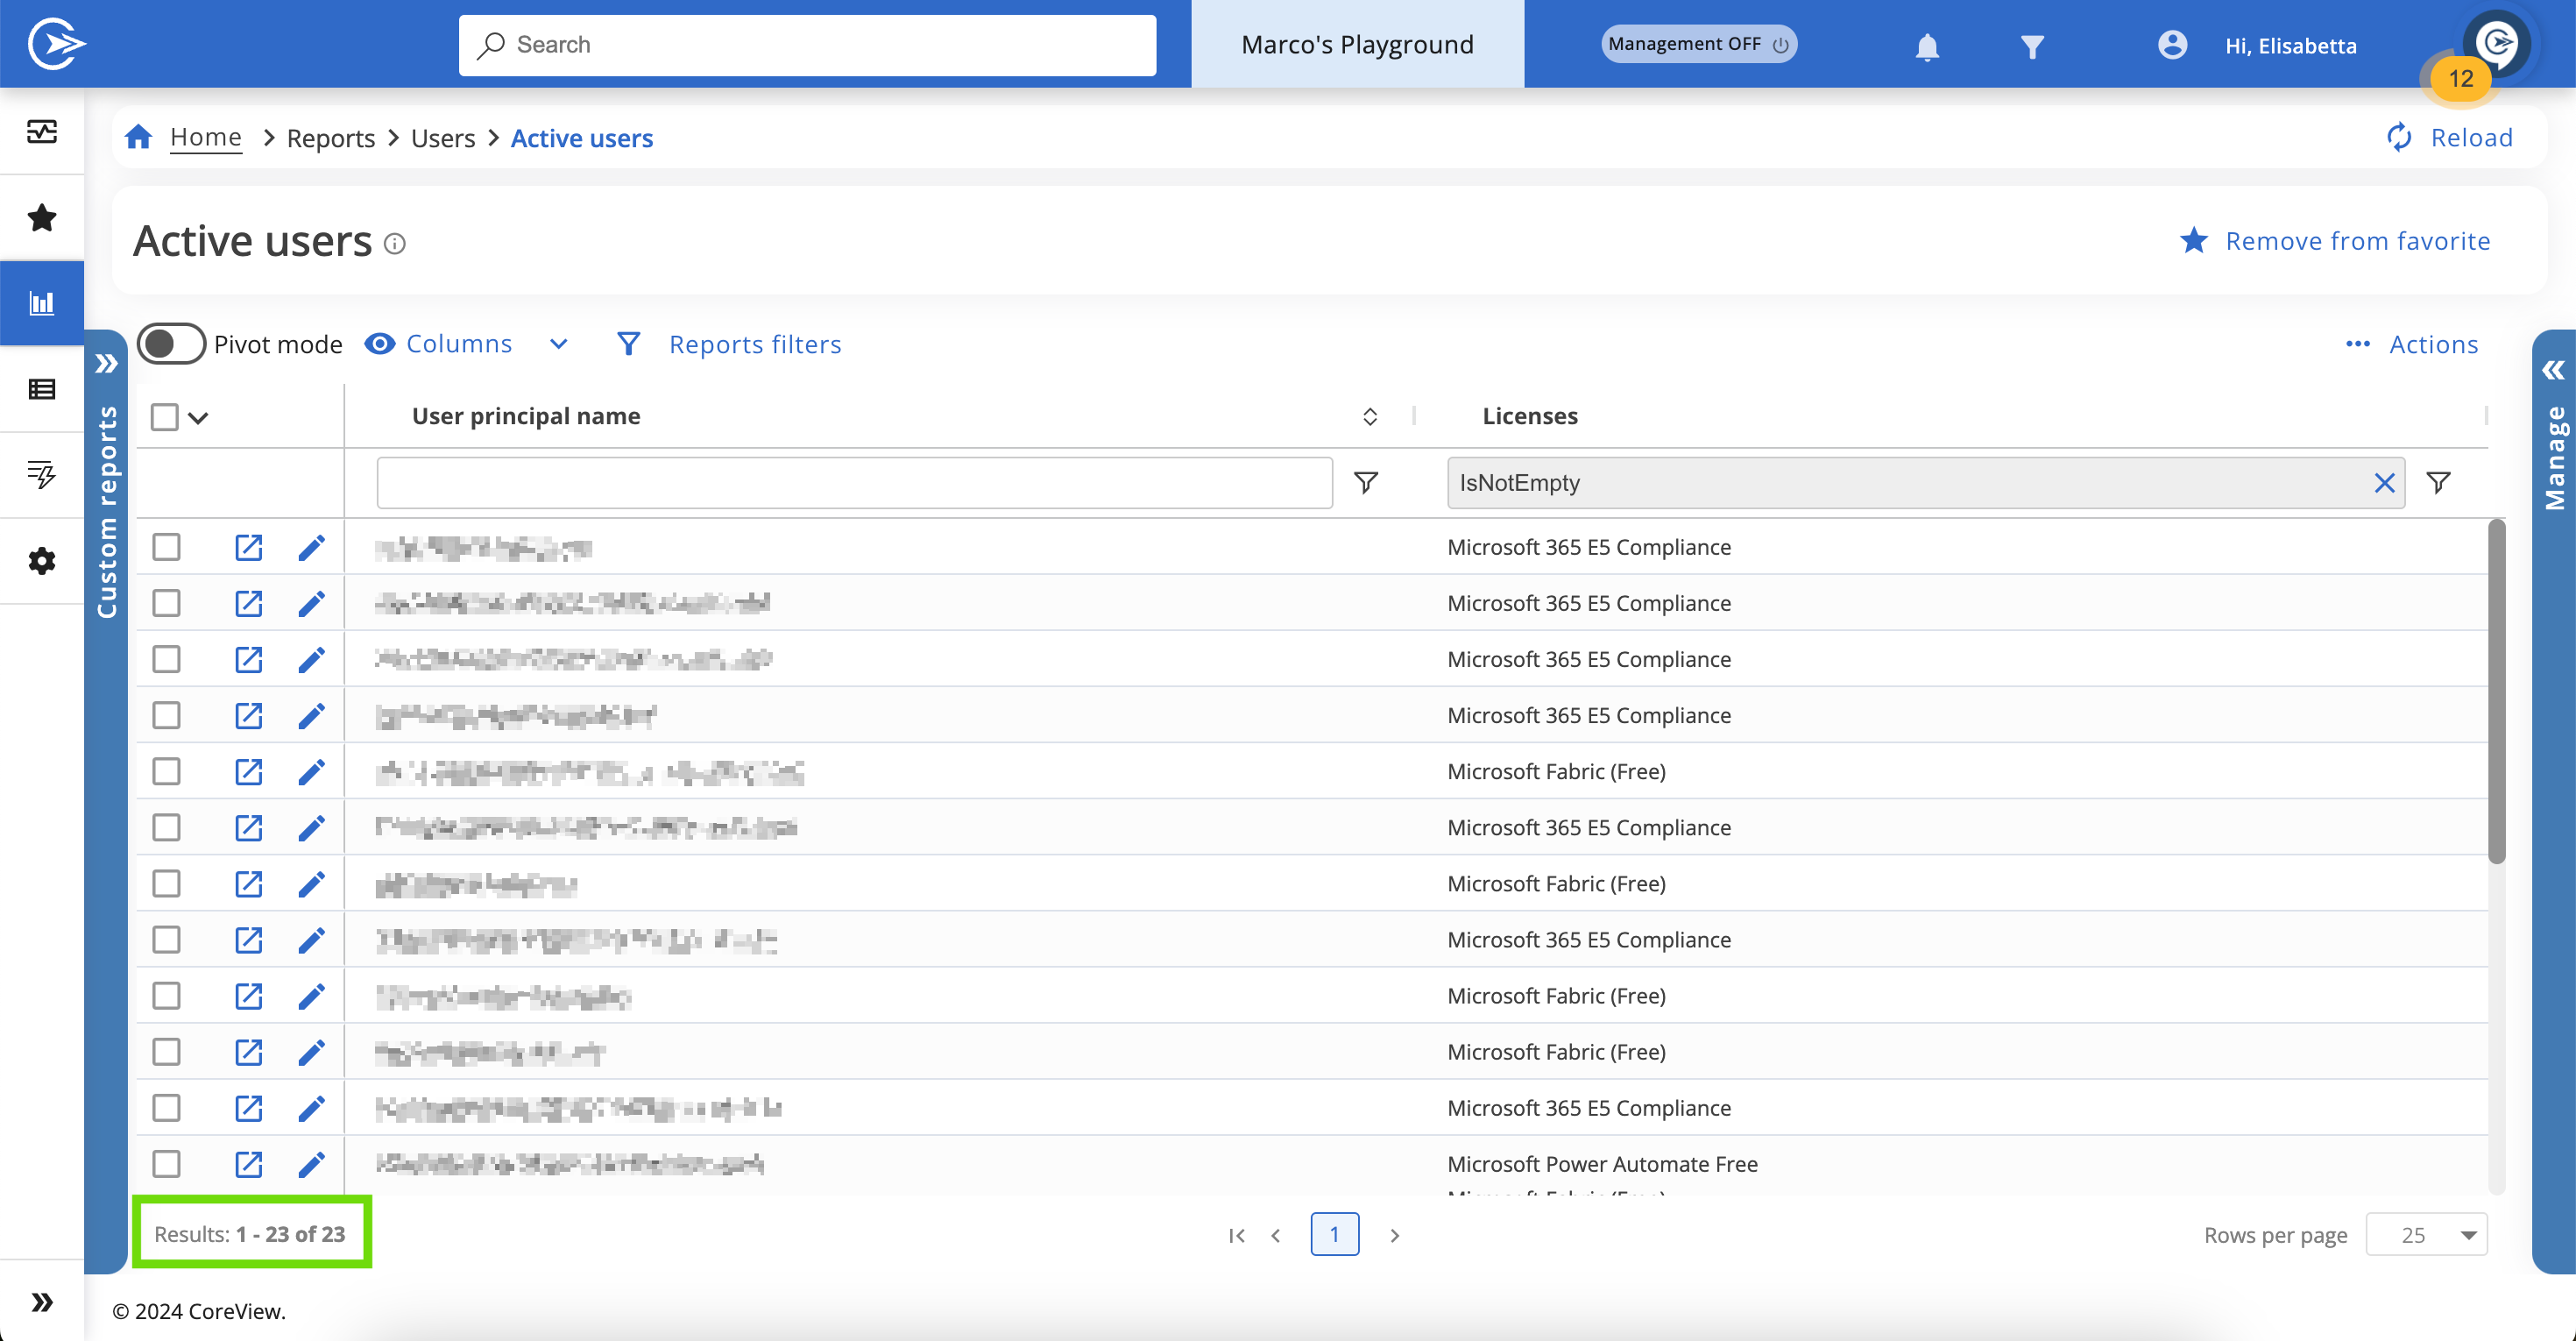
In the “Licenses” column click on the filter icon, and select “Is not empty” from the dropdown that appears. This will then filter out any account with no Microsoft 365 licenses assigned.

The accounts displayed are all the accounts that are counted as “Consumed portal licenses”. You can quickly validate this by scrolling down to the bottom of the display and look for the the value of “Items”. This number should match the number found on “Portal information”, illustrated above.

If you find that the number does not match what is listed on the “Portal information”, then please double-check and make sure that there is no other filtering in place that might be constraining your results. If you still find a discrepancy, then please open a Support Case at http://support.coreview.com.
Depending on your reporting needs, you can add additional attributes to help you with your analysis. You can also export this data for analysis using Excel.
Tip: Analyze exported data in Excel
If you want to drill into this data a bit deeper, export the “Login name” list to Excel and then run the “Text to Columns” feature on the “Services” column to place each service into its own column.
Once you do that, you can then run create a Pivot against this data.
If you add the “Services as Rows” and the UPN as a value, you'll get a count of who has what.
