When selecting a management action from the management actions list, you will be guided through the management action wizard. From here, you can configure and launch your management action.
Step 1
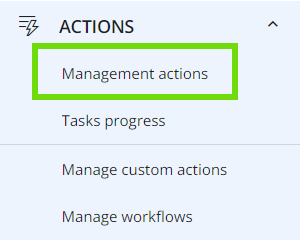
Select the “Management actions” item under the “ACTIONS” menu.
Step 2
Click on the desired management action. You can locate a management action using either the “Filter assistant” in the side panel or the search bar at the top of the table. You can also save your favorite actions under the “Pin” column for easy access.
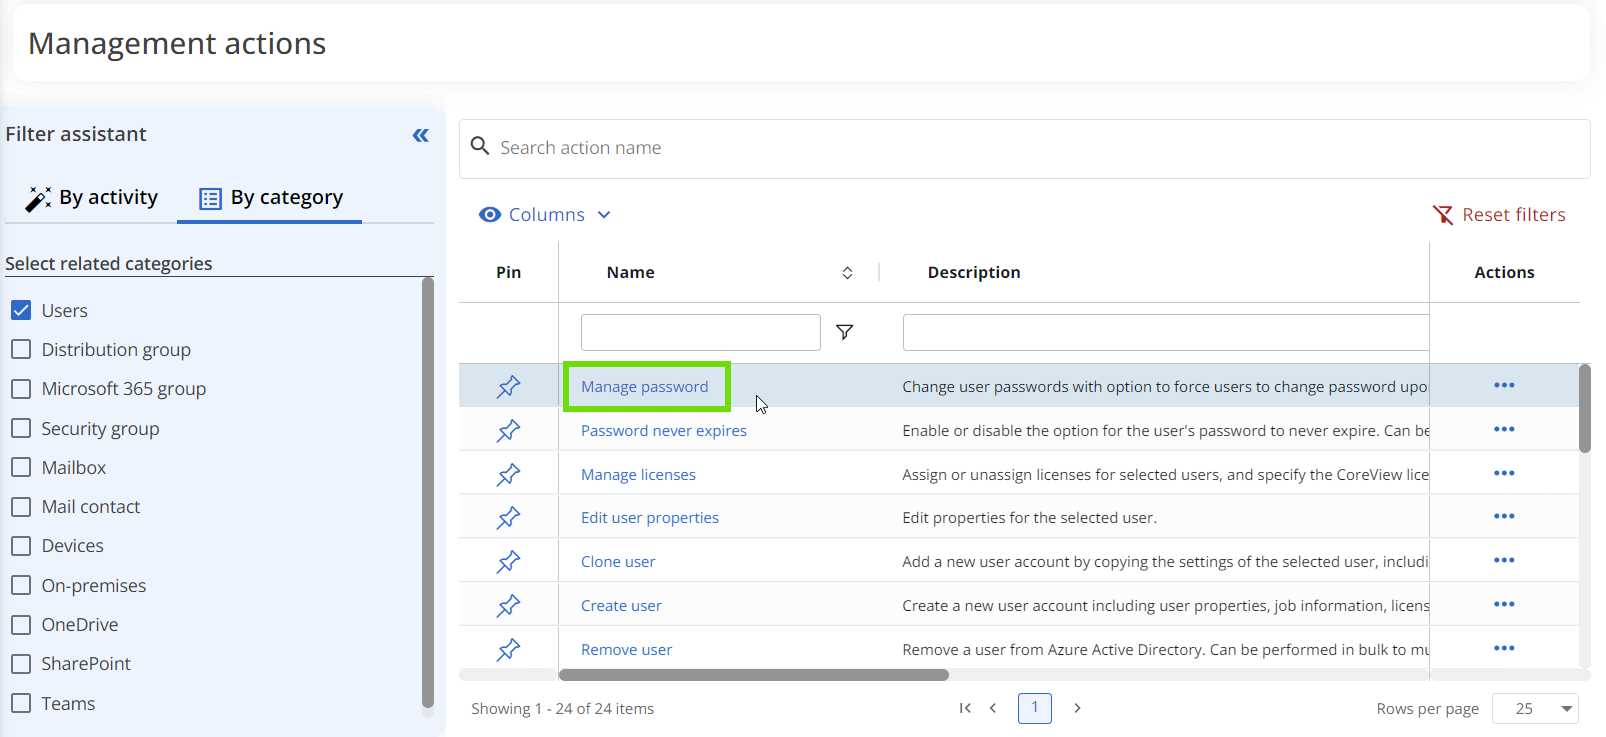
Please refer to the Management actions list article to discover all the features available on this page.
Step 3
The management action wizard will guide you through all the necessary steps to execute the management action on your target item. These steps will vary depending on the selected management action, but they typically include:
- A step to select the target (in the example below, this is a user).
- One or more steps to add additional parameters.
- A final step where you can review and approve your configuration.
Once you've completed the review, click on the final “Submit” button. You will receive a notification once the action has been completed.

If the management session is OFF and the “Auto-enable management session” toggle isn't enabled, the final “Submit” button will be disabled, preventing you from executing your management action.