Step 1: Get your API key
- Navigate to the CoreView Portal and access:: “Settings” > “My organization” > “On premises” > “On-premises configuration”.
- Click the “Edit” button and note down your API key:

You will need this API key later when setting up the Hybrid Connector 2019.
Step 2: Deploy the Hybrid Connector
- Deploy the Hybrid Connector on your new server following the instructions in the Hybrid Connector deployment official documentation. This procedure works to upgrade to both 2019 and 2022 versions.
- When prompted to enter your API key, pause and proceed to the next step.
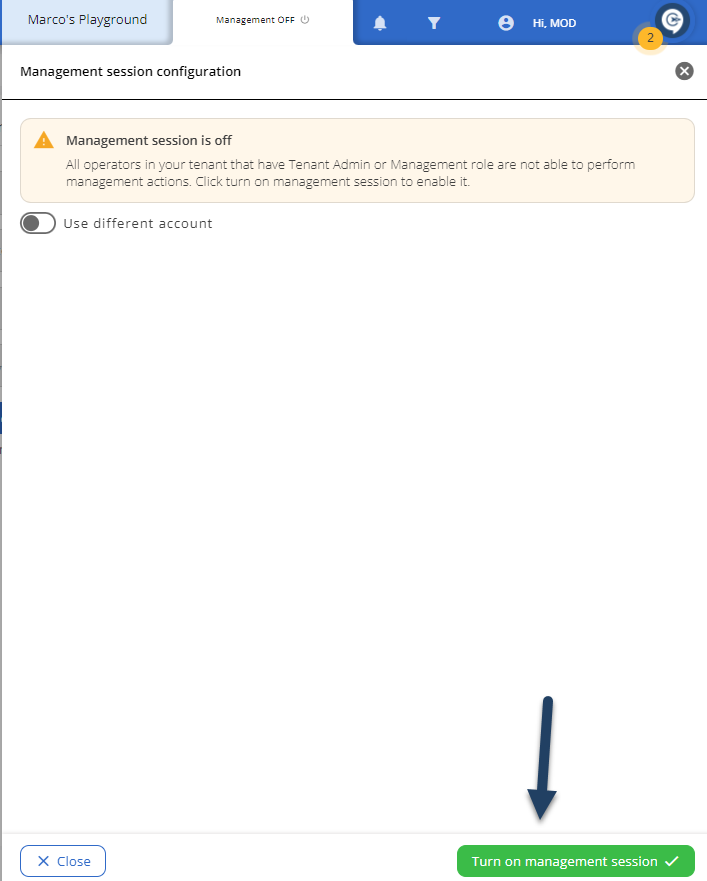
Return to the CoreView portal to close your management session. It is advisable to disable the “Auto-enable management session” option during the migration. Toggle it off and save your changes.

After this, disable CoreView Management by clicking “Turn off management”.
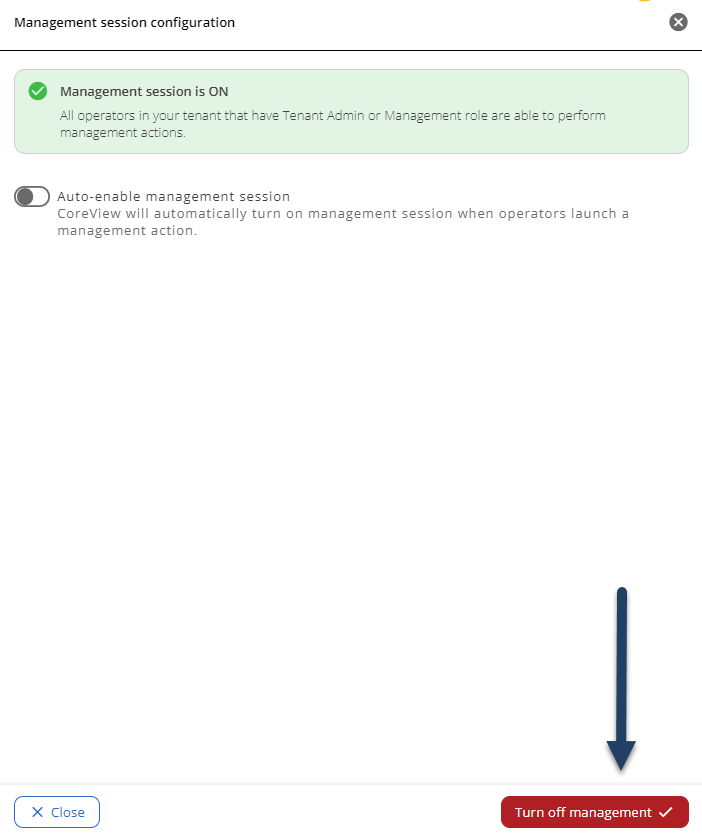
Management actions and PowerShell runspaces will be unavailable until the new CoreView Hybrid Connector server is operational.
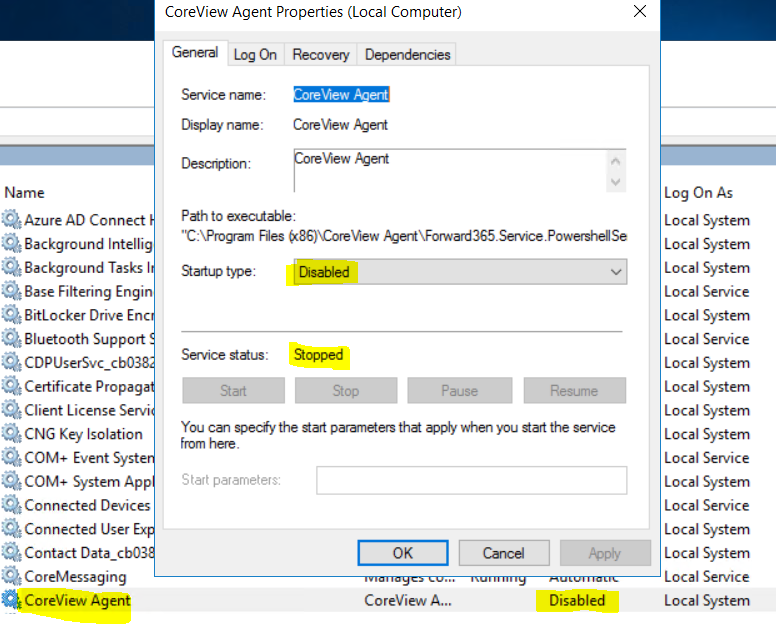
Step 3: Disable the CoreView Connector
- Stop the CoreView Connector Windows Service on your server to be decommissioned.
- To prevent an automatic restart, change the service status to disabled.
Step 4: Transfer custom key settings
- On your server, navigate to
C:\Program Files (x86)\CoreView Agent - Open
Forward365.Service.PowershellService.Agent.exe.configwith Notepad. - Copy all custom key settings from the
appSettingssection to the corresponding file on your Windows target Server.
Example of custom settings to copy:
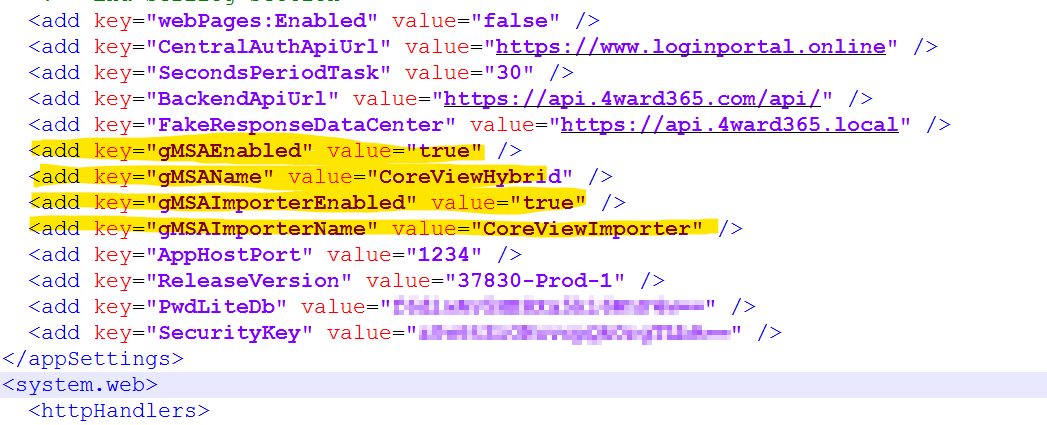
<add key="gMSAEnabled" value="true" />
<add key="gMSAName" value="CoreViewHybrid" />
<add key="gMSAImporterEnabled" value="true" />
<add key="gMSAImporterName" value="CoreViewImporter! />
Also, check for a config.json file in the C:\Temp directory. If it exists, copy it to the same location on the new server.
Here is an example of what the file content might look like:
{
"BackwardCompatibility.SingleForest.ActiveDirectory": "domaincontroller.yourdomain.local",
"BackwardCompatibility.SingleForest.Exchange": "http://exchangesrv.yourdomain.local/powershell"
}
Step 4: Add the SKU
-
Migrating from 2016 to 2019: only remove the
SKU FT:HYBRIDOS2016 -
Migrating from 2016 to 2022: remove the
SKU FT:HYBRIDOS2016and add theSKU FT:HYBRIDOS2022 -
Migrating from 2019 to 2022: only add the
SKU FT:HYBRIDOS2022
These steps are necessary for the new CoreView Hybrid Connector service to fetch the right docker image.
Without this process, the migration cannot proceed.
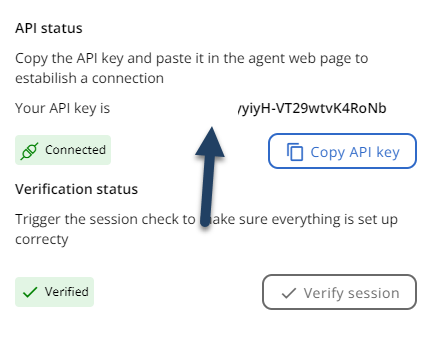
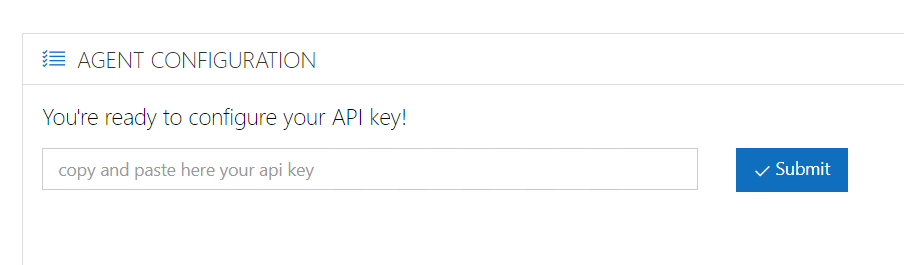
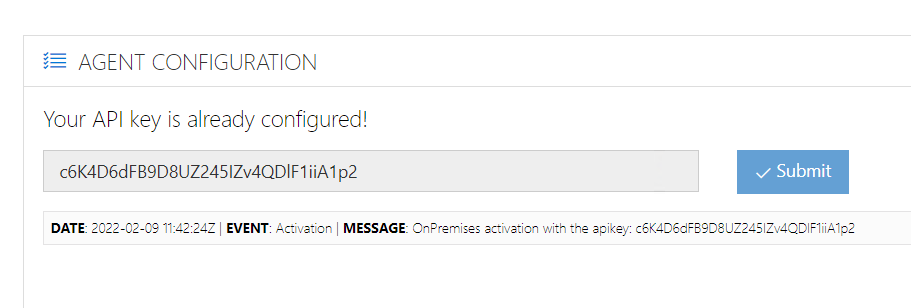
- Once the SKU is managed, apply the previously noted API key on your new CoreView Hybrid Connector server's configuration page.
You should get the following confirmation message:
Step 5: Verify the configuration
- In the CoreView portal, go to “My organization” > “On premises”.
- Re-verify your configuration by clicking the blue verify button.
This process may take some time as the most recent docker image is downloaded.

To monitor progress, check the log files in the C:\Temp directory on your destination server.
Once you get the following message, your configuration is complete.

Step 6: Uninstall previous Connector (optional)
Optionally, uninstall the CoreView Hybrid Connector from your Windows Server to be decommissioned where the service was previously disabled.
Step 7: Re-enable Management Session
- Reactivate your CoreView Management session.
- If you have pending tasks, they will be processed once the session is active again.
Re-enable the “Auto-enable management session” feature you had disabled earlier.

Congratulations! Your CoreView Hybrid Connector is now running on your new target Windows Server.