This article provides a comprehensive guide on how to effectively manage operators and their access within CoreView. We'll delve into the specifics of operator roles, viewing operators, creating new operators, and editing existing operators.
Overview
In CoreView, the first operator is created automatically and acts as the global admin for onboarding the tenant. Additional operators can be created as needed.
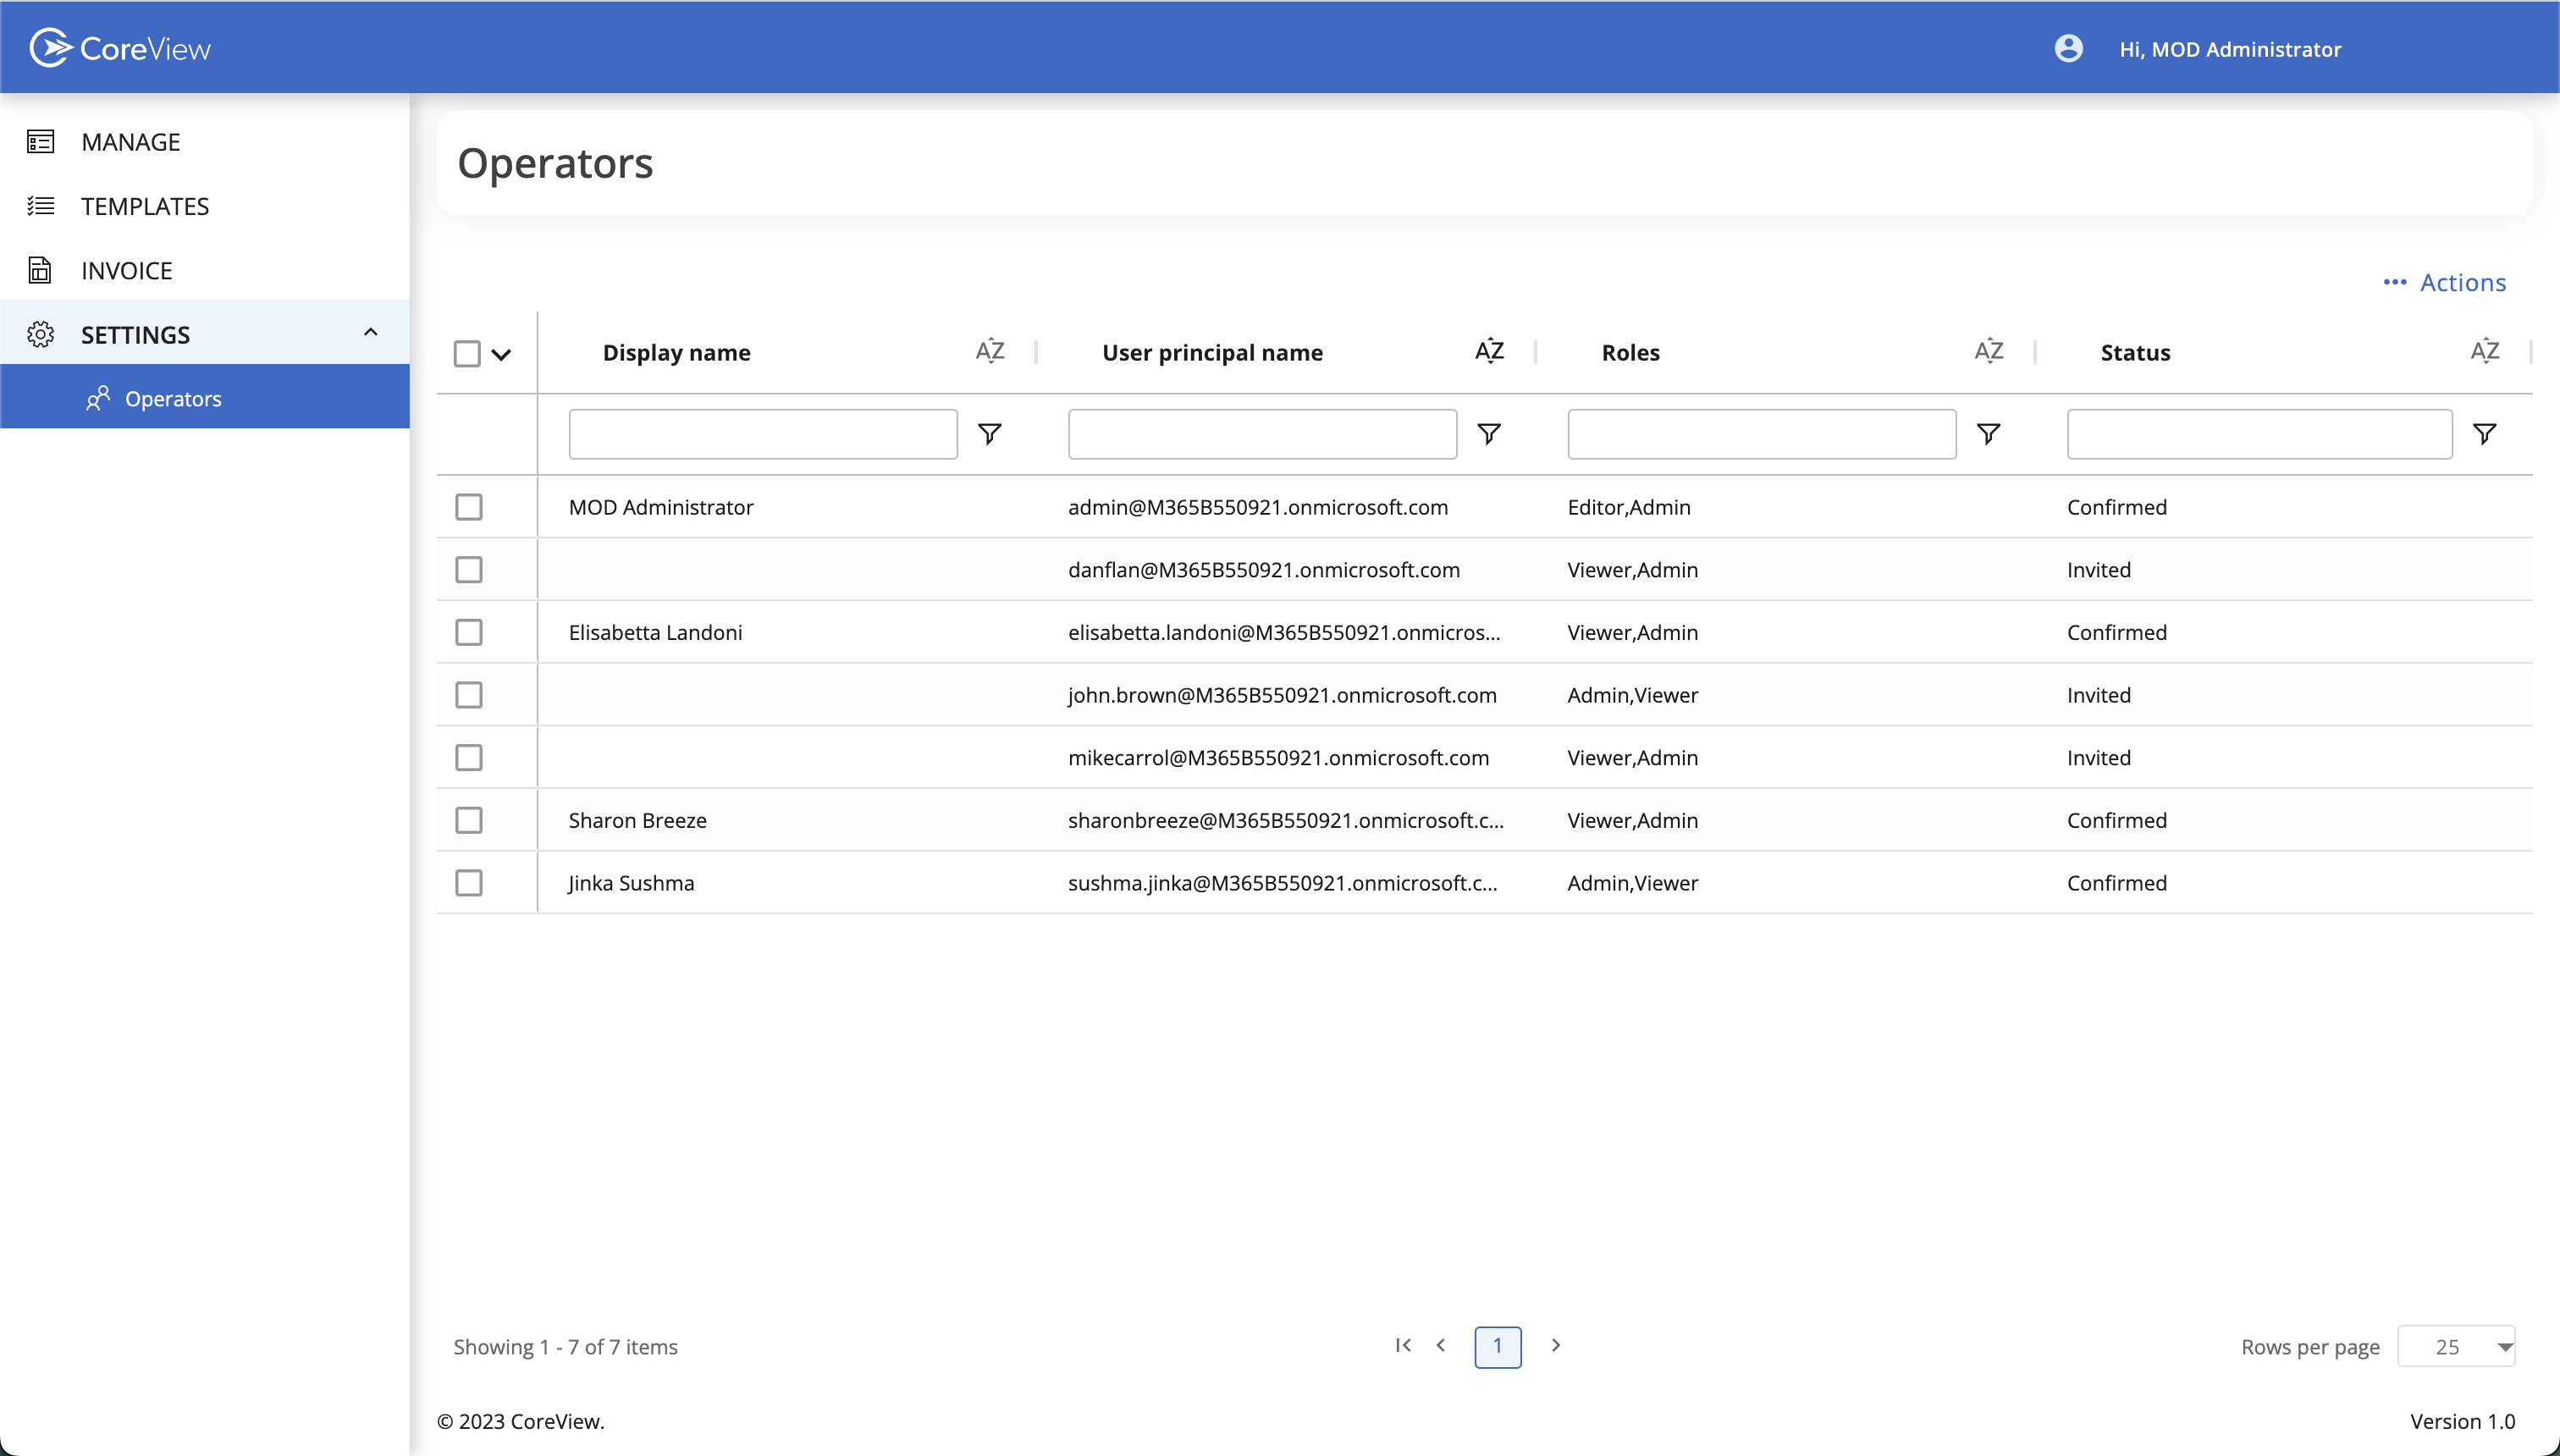
The list of operators, along with the actions to add new ones and edit their roles, can be found in the “Settings > Operators” menu.
This menu is only accessible to users with an Admin role.
Operator roles
Operators can have different roles, which can be assigned and edited through the “Settings > Operators” menu. The roles determine the level of access and permissions an operator has within the app.
Admin |
Viewer |
|
|---|---|---|
| View customer list (Invoice tab) | ✔️ |
✔️ |
| View and manage operators | ✔️ |
|
| Create and manage customers (Manage tab) | ✔️ |
|
| Create and edit configuration templates | ✔️ |
|
How to view operators
To view the list of operators, navigate to the “Settings > Operators” menu. Here, you can view all the operators and their respective roles. The “Status” column indicates whether an operator is invited or active. The statuses are:
- Confirmed: the operator has accessed the Partner App.
- Invited: the operator has been granted roles and credentials, but has not yet logged in.
How to create a new operator
To create a new operator:
1. Navigate to the “Settings > Operators” menu.
2. From the “Actions” dropdown menu, click on “Add operator”.
3. Enter the email address of the operator. This must be a valid Microsoft 365 work/school account.
4. Select the roles for the operator.
5. Confirm by clicking “Apply”.
How to edit an operator
To edit an existing operator:
1. Navigate to the “Settings > Operators” menu.
2. Select the operator from the table.
3. Click on the “Edit operator” action.
4. Change the roles as needed.
5. Confirm by clicking “Apply”.