Manual vs. automatic remediation
As explained before, to remediate means to actively manage identified anomalies, known as “Matched items”, with the goal of resolving them. For each matched item, you can:
1. Have it resolved automatically
Based on the set schedule (daily, weekly, monthly), the policy will search for anomalies. For each matched item, the remediation action, such as sending alerts and attestations or executing workflows, will be performed.
2. Handle the anomaly manually
You can run a policy by clicking on “Run policy” whenever desired. The policy will search for matched items and automatically perform the remediation action, such as sending alerts and attestations or executing workflows.
Set your preference
Follow the steps below to set up manual or automatic remediation for a policy:
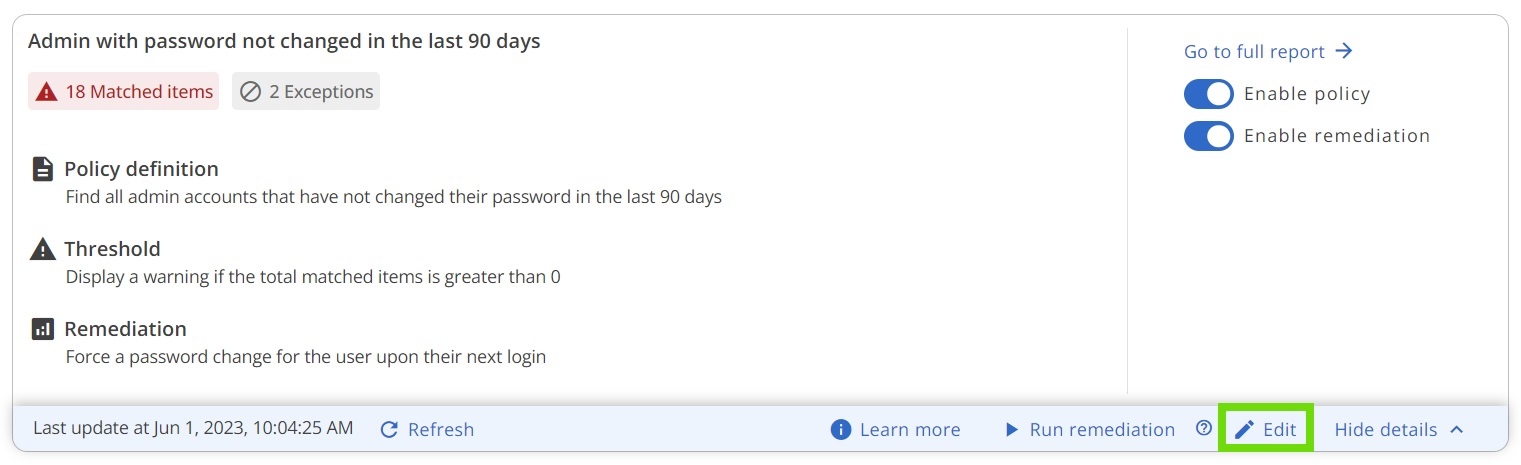
Step 1: Edit policy box
- Go to SETTINGS > Playbooks
- Click “See details” on the policy you want to edit (Policy Box)
- Click “Edit”
Step 2: Schedule
Only operators with a Tenant Admin or a Playbook Admin role can schedule remediations. For more information, please refer to the “New Playbook roles” article.
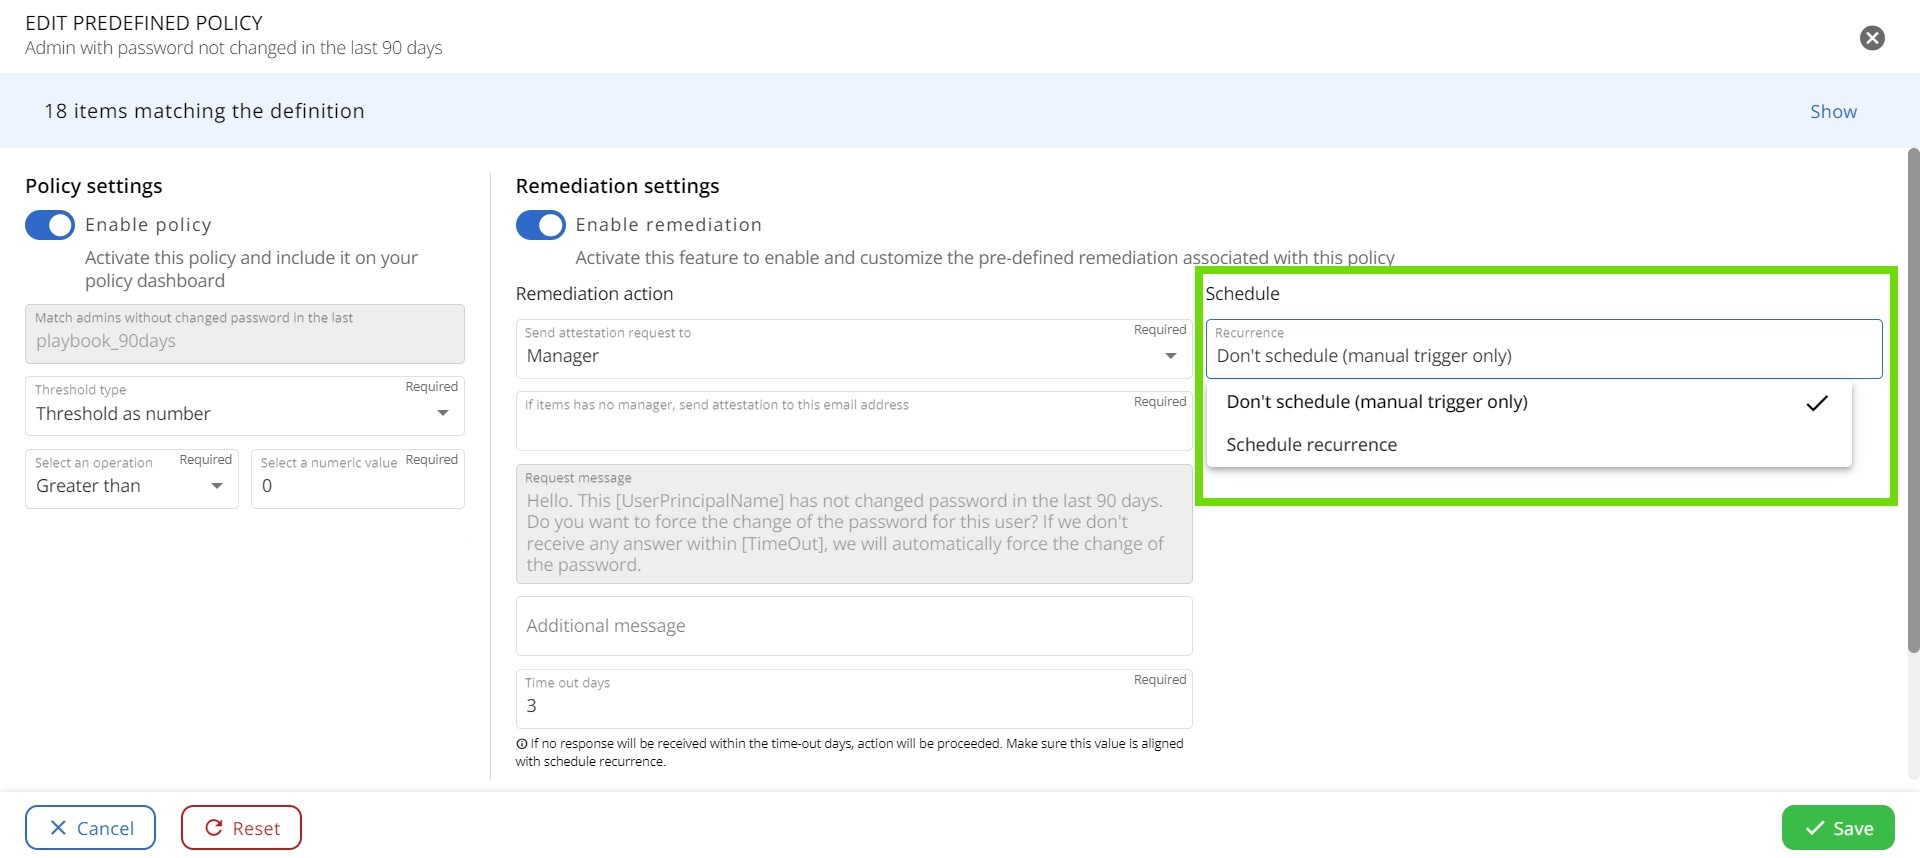
In the “Schedule” section, you have two options to choose from: “Don't schedule” (for manual resolution only) or “Schedule recurrence” (for automatic resolution). If you opt for “Schedule recurrence”, you can specify your preferred frequency and set the start and end dates. Remember to save your changes before exiting!
If you choose automatic remediation, you're good to go! However, if you prefer manual remediation, continue reading to learn how to activate it when needed.
Manual remediation
To execute manual remediation, follow the steps below:
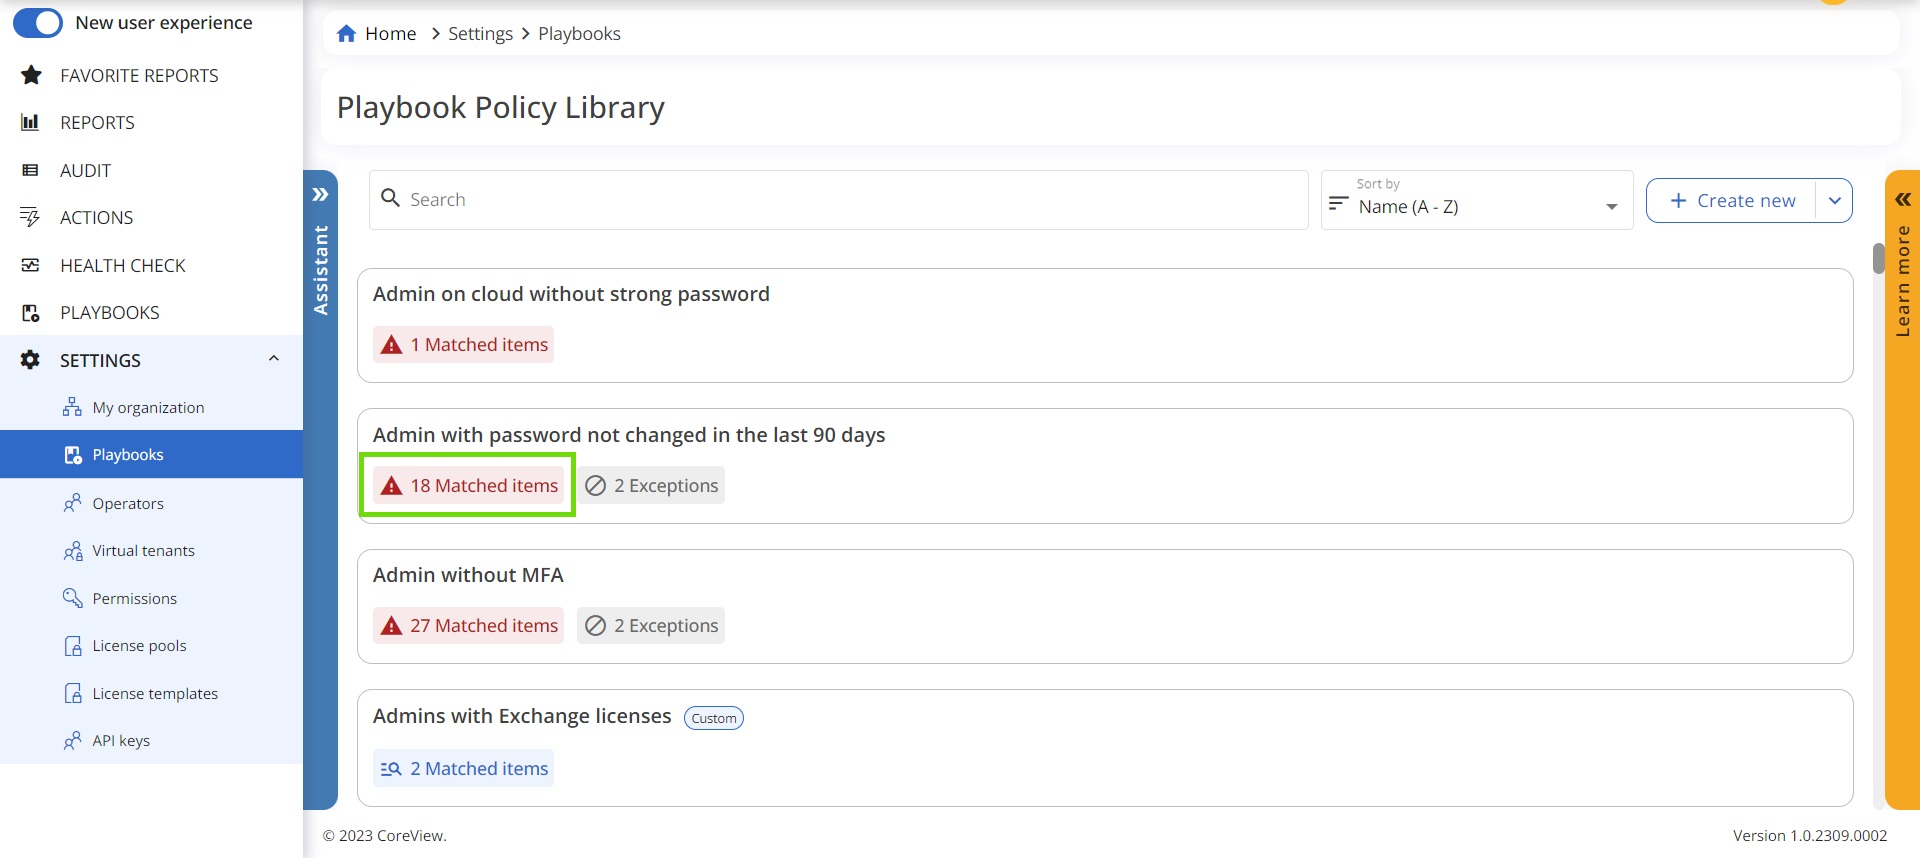
Step 1: Go to “Matched items”
- The number of matched items is displayed in a tag below the policy name in the Policy Box.
- Click on the tag to open the modal window.
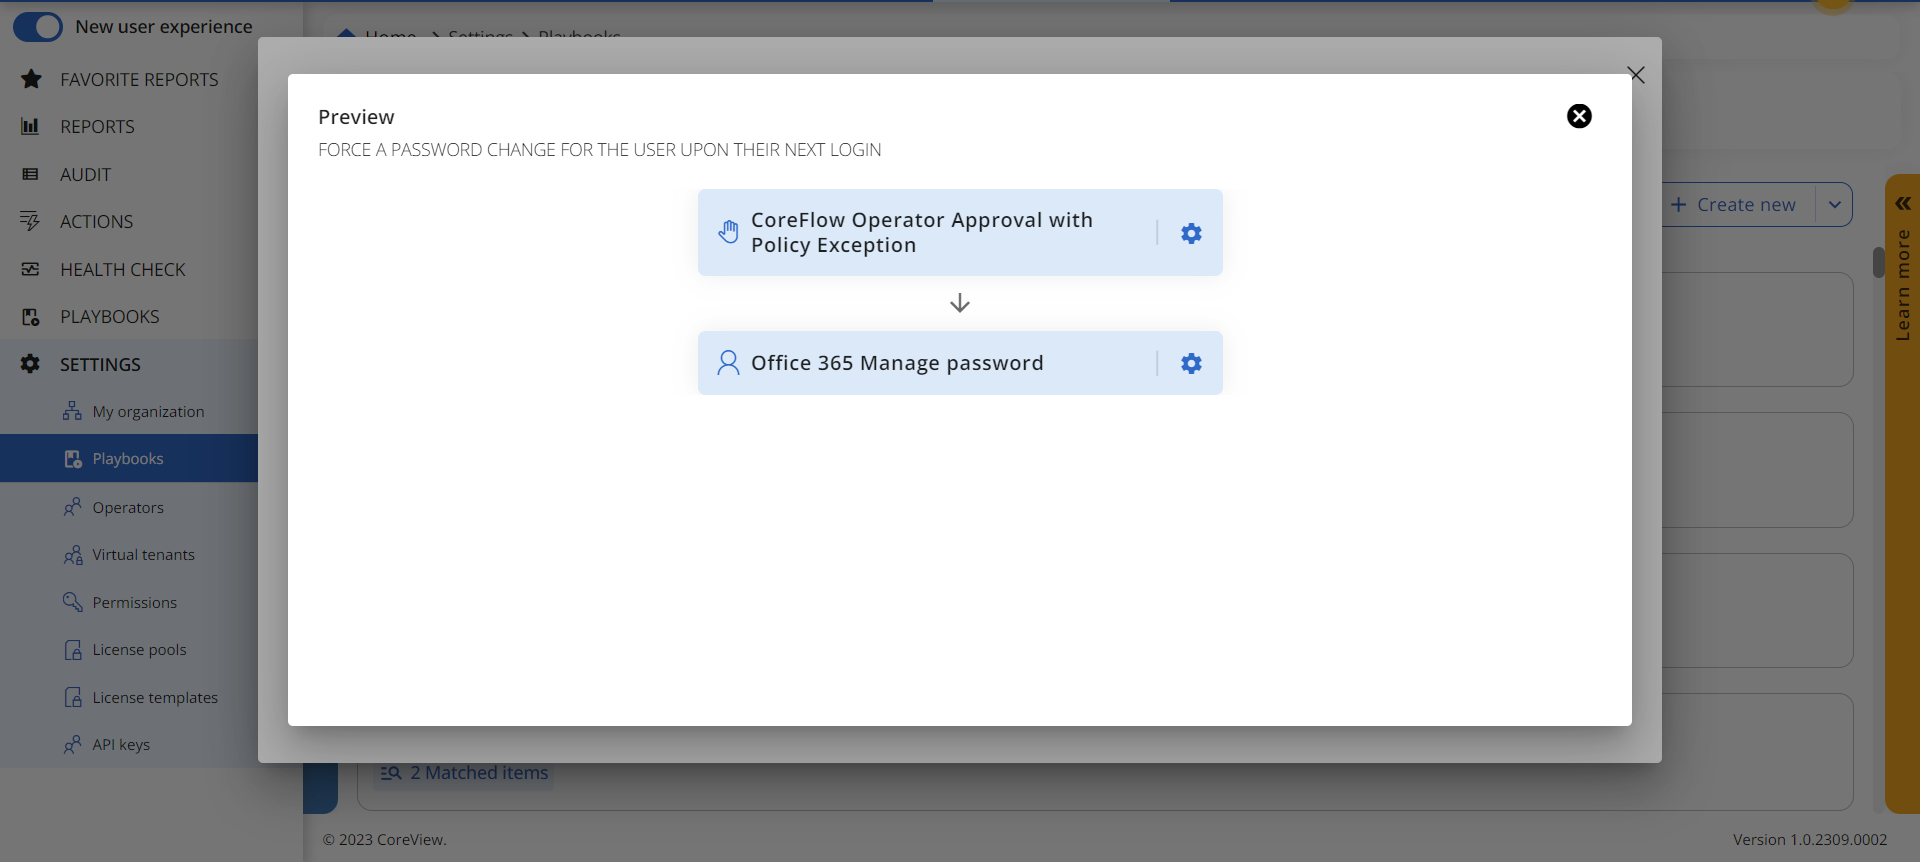
Step 2: Remediation preview
Before running the remediation, it's good practice to check the “Remediation preview” accessible from the modal window. This will allow you to understand and double-check the remediation process.
Step 3: Choose items to remediate
Once you have decided to run the remediation, you have two options:
1. Select the items you want to remediate by clicking the checkbox in the first column, and then click “Run remediation for selected items”.
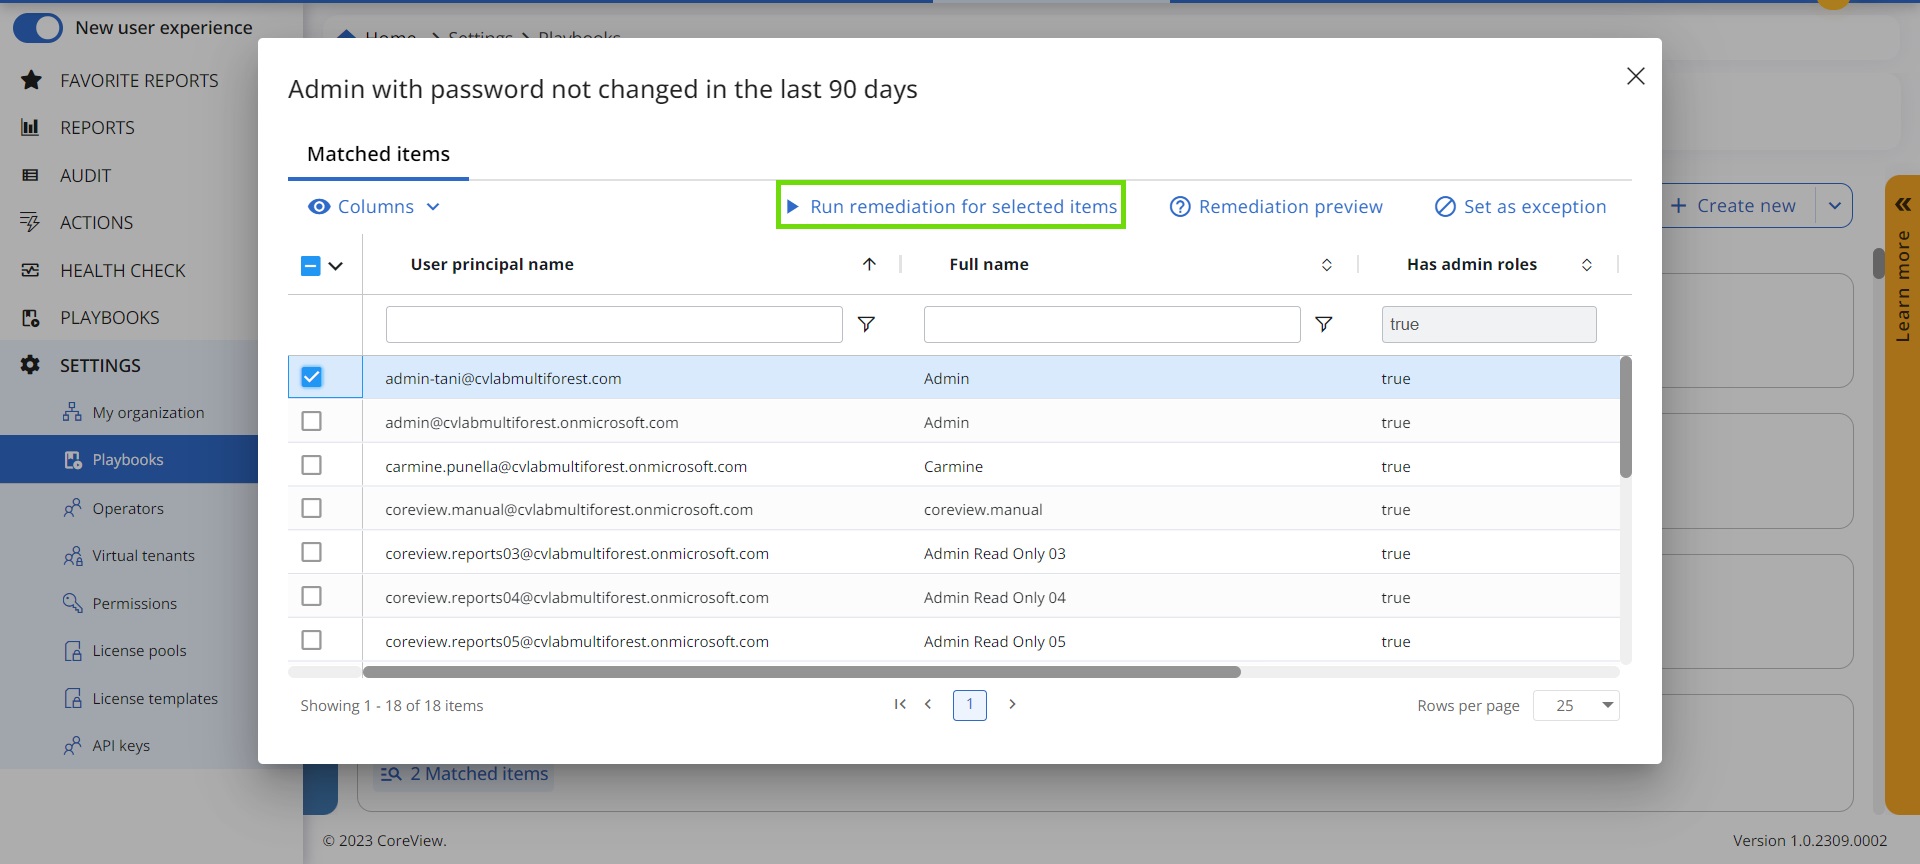
2. Run the remediation for all items listed in the report, by clicking on the “Run remediation for all items” button.

Since it can take time to execute remediation, the number of matched items will not update immediately.
If you can't see “Run remediation for all items” or “Remediation preview” it's because the remediation of that policy is not enabled. Learn how to enable policies.