What is attestation?
Attestation is a process that involves sending a confirmation request via email to a manager, stakeholder, or another custom recipient before proceeding with the remediation action.
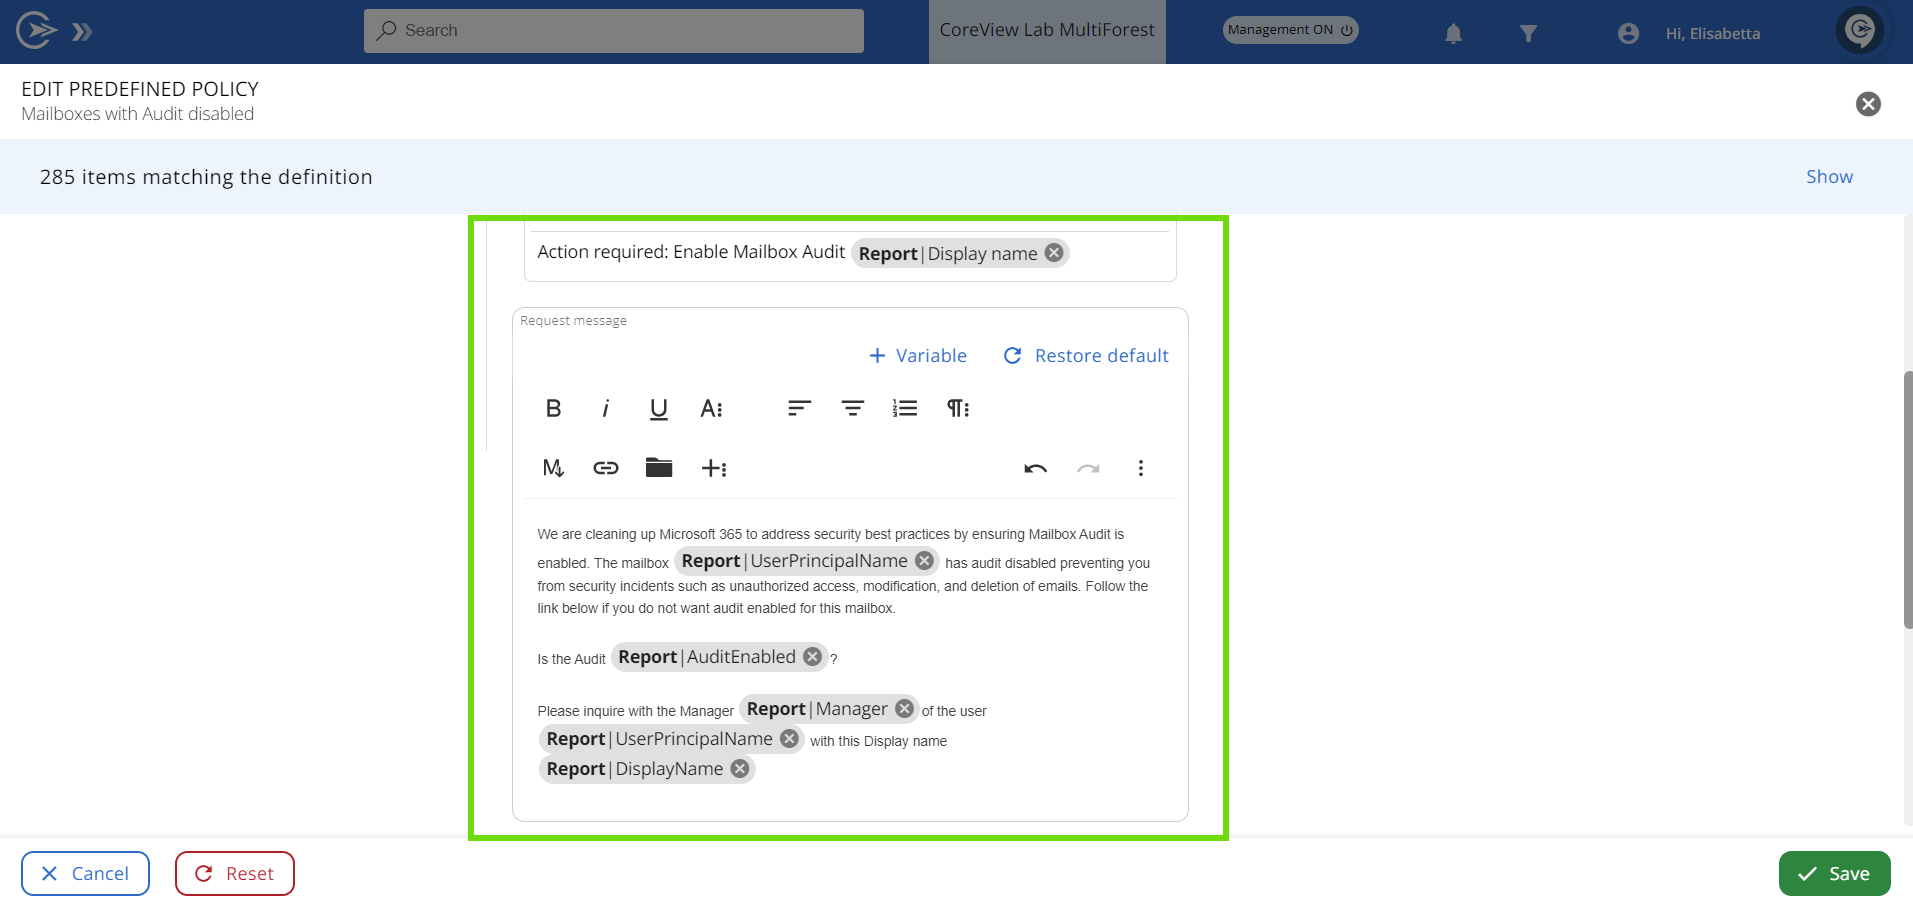
Below you can see a sample attestation e-mail:

How attestation works
Read the steps presented below to understand how the attestation process works:
- After enabling and configuring a policy and its remediation, the policy will initiate detection to identify anomalies (matching items) based on the scheduled recurrence you have set (manual or automatic).
- For each detected matching item, an attestation is sent to the recipient via email. During this period, the Workflow execution in the “Tasks notification” panel is displayed as “In progress”.
- From the attestation email, the recipient can either approve remediation or set the item as an exception.
- If approved, the remediation action will be executed. Conversely, if the item is set as an exception, it will not be performed.
Configure attestations
You can configure the following attestation settings for out-of-the-box policies:

- Send attestation request to: you can choose whether you want the attestation to be sent to the manager/owner, or to a custom address.
- Additional message: you can add a custom message to accompany the default request message. Please note that the request message itself is not editable.
Out-of-the-box policies with customizable approval email
Tenant admins can customize the subject and body of approval notification emails for various out-of-the-box policies. See the list below for details.
Note: To modify the email message, it is important to click the “Restore default” button first. If this step is skipped, the message body will appear blank.
This feature is available for the following predefined policies:
- Inactive Teams groups
- Mailboxes with Audit disabled
- Disabled users with assigned license
- Public Teams groups
- Admin without MFA
- Inactive SharePoint sites
- Admin with password not changed in the last 90 days
- SharePoint sites with anonymous sharing
- Inactive shared mailboxes
- Licenses Assigned to basic Shared Mailboxes
- Inactive last 60 days but not blocked users
- Licenses Assigned to Guest Users
- Inactive users with Microsoft 365 E5 Plan
- Inactive users with Microsoft 365 F5 Plan
- Inactive users with Microsoft 365 F3 Plan
- Inactive users with Office 365 G1 Plan
- Inactive users with Office 365 G3 Plan
- Inactive users with Office 365 G5 Plan
- Inactive users with Office 365 E1 Plan
- Inactive users with Microsoft 365 F1 Plan
- Inactive users with Office 365 E5 Plan
- Inactive users with Office 365 F3 Plan
- SharePoint sites with anonymous sharing and a certain sensitivity label
- SharePoint sites with anonymous sharing and no expiration policy
- SharePoint sites with external sharing and no expiration policy -
- Licensed users without Copilot activity
- Inactive users with Microsoft 365 E3 Plan
- Inactive users with Office 365 E3 Plan
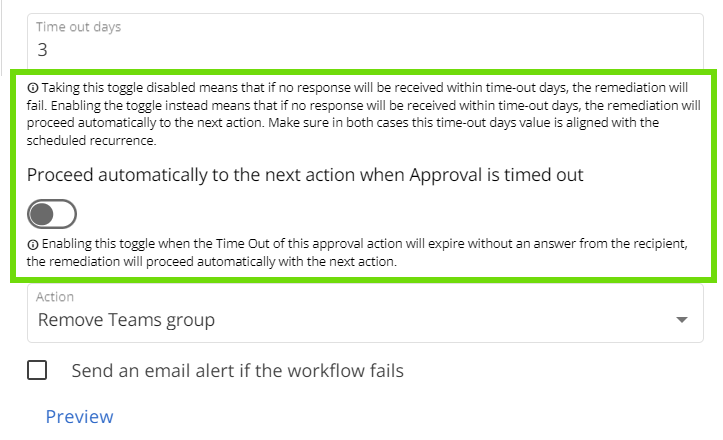
- Time out days: the number of days given to the recipient to take action.
- Proceed automatically to the next action when Approval is timed out: you can enable this toggle if you want the remediation to proceed automatically to the next action in case of no response.
Understand who the recipient is
By default, in the configuration panel of many out-of-the-box policies, the “Manager” option is selected under the “Send attestation to” drop-down menu.
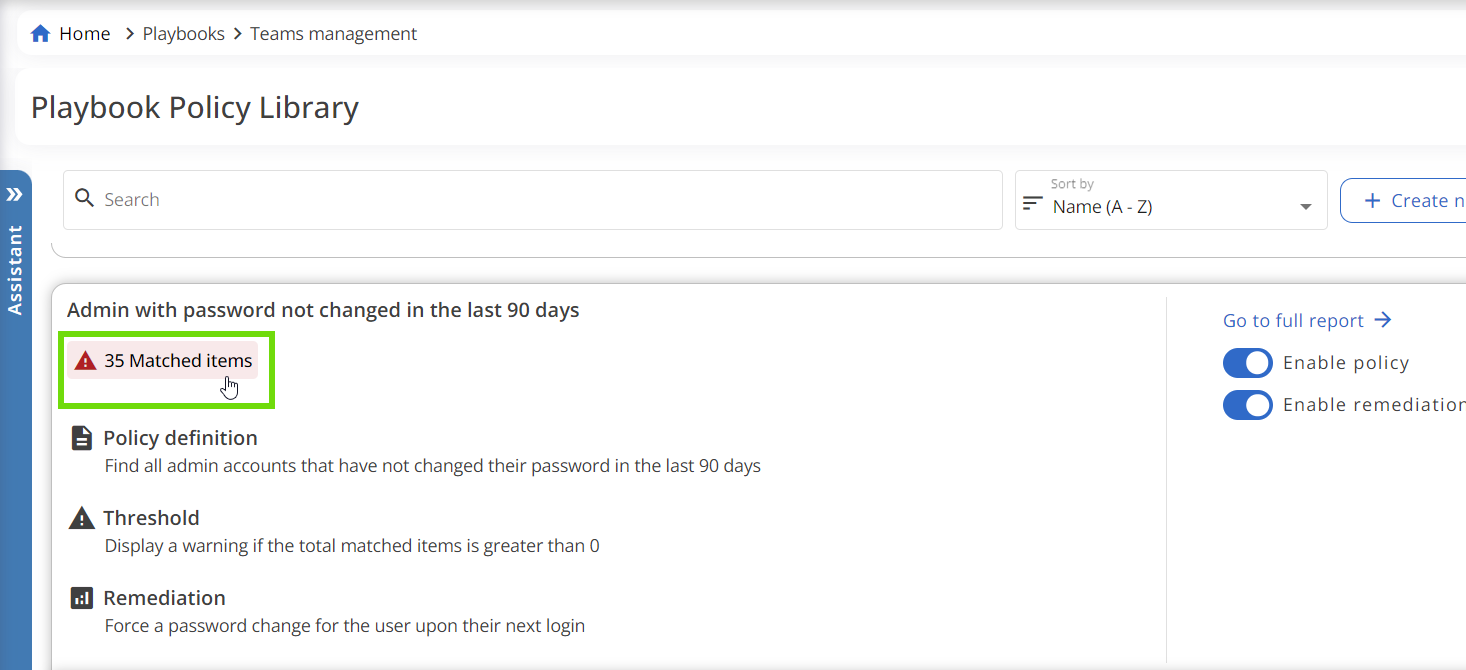
However, it may not be clear who the manager is. In this case, it's the manager of each individual item. To check who will receive the attestation for each matched item, you can click on “Go to full report” in the Policy Box and refer to the “Manager” column in the table.
Time-out days
It's important to notice that if no response is received within a designated time frame, and the “Proceed automatically to the next action when Approval is timed out” toggle is enabled, the action will be executed automatically.
Configuring a reasonable amount of time-out days for each policy ensures that the recipient has sufficient time to review and approve the remediation action before it takes place.
Below are the default time-out days with their respective configuration settings:
All licenses:
Except Inactive MS 365: E1, E3, E5, F3, G1, G3, G5 Plans and Inactive MS365: E3, E5, F1, F3, F5 Plans
| Default time-out | Time-out settings |
| 3 days |
|
Following licenses:
Inactive MS 365 (E1, E3, E5, F3, G1, G3, G5 Plans) and Inactive MS365 (E3, E5, F1, F3, F5 Plans)
| Default time-out | Time-out settings |
| 15 days |
|
How to configure attestation settings for Out-of-the-box Playbooks
Follow the steps presented below to edit the attestation settings of Out-of-the-box Playbooks:
Step 1: Edit the policy box
Go to “SETTINGS > Playbooks. Select the wanted Policy Box and click “Edit”.

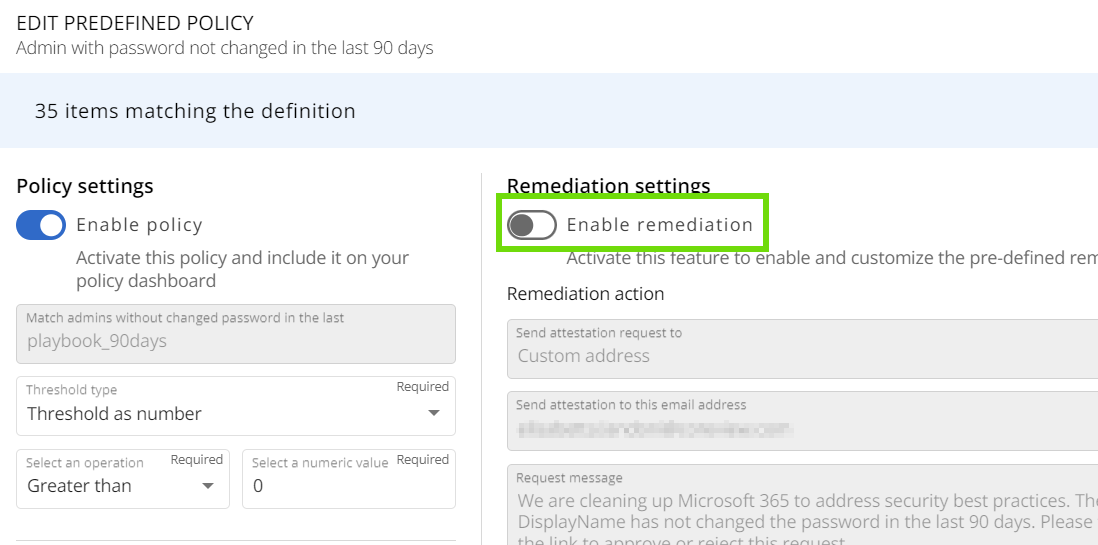
Step 2: Enable remediation
Step 3: Configure recipient
To send the attestation e-mail to a specific e-mail address select “Custom address” and type in the e-mail address.

Step 4: Schedule
Select the preferred scheduling option.

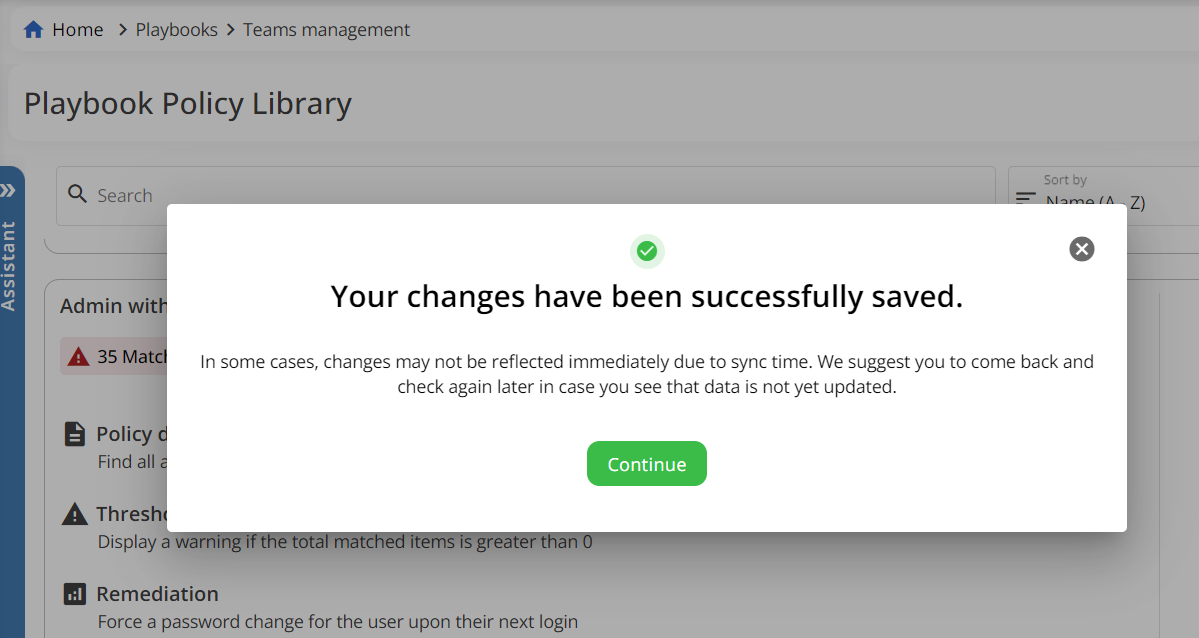
Step 5: Save and continue
Step 6: Matched items
Click on the “Matched items” badge.
Select the items you want to remediate.

Step 7: Preview
Click “Remediation preview”.

Double-check the steps involved in the remediation before running it.

Step 8: Remediation
Click “Run remediation for selected items”.

Click “Proceed”.

What if an attestation cannot be managed?
If the attestation request is sent to a person who is unavailable to manage it, a tenant admin can step in and manage the request. Follow the steps below to see how to:
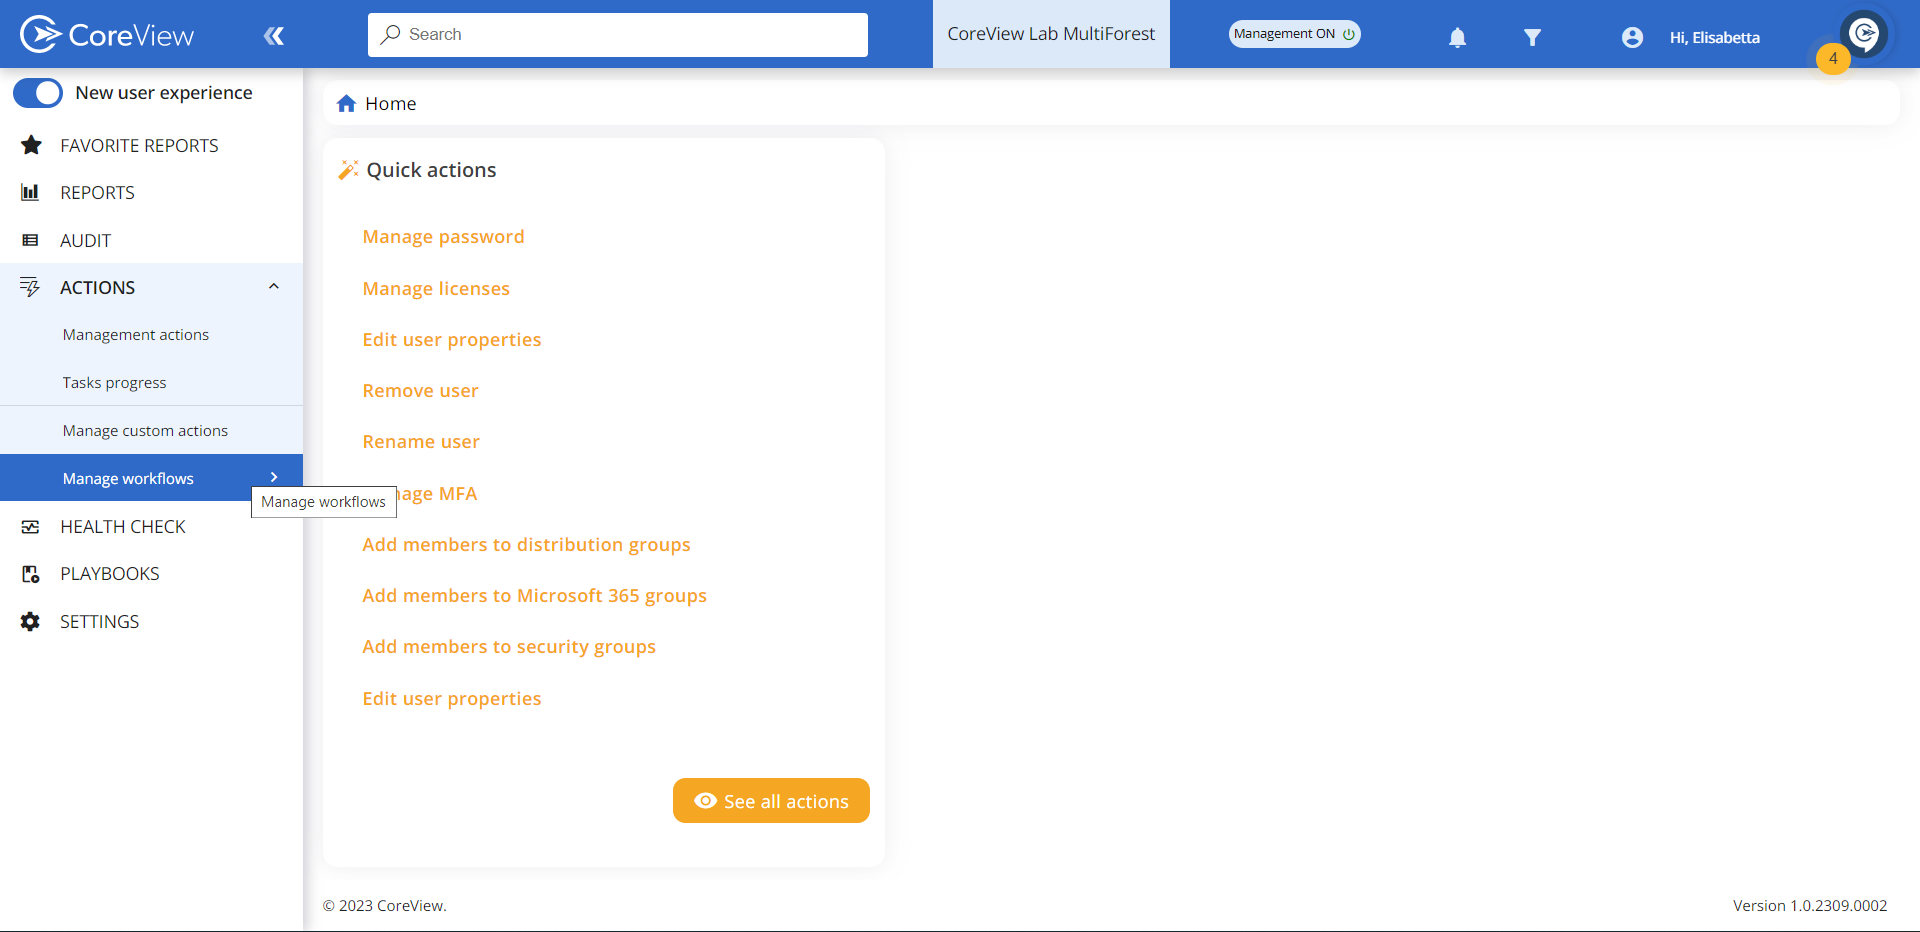
1. Go to “ACTIONS”

2. Select “Manage Worklows”
3. Select “Approvals”
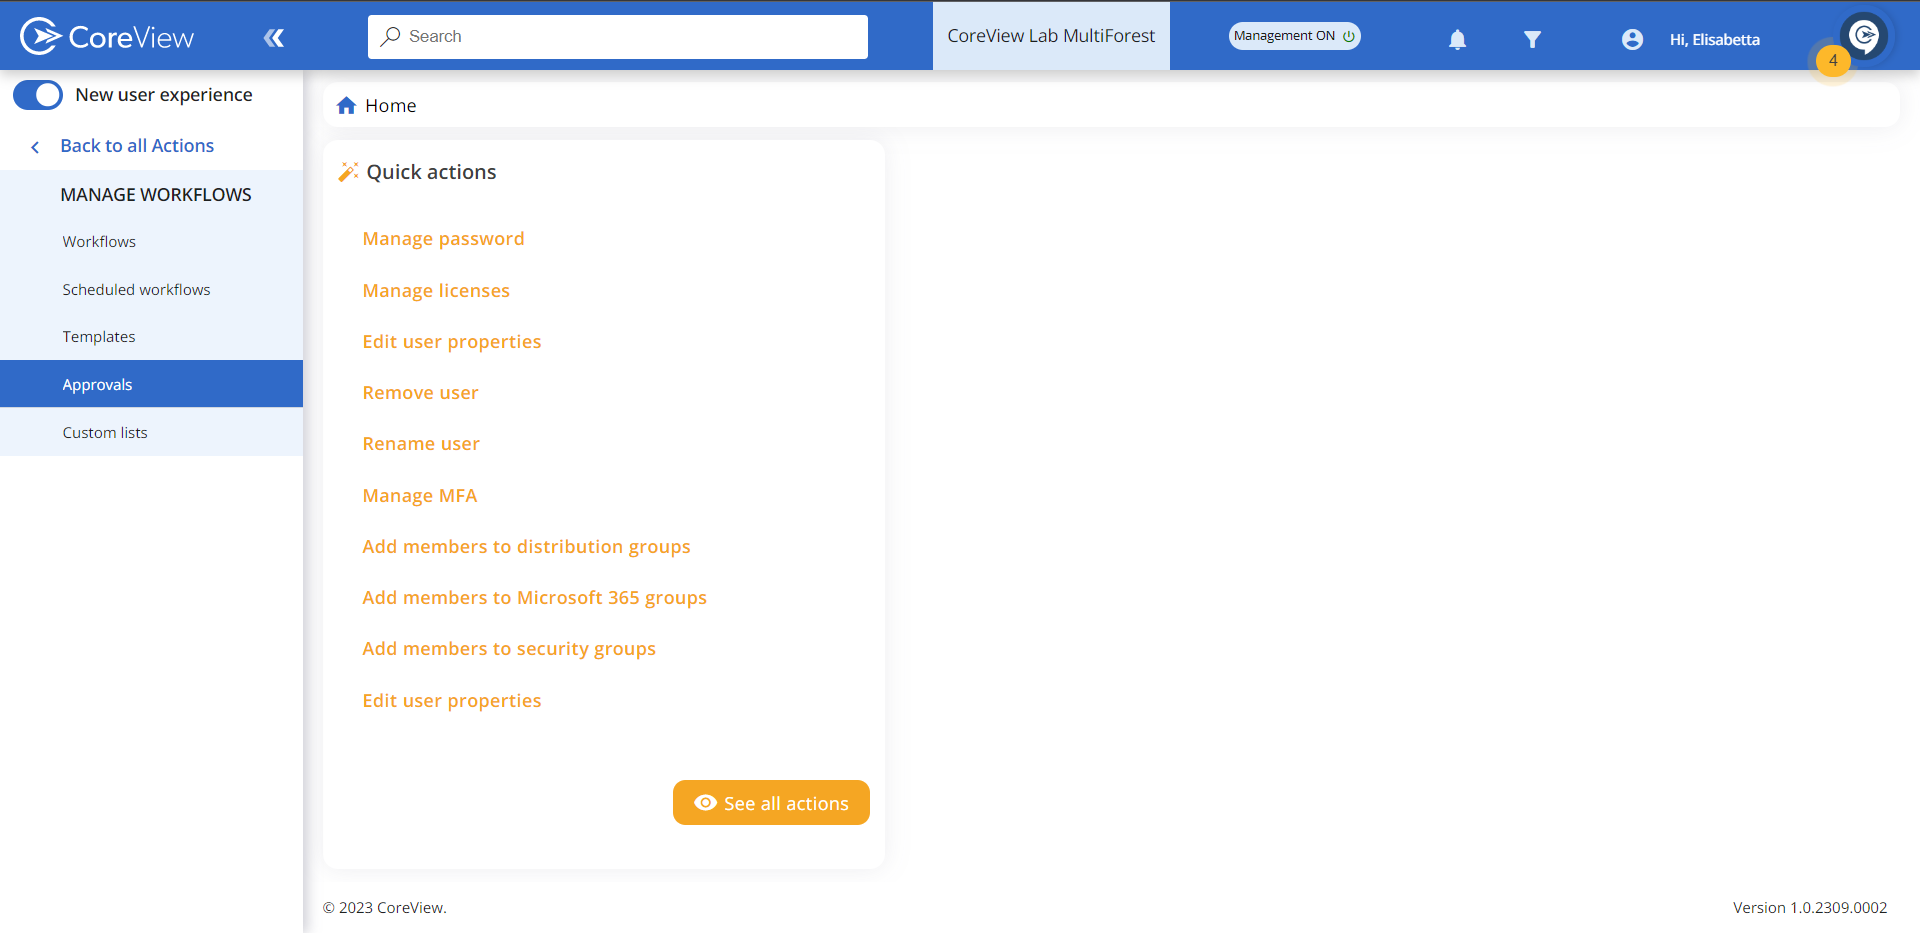
4. Select “…” and click on preferred actions
Go to the pending attestation you need to manage and click on "..." to Approve or Reject the remediation action.

5. You're all set!
However, keep in mind that this solution shouldn't be the norm. To avoid having to resort to this, it's important to:
- Understand who the manager of each item is and, if necessary, change the attestation recipient (Custom Address) in Remediation Settings.
- Set a number of timeout days that will allow enough time for the current manager to deal with the attestation request.