To generate an “API key”, please follow the steps below.
ADD NEW API KEY
Step 1
In the “API Keys” section, select “Add new API Key” at the top right of the screen, and a new panel will open.

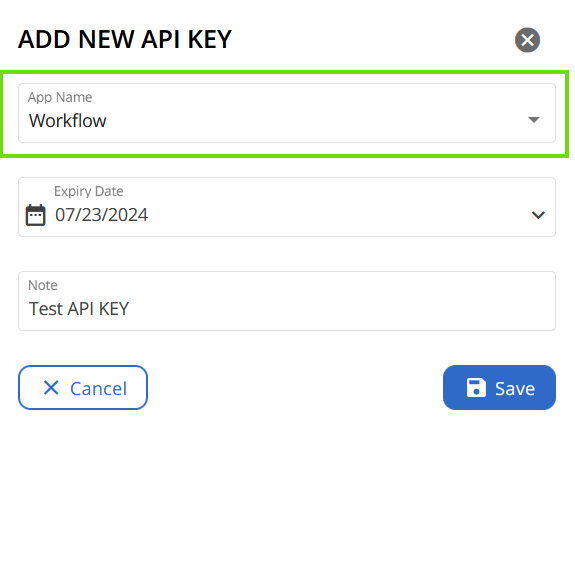
Step 2
Now, select the desired “App name” from the drop-down menu.
Step 3
Set an “Expiry date”.
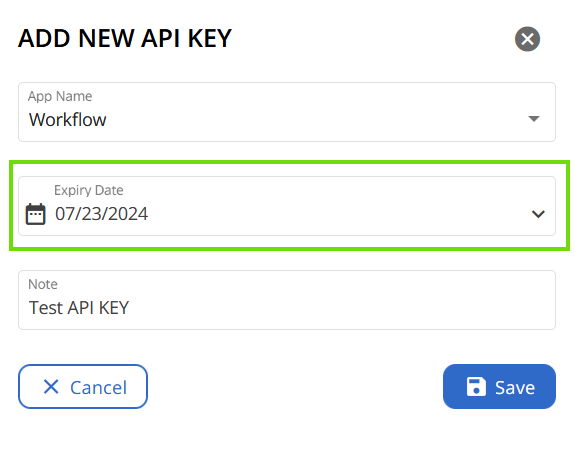
Please, note that the validity of an API key cannot exceed one year. After this period, the key will need to be regenerated and reapplied, otherwise the workflows invoked by the third-party application will fail. Therefore, the newly generated API key must also be copied back into the application code of the application that calls the workflow.
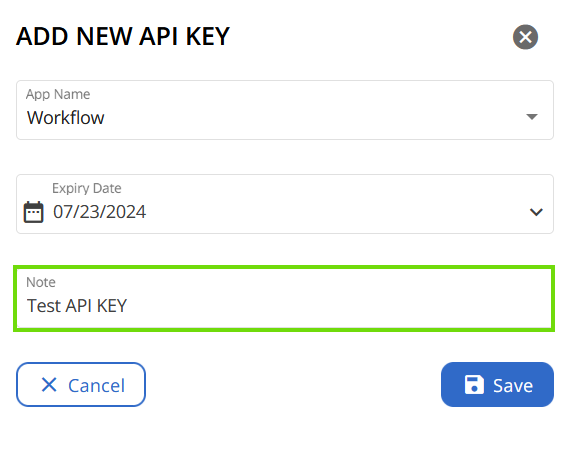
Step 4
Add a note. While this is an optional feature, it is recommended to add a note field when generating the “API key” for future reference.
Step 5
Then, click “Save” to generate your key.

Step 6
Now, a second panel will appear. Here, you are notified that your “API Key” has been successfully created and you are invited to copy your “API Key”.
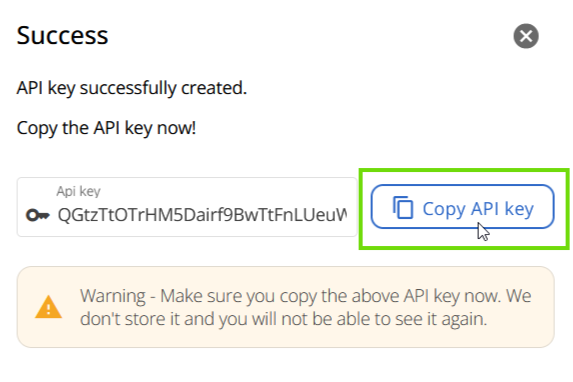
As stated, make sure you copy the generated “API key” in this step. CoreView does not store it and you will not be able to see it again. Should the API key be lost, there is no cause for concern. Simply generate a new one and proceed with its use.
Your “API Key” has now been created and will appear in your list.
How to execute APIs
For more detailed information and to know how to run workflows via API please, click here.